As an Amazon Associate I earn from qualifying purchases. This post may contain affiliate links.
Learn how to get the best reverse sear steak! Follow this tried and true recipe for tender, perfectly cooked steak with a crispy seared crust. Reverse sear steaks are thick-cut steaks that are slowly baked at low temperature in the oven and then seared to perfection! It’s the perfect main course for Thanksgiving, Christmas, Valentine’s Day, or anniversaries!
My recipe for reverse sear ribeye steak comes after countless attempts and experiments to make the best steak possible at home. We’ve finally narrowed the recipe down to get the best reverse sear steak consistently, and we’re excited to share the recipe with you!
We now prefer the reverse sear method as our go-to technique for cooking steak and think the results are even better than our local steakhouses.
Reverse Sear Steak – Time & Temperature Chart
Here’s a handy time and temperature chart for reverse sear steaks (based on 2.25 inch steaks):
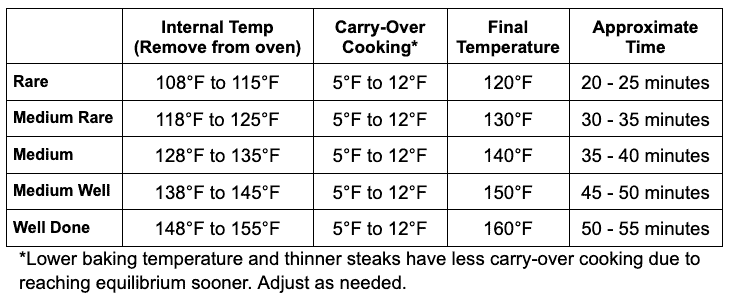
These are approximate times based on thick-cut ribeye steaks measuring 2.25 inches thick and weighing 14oz each. Account for differences and adjust as needed.
Carry-over cooking
Carry-over cooking refers to continued cooking after removal from the heat source. The amount depends on the size of the steak and the baking temperature.
Thicker steaks baked at higher temperatures have more carry-over cooking because they hold onto more heat. I recommend taking them out of the oven closer to 12 degrees F to account for that.
Thinner steaks baked at lower temperatures have less carry-over cooking because they reach equilibrium sooner. I recommend taking them out closer to 5 degrees F.
What is reverse sear?
Reverse searing is a technique used to cook steak consistently and evenly at low temperatures in the oven. The last and final step is to sear it in a hot cast iron pan to create a crispy, brown crust, hence the name reverse sear.
Advantages of Reverse Sear
The advantage of reverse seared steak is that you get consistent and even cooking on the steak while achieving a uniformly brown and crispy crust without the gray band. In addition, you have the flexibility of time since you can leave the searing step for right before serving the steaks.
Additionally, by slowly cooking the steaks in the oven first, you avoid hot spots and uneven cooking. Since they’re baked in the oven, you can closely monitor the internal temperature of the steaks with a leave-in thermometer.
The final step is to reverse sear the steaks in a blazing hot pan to create a crispy brown crust. This step only requires 45 seconds to 1 minute per side, making it possible to get a perfect sear without the thick gray band you typically get otherwise.
Types of steak to reverse sear
You can reverse sear any thick-cut steak such as ribeye, New York strip, filet mignon, T-bone, or porterhouse steak.
Choose steaks that are at least 1.5 inches thick and uniform in size and thickness for even cooking time.
Dry-aged steaks are a fantastic choice for reverse searing because they produce incredibly tender, flavorful steaks.
For this recipe, I used thick-cut ribeye steaks that were 2.25 inches thick and weighing 14oz each.
Ingredients
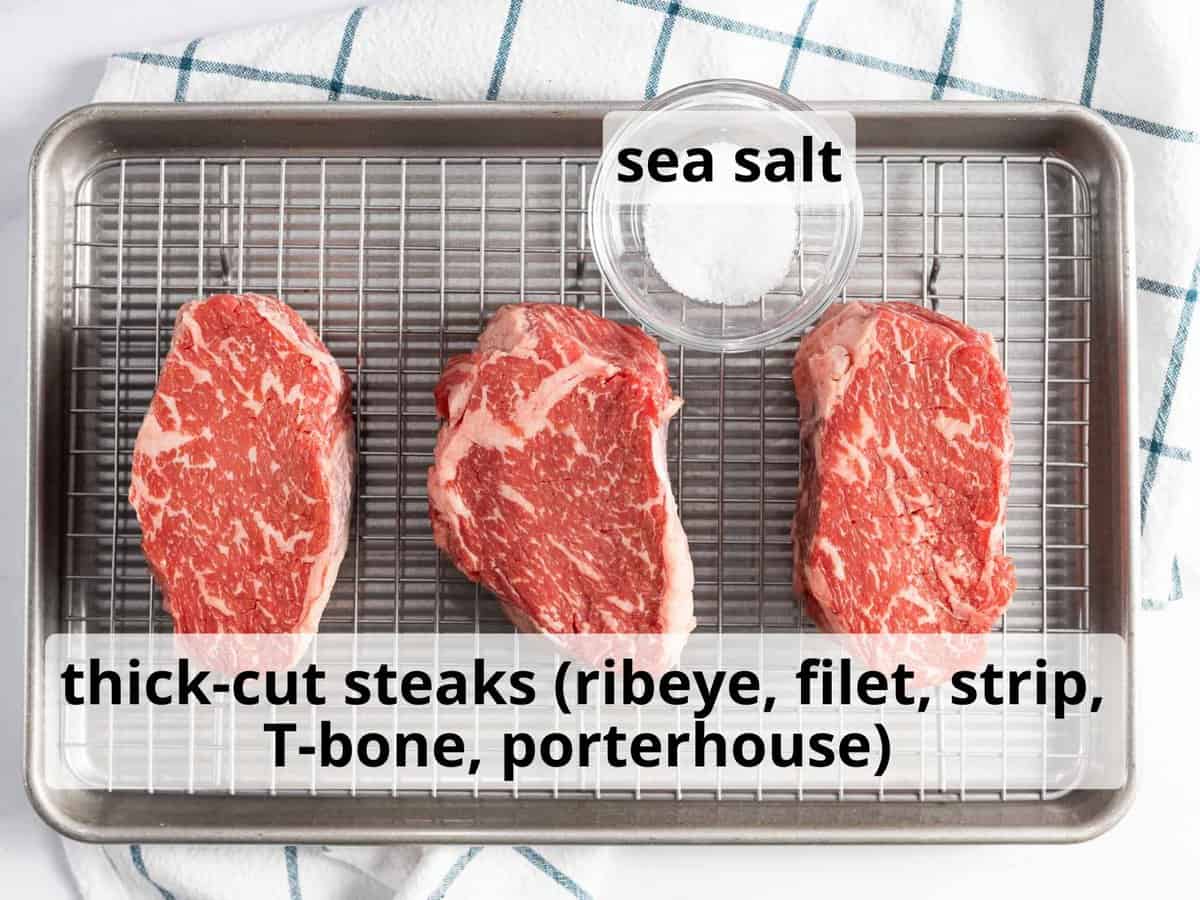
- Thick-cut steaks – I used prime rib eye steaks for this recipe but you can use filet mignon, New York strip, T-bone, or porterhouse. Choose steaks that are at least 1.5 inches thick for best results.
- Sea salt – Use any grind of sea salt you have. This creates a juicy, perfectly seasoned steak.
How to Reverse Sear Ribeye Steak

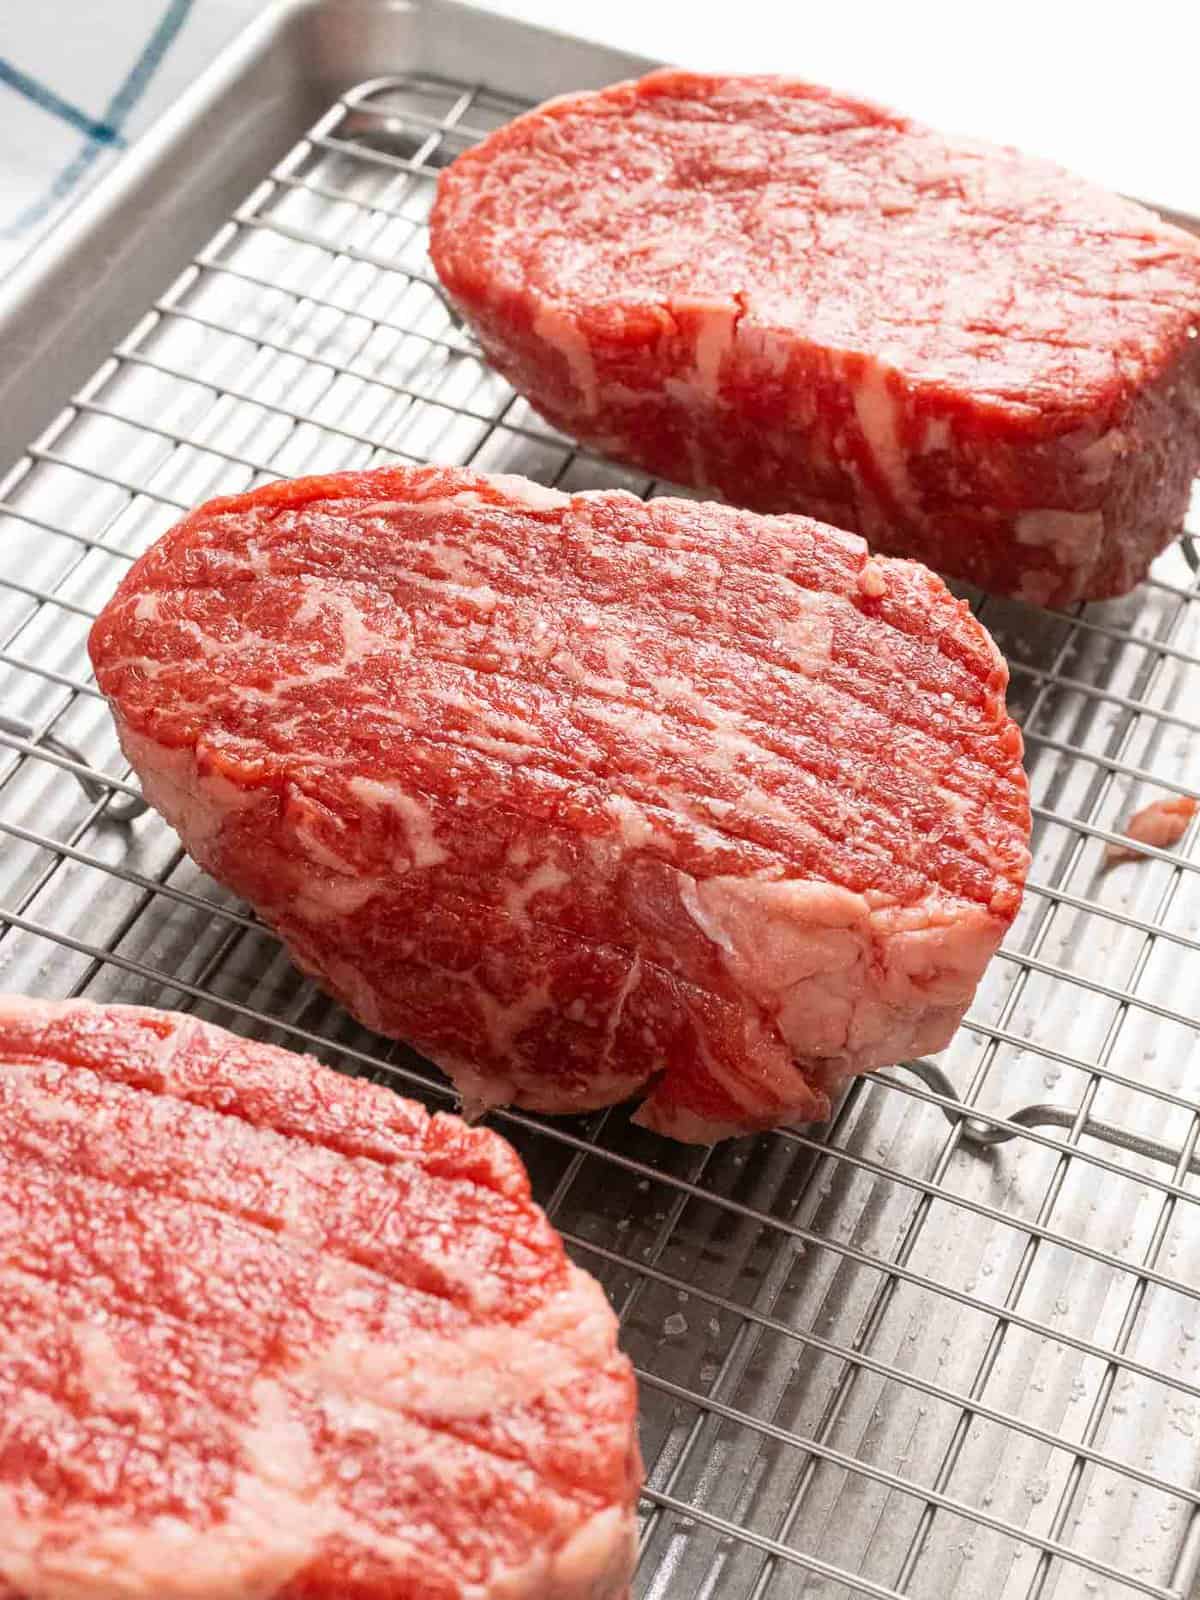
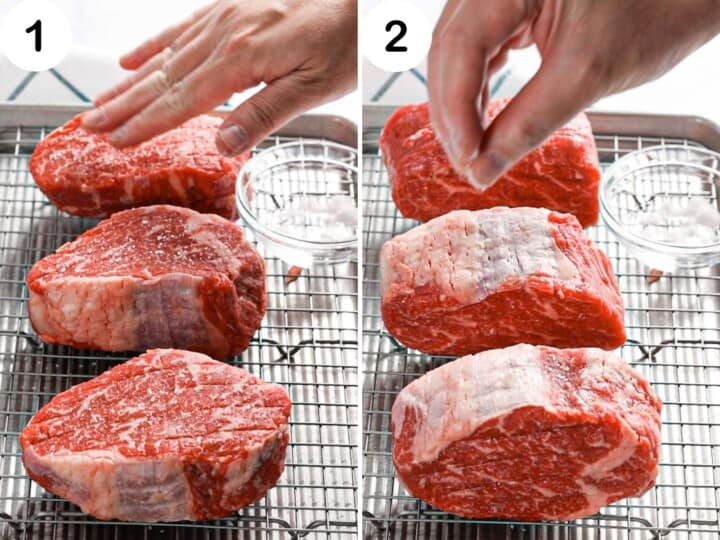
- Pat dry: Pat the steaks dry with a paper towel. Place them on top of a wire rack set inside a baking sheet.
- Salt the steaks: Generously sprinkle sea salt on the front, back, and sides of the steak. You can bake them immediately or refrigerate the steak uncovered in the fridge for at least 2 hours, up to overnight. This allows the steak to absorb the salt, seasoning it all the way through, thereby creating a perfectly seasoned, juicy steak. If you have time, I highly recommend leaving them overnight.

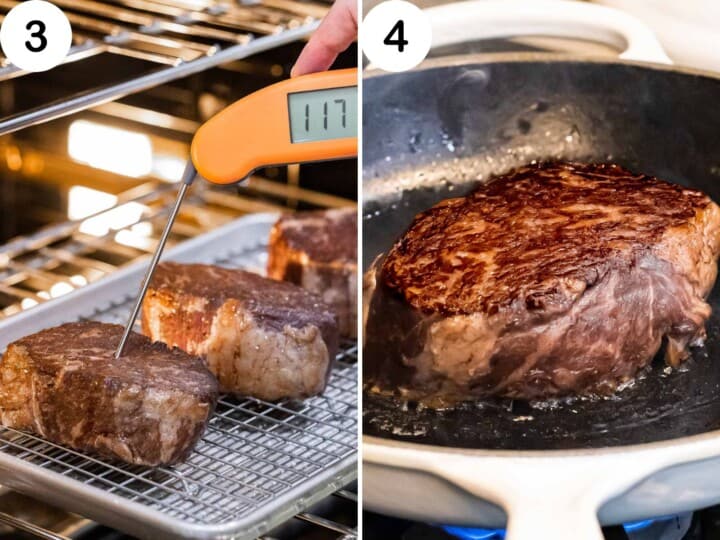
- Bake the steaks on low: Preheat the oven anywhere from 225 degrees F to 275 degrees F. Going lower than 225 degrees F doesn’t make much of a difference in the final product, and it only adds more time. For larger, thicker steaks, 275 degrees F works fine, but for thinner steaks, I recommend baking at 225 degrees F. Next, insert a leave-in thermometer into the thickest part of the steak and insert it into the middle rack of the oven. Frequently check the temperature after 15 minutes. Remove the steak when it’s 5 degrees F to 12 degrees F shy of the final desired temperature.
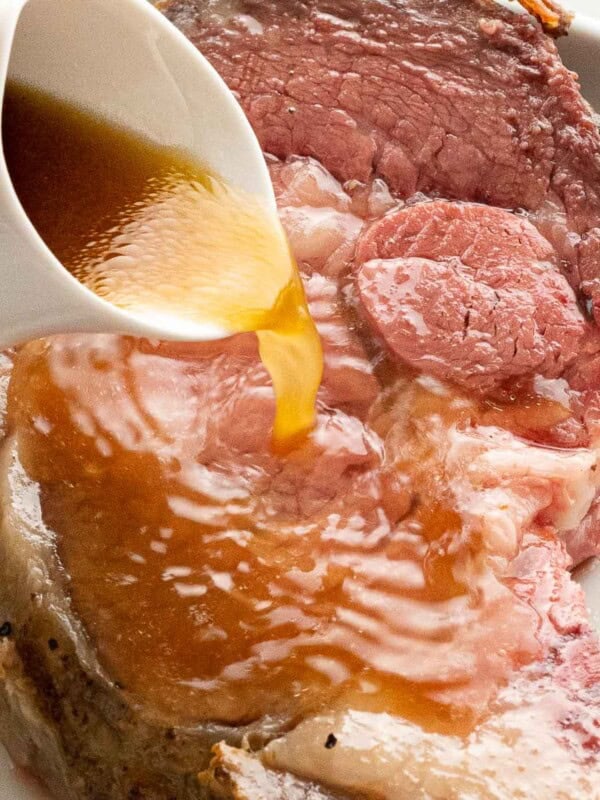
- Reverse sear the steaks: Turn on your range hood vent. Heat a cast iron skillet over high heat and add the vegetable oil. Wait for the oil to start to shimmer and it just begins to smoke. Sear the front and back of the steak for 45 seconds to 1 minute on each side until a dark brown, crispy crust forms. Try not to move the steaks around too much when searing. If using thicker cuts of steak, sear the sides as well.
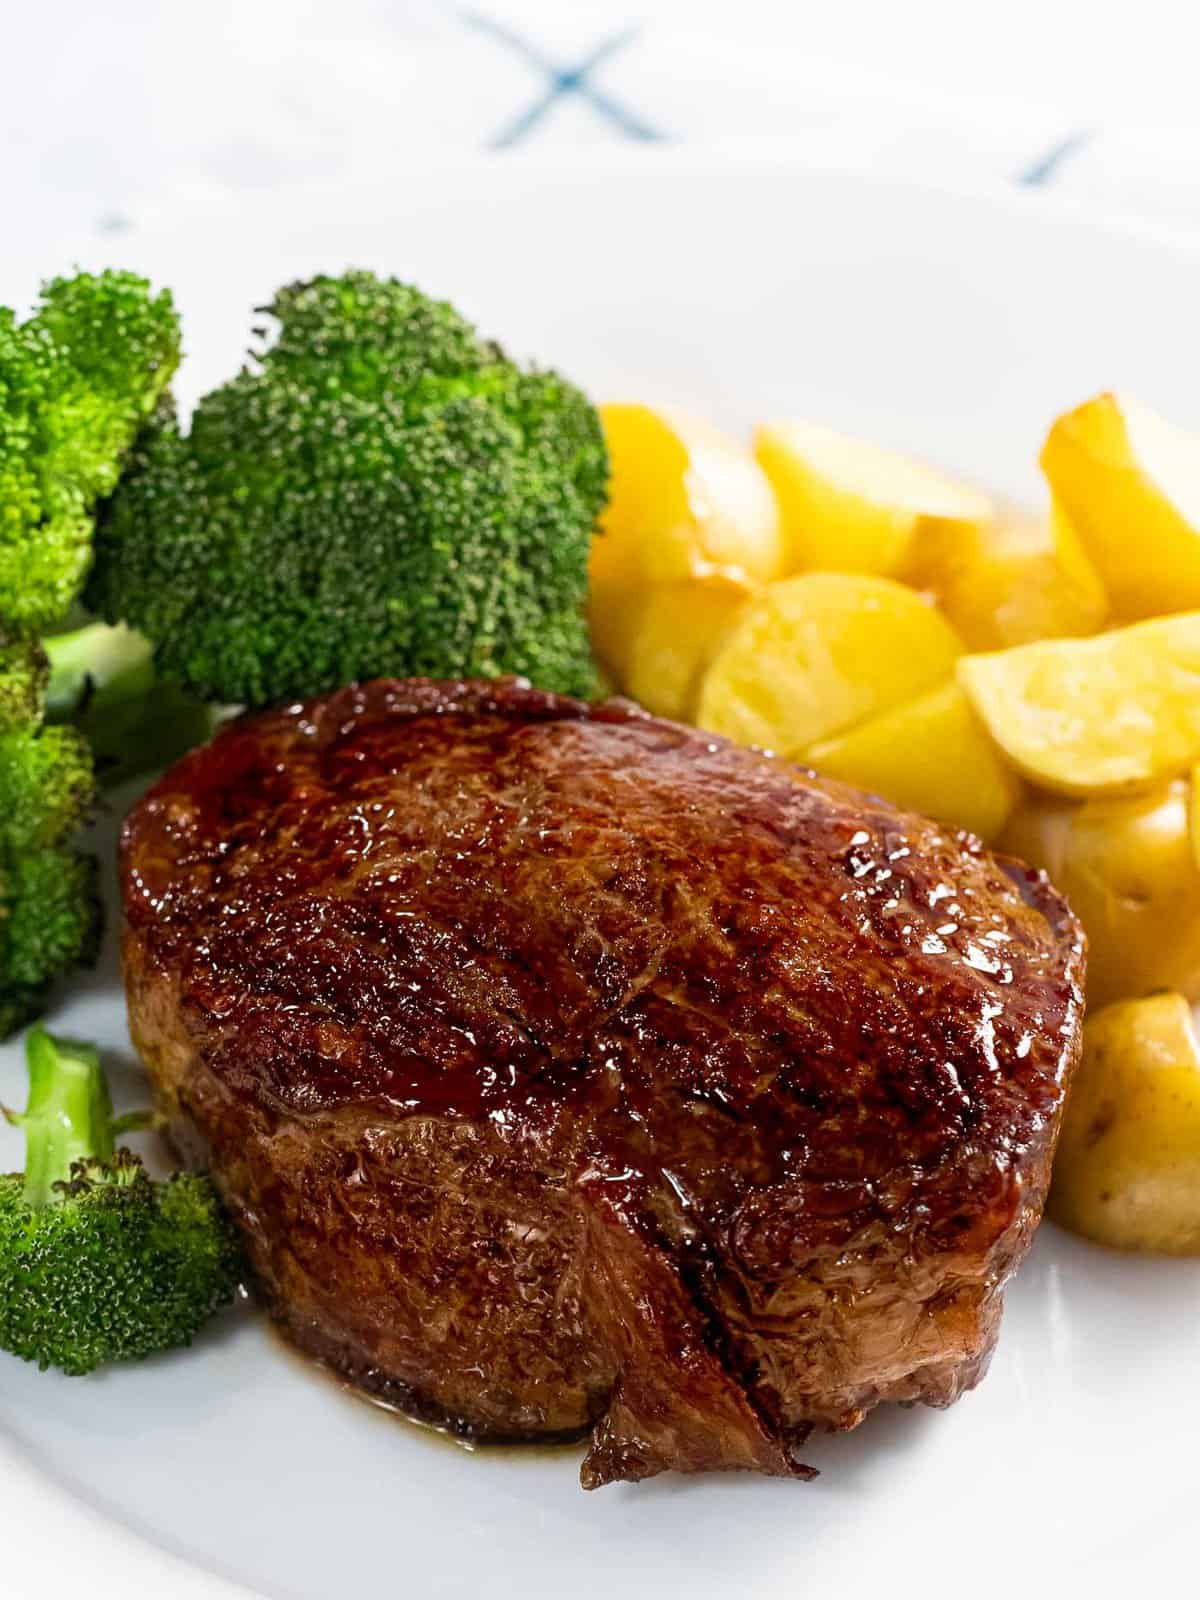
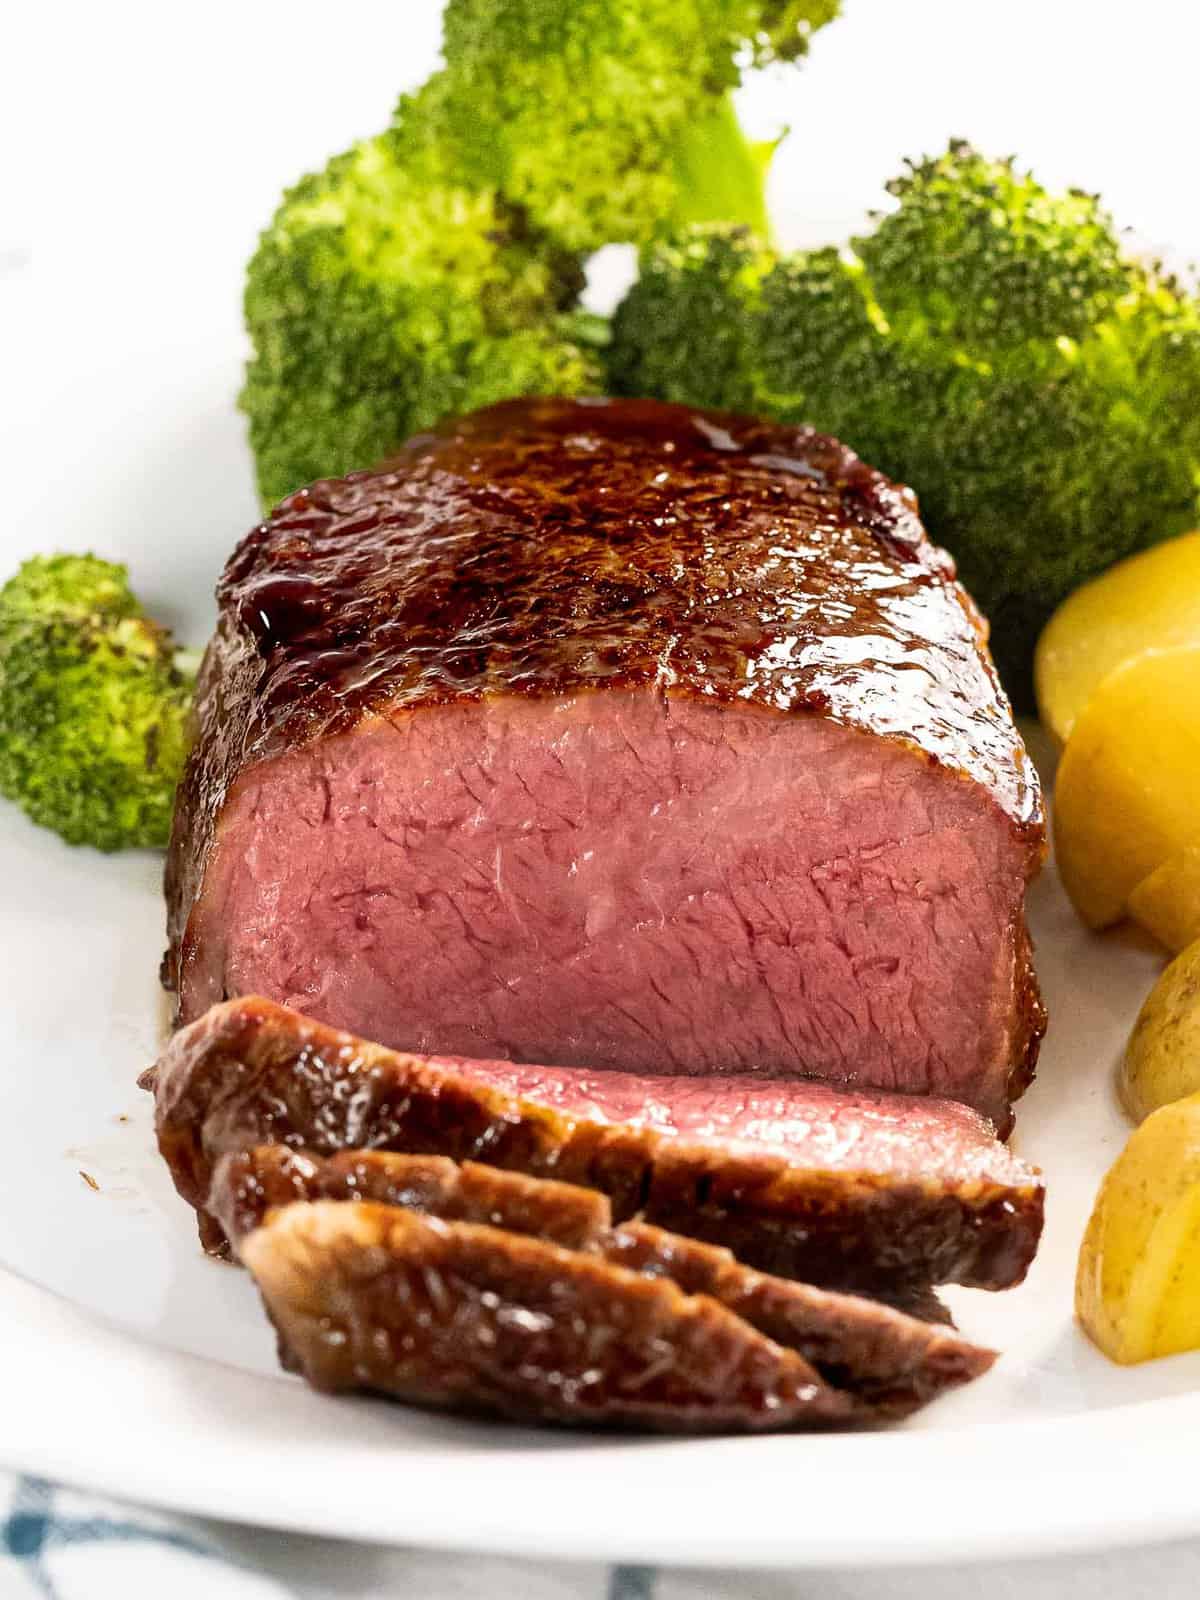
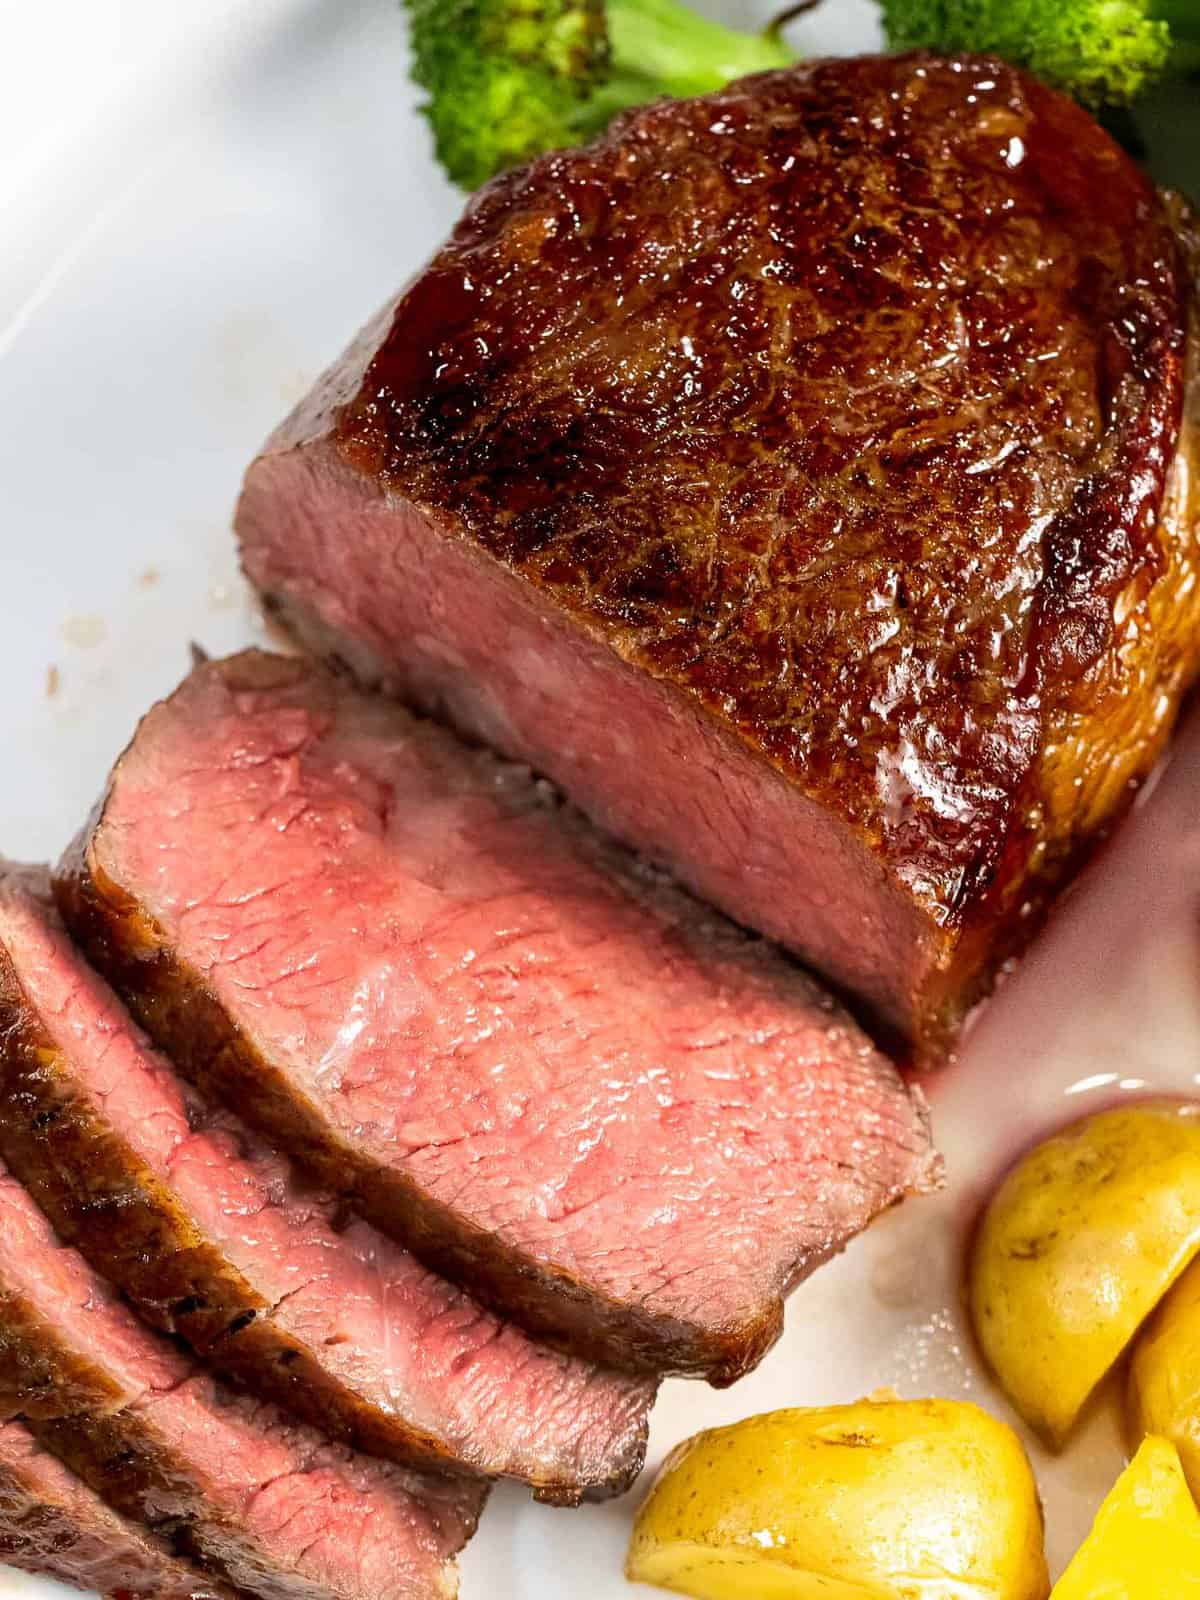
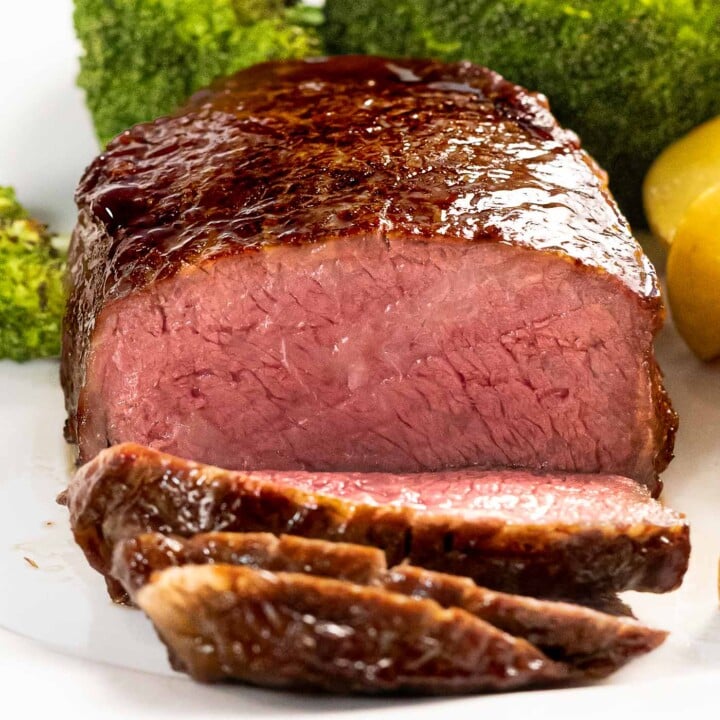
The final result will be the best reverse seared ribeye steak you can make at home! The crispy, caramelized char on the outside crust is the perfect complement to the tender, juicy, perfectly-cooked steak.
There is virtually no gray band around the crust because of the reverse sear method, which creates a crispy, browned crust in merely 45 seconds if using a properly heated pan.
Reverse Sear Tips
- Start with thick-cut steaks, at least 1.5 inches thick.
- Account for higher carry-over cooking for thicker steaks. Remove them from the oven further from the final temperature.
- Properly heat the pan before searing. The oil should just begin to smoke.
- Use a high smoke-point oil to prevent bitter and burnt flavors.
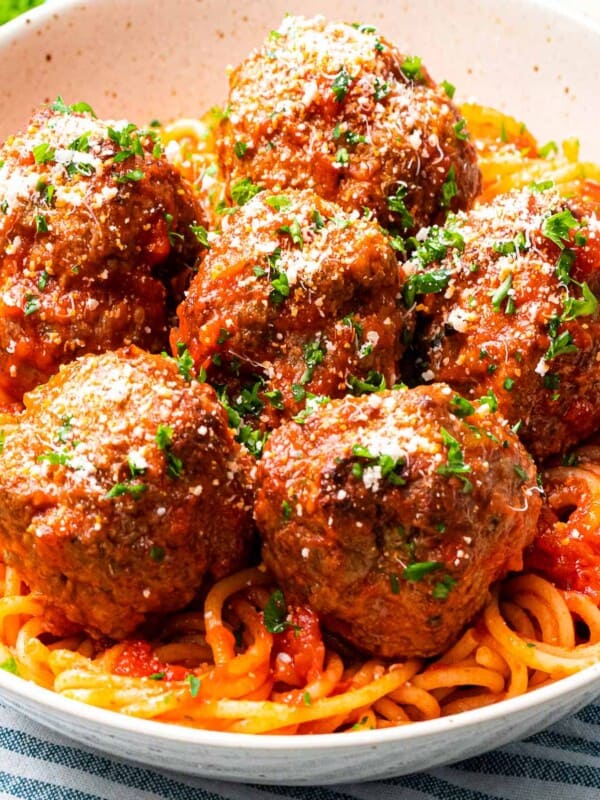
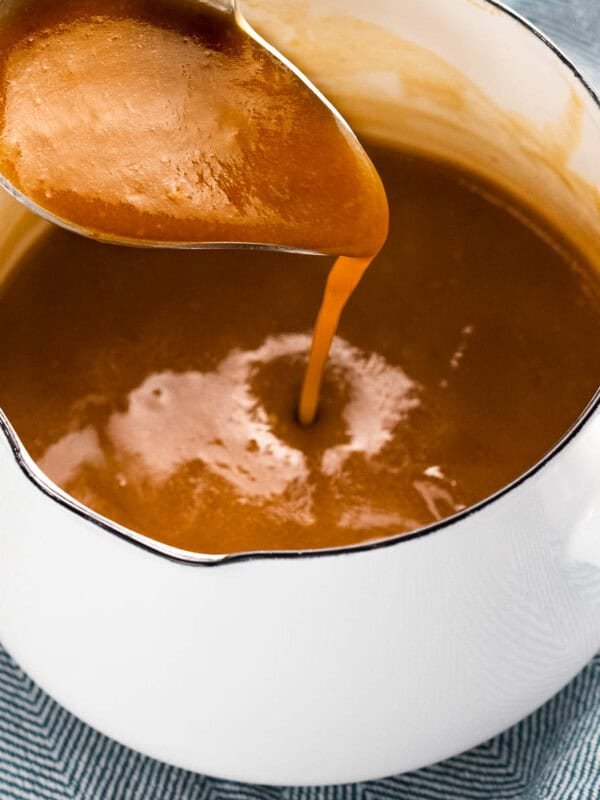
Serving Suggestions:
More recipes:


Reverse Sear Steak
Ingredients
- 2 thick-cut ribeye steaks, or filet, New York strip, T-bone, porterhouse; See Note 1
- sea salt
- 1 tablespoon high smoke point vegetable oil, See Note 2
Instructions
- Salt the steaks: Pat the steaks dry and generously salt the front, back, and sides of the steak. Place them on a wire rack inside a baking sheet. You can bake them immediately or leave them uncovered in the fridge for at least 2 hours up to overnight, which I highly recommend for juicier, tender steaks.2 thick-cut ribeye steaks, sea salt
Bake on Low Heat
- Preheat oven: Preheat the oven anywhere from 225°F to 275°F, depending on the size of your steak. For thicker cuts of steak (2 inches or greater), 250°F to 275°F work fine but for smaller cuts less than 1½ inches thick, opt for 225°F.
- Bake: Keep the steaks on the wire rack inside a baking sheet for better circulation. Insert a leave-in thermometer at the thickest part of the steak and bake them at low heat until they are 5°F to 12°F shy of your desired level of doneness to account for carry-over cooking. See the complete Cooking Temperature Chart in the Notes below.Thicker steaks have higher carry-over cooking compared to thinner steaks. See Note 3. Note: I baked at 230°F, removed at 117°F, and found there to be about 10°F carry-over cooking for 14oz steaks measuring 2¼ inch thick.
Reverse Sear on the Stovetop
- Heat pan and oil: Remove the steaks from the oven. Heat the vegetable oil in a cast iron pan or heavy-bottomed pan over high heat until the oil starts to shimmer and just begins to smoke. Turn on the range hood.1 tablespoon high smoke point vegetable oil
- Reverse sear: Pat the steaks dry once more if needed. Sear the front and back of the steak for 45 seconds to 1 minute on each side until a golden brown, crispy crust forms. For thicker steaks, sear the sides as well.
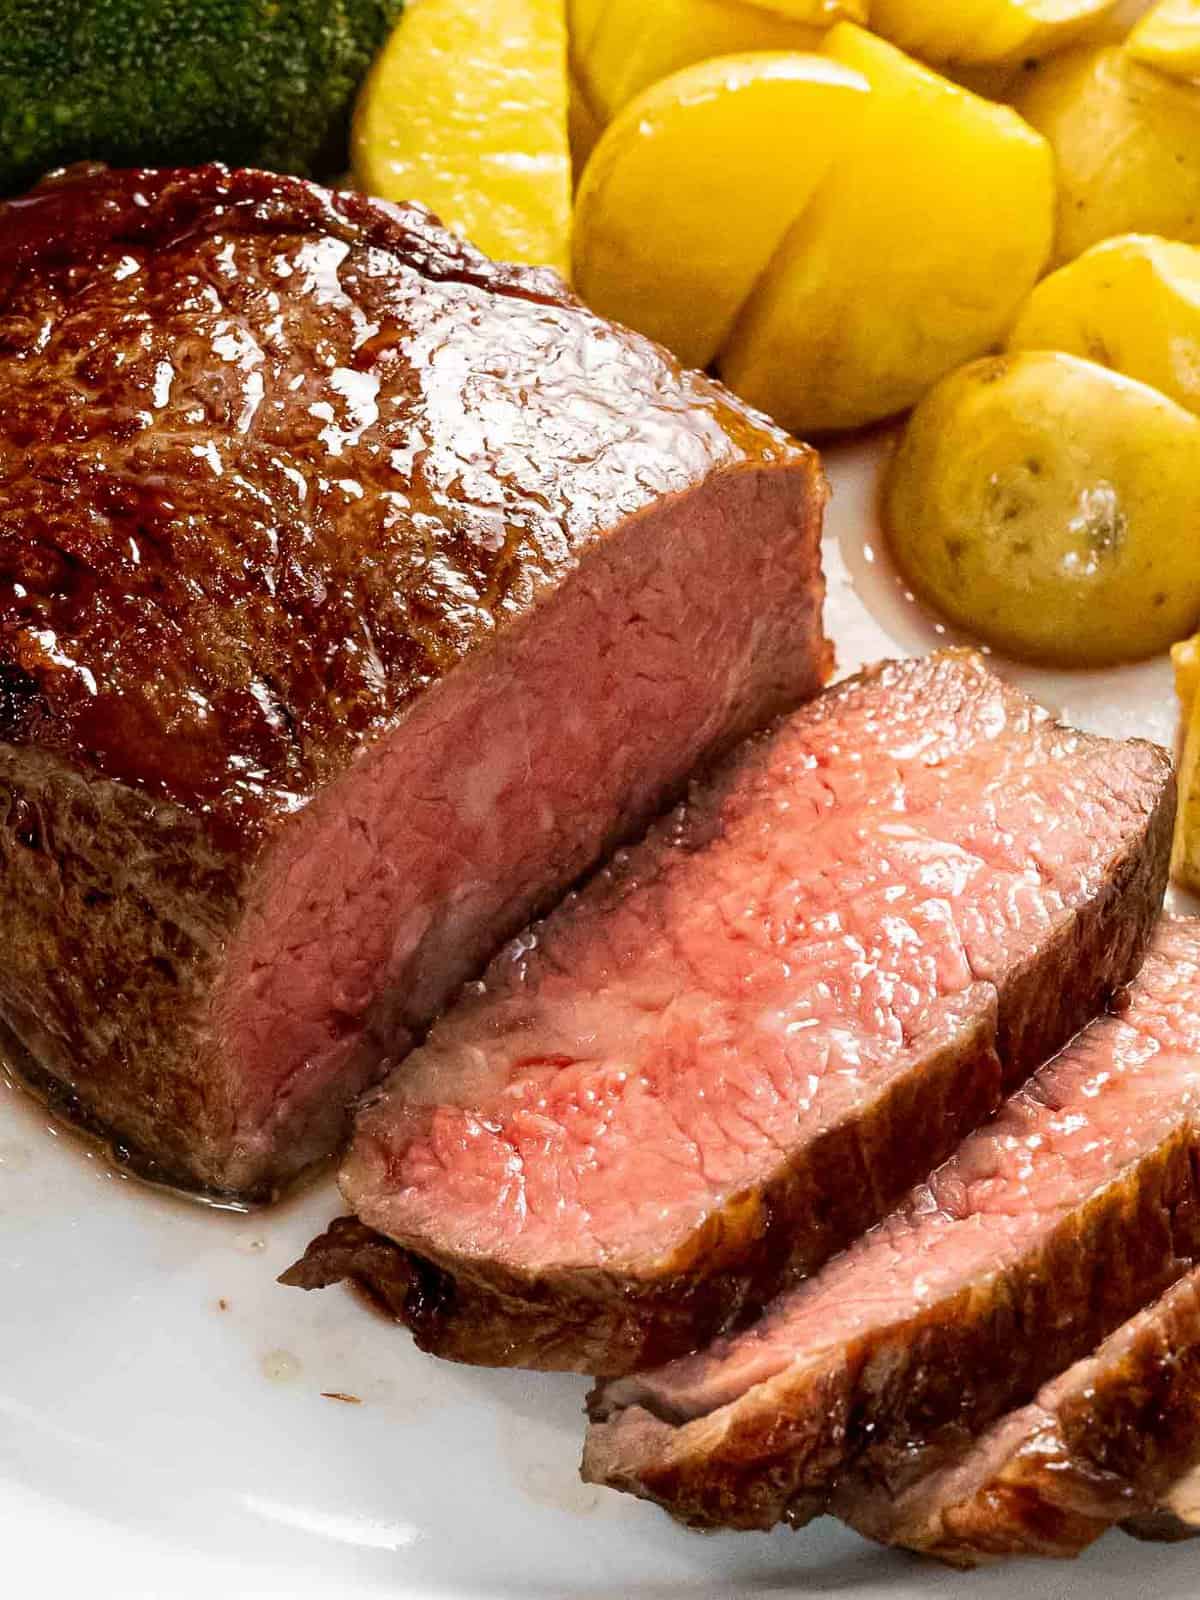
Serve
- Slice and serve the steaks with your preferred sides. There's no need to let the steaks rest with the reverse sear method. Enjoy!
Notes
- Steaks – Use any thick-cut steak such as ribeye, New York strip, filet mignon, T-bone, or porterhouse. I recommend choosing steaks that are at least 1.5 inches thick. For this recipe, I used thick-cut ribeye steaks that were 2.25 inches thick and weighed 14 oz each.
- High Smoke Point Oil – For reverse searing steak, use a high smoke point oil such as avocado oil, peanut oil, or canola oil. This is important because it allows you to get the pan hot enough to get a good sear without creating lots of smoke which in turn creates a burnt, bitter flavor.
- Carry-over cooking: Expect a 5°F to 12°F increase in temperature depending on the size of your steak and your baking temperature. Thinner steaks baked at lower temperatures: Remove 5°F to 7°F shy of the final temperature. They have less carry-over cooking due to reaching equilibrium sooner. Thicker steaks baked at higher temperatures: Remove 10°F to 12°F shy of the final temperature. They hold onto more heat and have higher carry-over cooking. Adjust as needed.
Nutrition
Nutrition information is automatically calculated, so should only be used as an approximation.
Like this? Leave a comment below!
The cooking times depend on the thickness of the steak and the baking temperature. For medium steaks measuring 2.25 inches baked at 225 degrees F, it takes approximately 35 minutes.
The advantage of reverse-seared steak is that you get consistent and even cooking on the steak while achieving a uniformly brown and crispy crust without the gray band. In addition, you have the flexibility of time since you can leave the searing step for right before serving the steaks.


We enjoyed this steak recipe tonight. It was absolutely perfect. A restaurant quality steak.
Thanks MacKenzie!
Great steps and tips for cooking a reverse seared steak. Mine came out perfect.
I’ve never reversed seared a steak before and after doing it, I don’t think I’ll make steaks any other way. They turned out so juicy that I can’t go back to the old way of doing things.
Thanks Marta! It’s our go-to way of cooking steak too!
I’ve decided that this is by far the best way to cook beef. It comes out perfect every single time!!
That’s great Susan! Agreed, it’s the best way to cook steak!
Made this last night, I followed your instructions exactly, and it came out perfect! So tender and juicy…better than the restaurant version!
Oh wow! This steak is fantastic and I love all the tips to help make it perfect. Definitely an amazing option for the upcoming holidays.
Yes, it’s a great alternative for Thanksgiving and Christmas!
Delicious! Appreciate all the information for different doneness and timing. The steaks turned out great!
Yay Kim! Glad the information helped!
This is brilliant! I’ve seen it done numerous times on cooking shows and always wanted to try this method! Love your instructions, tips and tricks! Will definitely give it a go next week for our anniversary!
This is absolutely my favorite way to cook a steak. Thanks for all the tips.
This technique works like a charm! It was the first time we tried cooking a steak this way and it came out deliciously moist and the perfect doneness.
Thanks for sharing Linda!
Great tips, super easy! Definitely making reverse sear steaks from now on. Love that crust.
Thanks!
I tried the recipe, and it worked perfectly. The only issue is the expected time to reach Medium Rare temperature. With a 2 1/2-inch steak it took about 2 hours to get to 118.
Thanks for sharing Dave! So glad it turned out great!
This is such a great method for steak. The inside was perfectly cooked with a nice exterior crust. Total steak perfection!
Awesome blog post. Great tips that resulted in the PERFECT reverse seared steak. The entire family loved it. I served with baked potatoes and steamed broccoli for the perfect dinner at home that would have cost $100 at a restaurant. Thanks!
That’s great to hear Richard! So happy it resulted in the perfect reverse seared steak!
Awesome! My steak was so incredibly delicious! Mine took about 2 hours from start to finish. This is the only way I’ll make steak from now on. It’s the best!
Thanks Amy! It’s our go-to way of cooking steak too!
We used to do this all the time with sous vide steaks! It’s common in some more upscale restaurants and look how good restaurant steaks are! I love this version which is easy to do at home in the oven.
This recipe sounds great! I am always on the lookout for new ways to prepare meat, as we are huge meat eaters!
Thank you for this comprehensive guide on how to cook the perfect reverse-sear steak. It comes out so tender on the inside and nicely cooked on the outside.
Thanks Sharon! So glad you found the information useful!
Your reverse sear steak sounds like a great idea! Like everyone else, I’ve always cooked it the other way. Can’t wait to try it! Thanks for sharing!
Hi Jamie!
I made this for dinner tonight – my first time using the reverse sear method. I will never go back – the steak came out absolutely perfect!
I used a fillet steak and will try a rib-eye next time. I loved how deliciously tender the meat came out, and the crusty exterior was perfection.
We served alongside your Baked Mac and Cheese, and it was the best weekend meal.
Already looking forward to making this again!
Thanks Alexandra! It’s so great to hear it came out perfect! That meal sounds lovely! 🙂