
As an Amazon Associate I earn from qualifying purchases. This post may contain affiliate links.
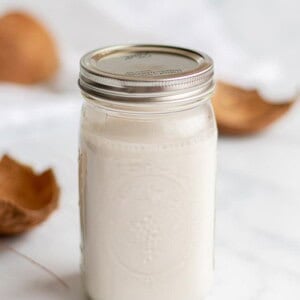
Homemade coconut milk takes just two ingredients: coconut and water. I’ll show you how to pick, crack, and blend a fresh, mature coconut, plus how to make it with shredded coconut when a whole one isn’t an option.
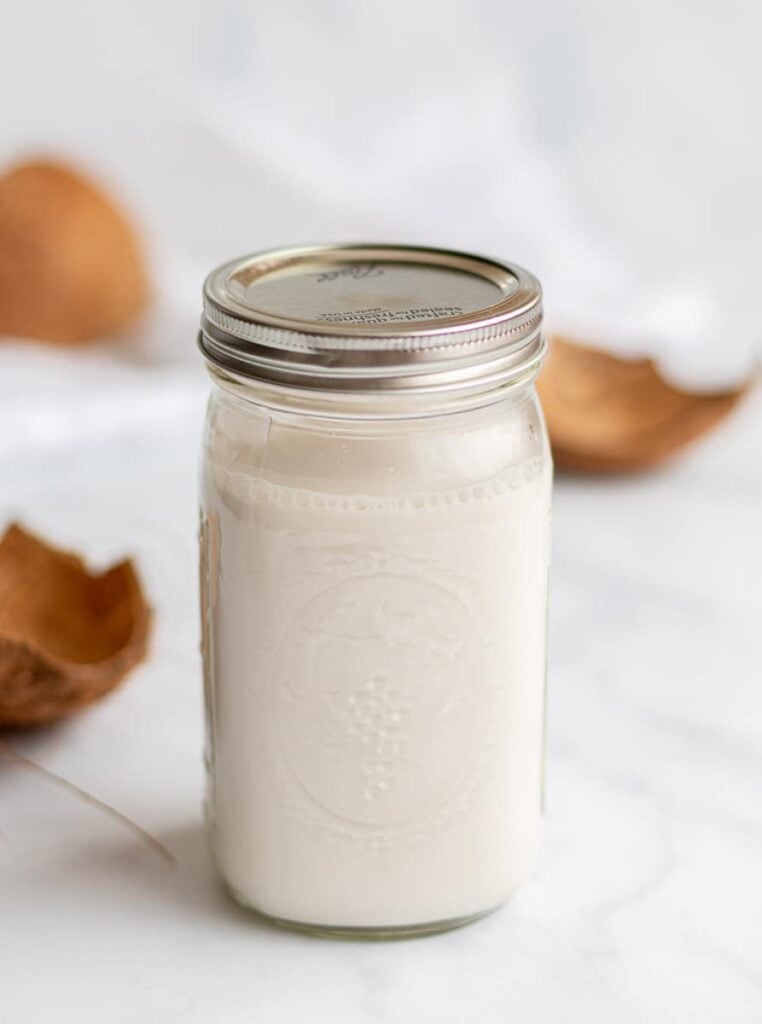
Homemade coconut milk is one of those things that sounds like a project but really comes down to coconut, water, a blender, and a good squeeze. You can make it with a fresh mature coconut or a bag of dried shredded coconut. If you have the time and access to a whole coconut, I recommend going fresh. The flavor is much more intense and creamy, with a natural sweetness and a real coconut taste that you just don’t get in most store-bought coconut milk.
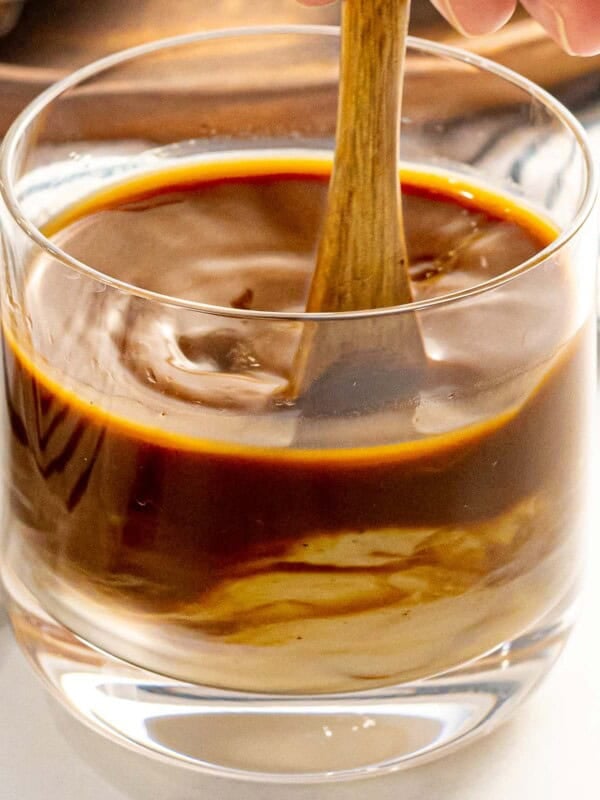
I love it chilled over ice, and it’s the base of my Homemade Korean Strawberry Milk. Below, I’ll walk you through choosing a good coconut, cracking it open, blending, straining, and what to do with the cream and leftover pulp.
Using shredded coconut? Skip down to How to Make Homemade Coconut Milk or jump to the recipe.
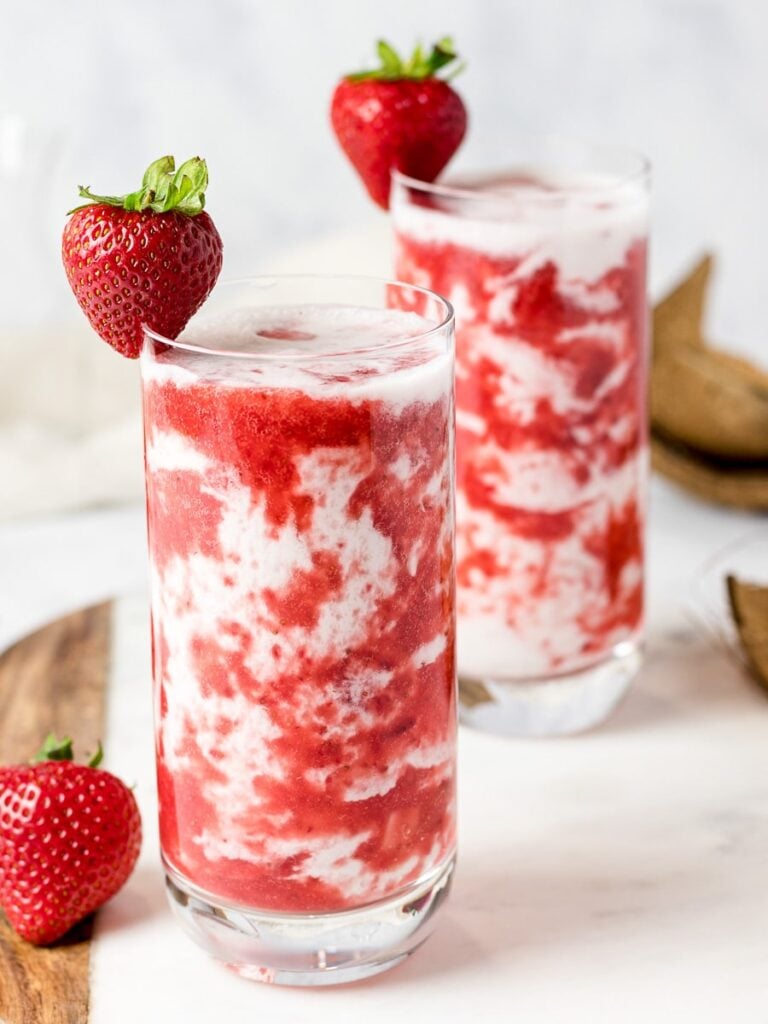
Table of Contents
- Fresh Coconut vs. Shredded Coconut
- How to Choose a Mature Coconut
- How to Open a Mature Coconut
- How to Make Homemade Coconut Milk
- Homemade Coconut Cream
- What to Do with Leftover Coconut Pulp
- How to Store Homemade Coconut Milk
- Ways to Use Homemade Coconut Milk
- Frequently Asked Questions
- Homemade Coconut Milk (Fresh or Shredded Coconut) Recipe
Fresh Coconut vs. Shredded Coconut
Both work, and it really comes down to time and what you can find.
Fresh mature coconut gives you the most intense coconut flavor and a lot more cream. It takes more work since you have to crack and pry out the meat, but it’s where the recipe really shines. You also get coconut water as a bonus.
Dried shredded coconut is the shortcut. No cracking, no prying, just blend and strain. It makes a smaller batch (about 2 cups vs. about 3 from one fresh coconut), and the flavor is milder, but it’s still a big step up from most store-bought coconut milk.
How to Choose a Mature Coconut
- Pick it up and shake it. It should feel heavy for its size, and you should hear plenty of water sloshing inside.
- Check the three “eyes.” These are the three holes on one end of the shell. They shouldn’t be moldy or wet, which signals a leak in the coconut.
- Check the shell for cracks or leaks. Any cracks or leaks usually mean the meat and water inside have gone bad.
How to Open a Mature Coconut
1. Drain the coconut water. Poke holes through the eyes with a skewer and tip the water into a glass. Make sure the liquid inside hasn’t gone bad. It should smell sweet without smelling sour. The color should be a little translucent but mostly clear. Save it to use in place of some of the blending water.
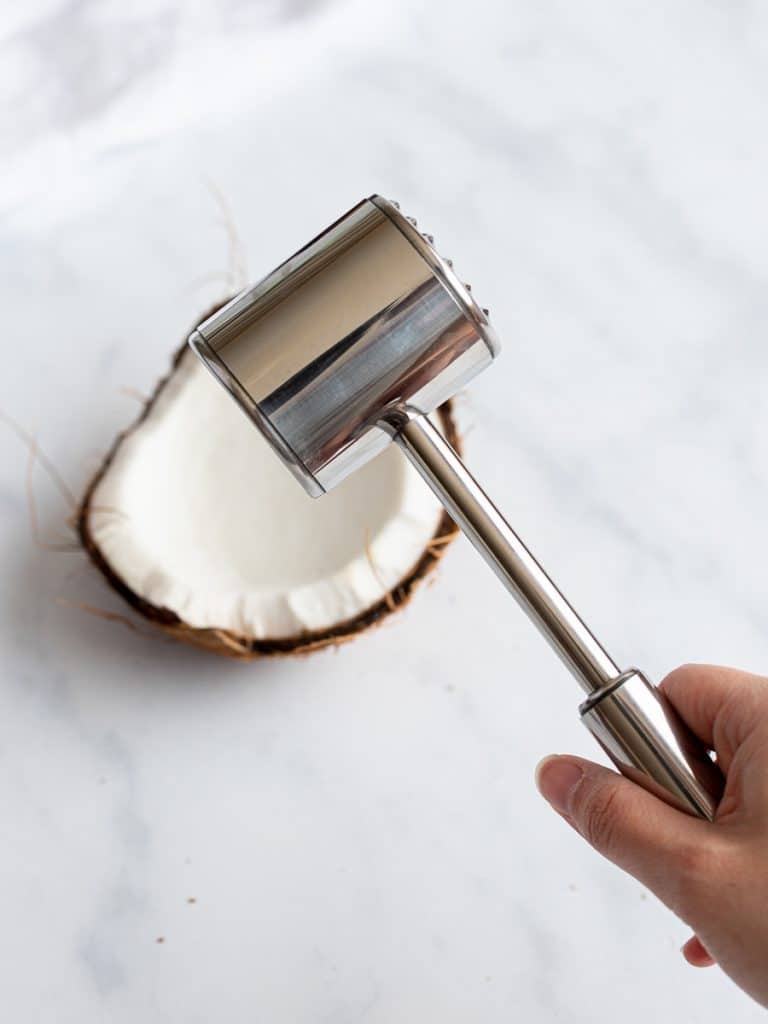
2. Crack the shell. Wrap the coconut in a towel and hit it with a hammer or meat tenderizer until it breaks into pieces. The towel keeps shell pieces from flying. You can also try striking the “equator” of the coconut with the back of a cleaver. That didn’t work for me, but it might if your coconut has a pre-scored line around the middle.
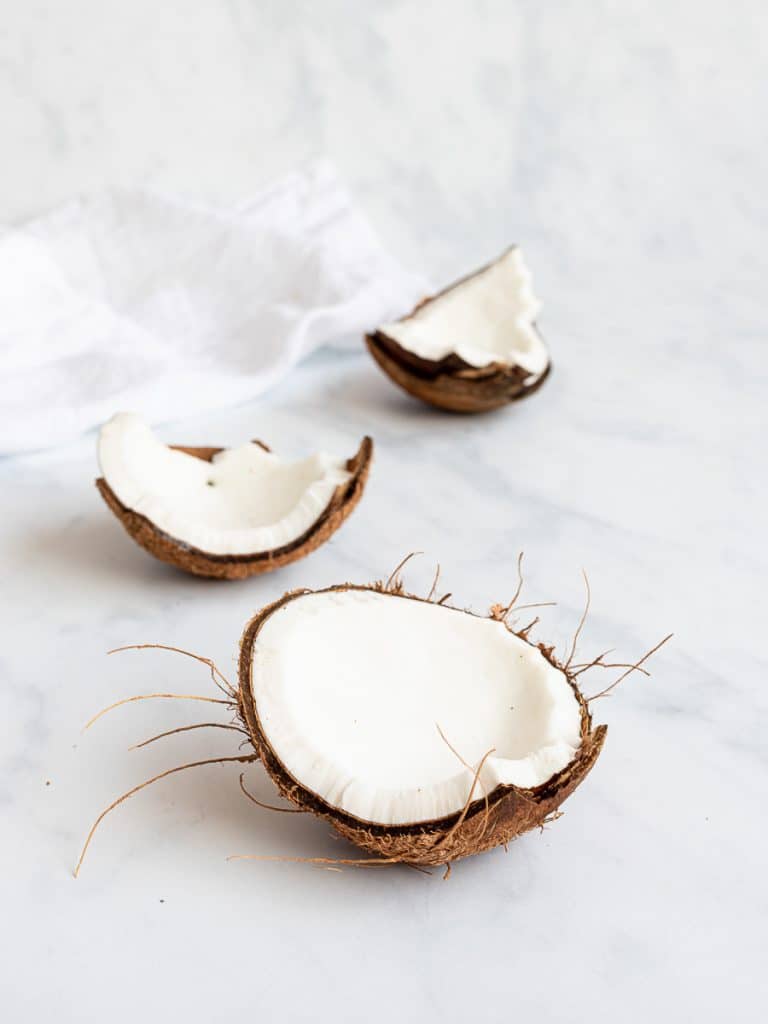
3. Pry out the meat. Wedge a butter knife or straight-edge spatula between the white meat and the hard shell and gently rock it back and forth. The meat should pop right out with a thin brown skin still on it.
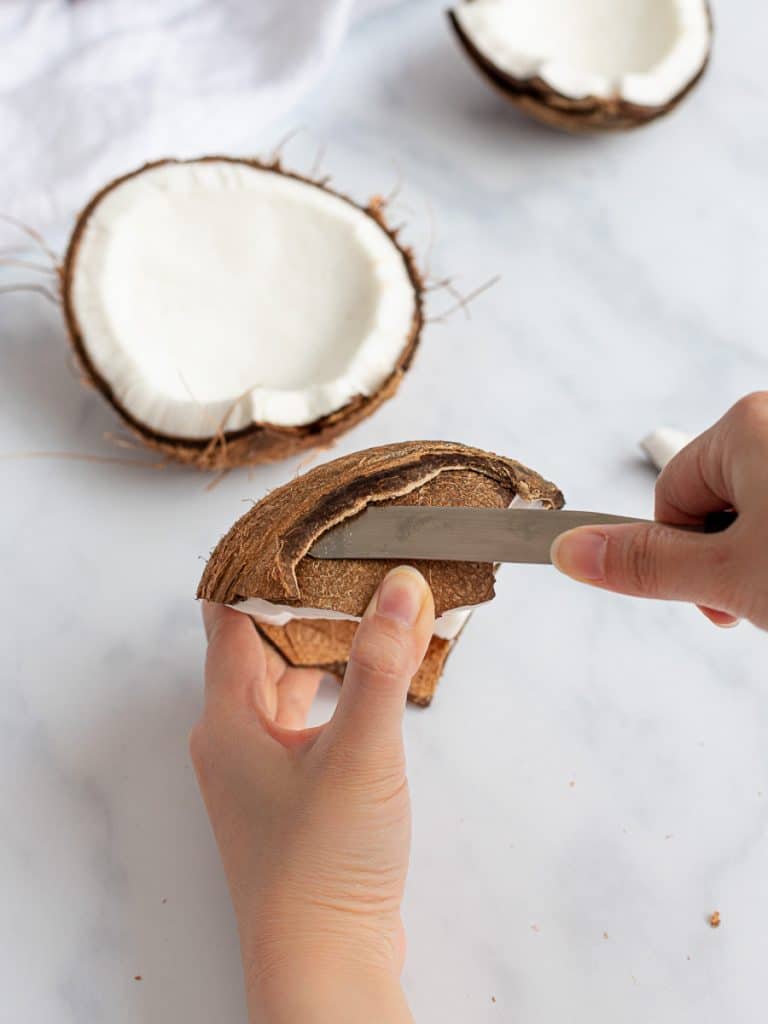
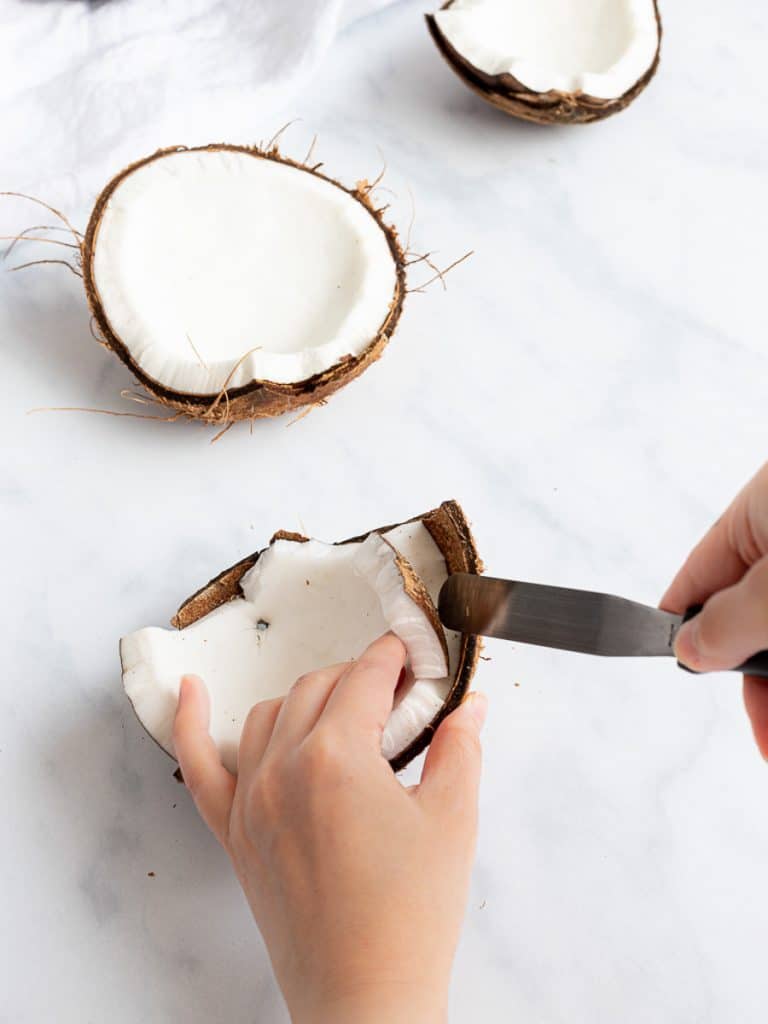
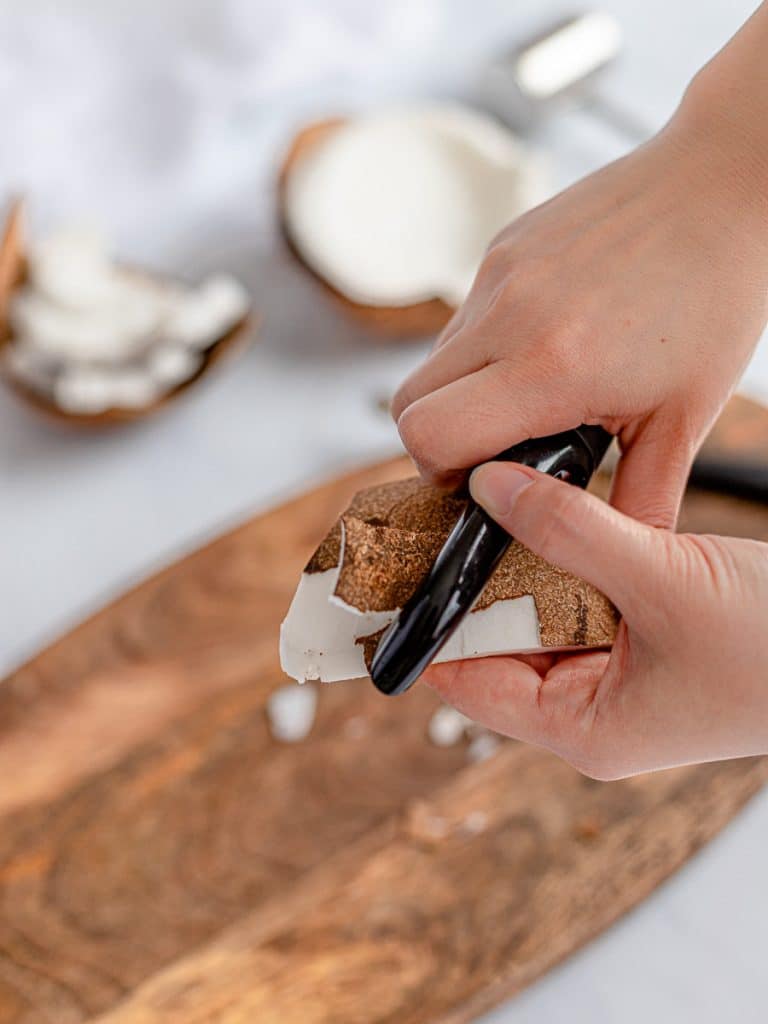
4. Peel the brown skin (optional). Use a vegetable peeler to remove the thin brown skin. I only recommend this if you plan to use the leftover coconut meal, since the skin is strained out of the milk and doesn’t affect the flavor. Tip: if you dry the leftover coconut meal, you end up with homemade coconut flour!
How to Make Homemade Coconut Milk
1. Load the blender. Cut the fresh coconut meat into small pieces and add it to a high-speed blender, or add 2 cups of dried shredded coconut. Smaller pieces blend more evenly.
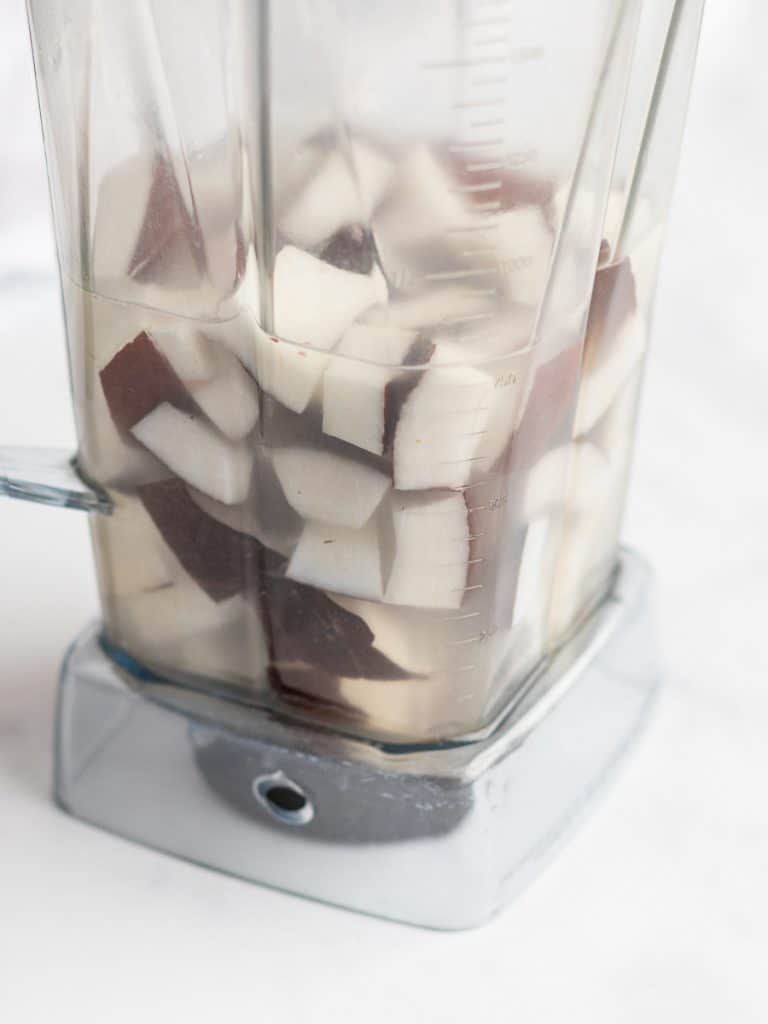
2. Add hot water. Pour in 1 ¾ cups hot filtered water, or just enough to cover fresh coconut meat. For fresh coconut, you can swap in the drained coconut water. Less water gives you richer milk, and you can always thin it later.
3. Blend on high. Blend for 1 to 3 minutes, until the mixture is thick, creamy, and smooth.
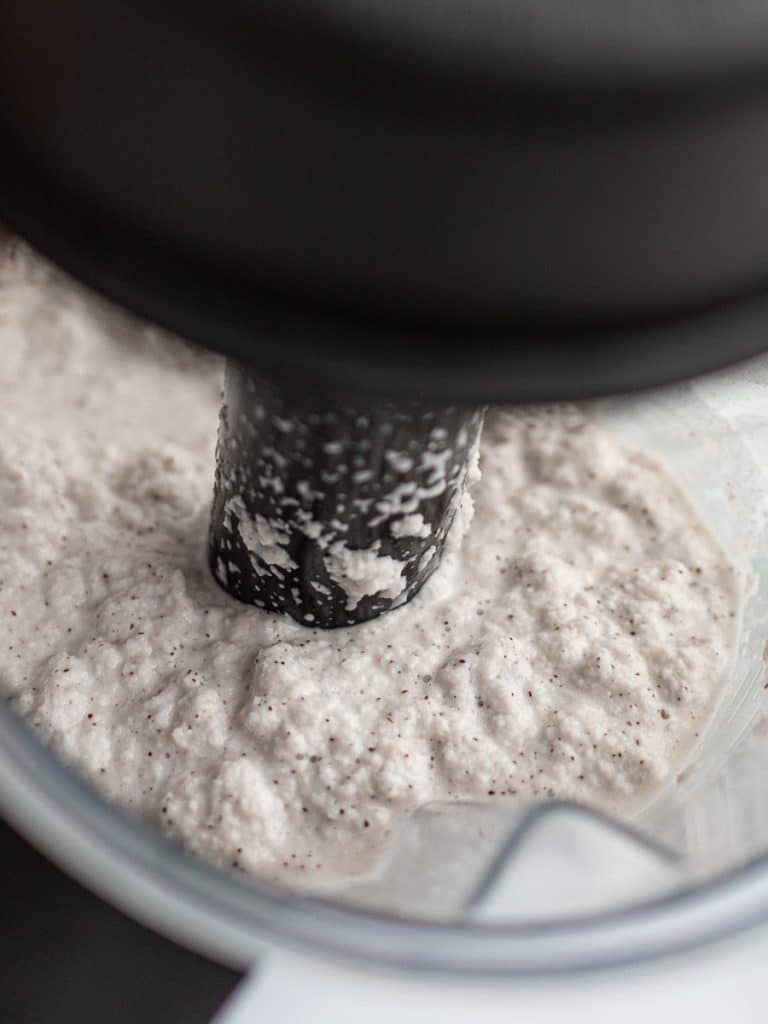
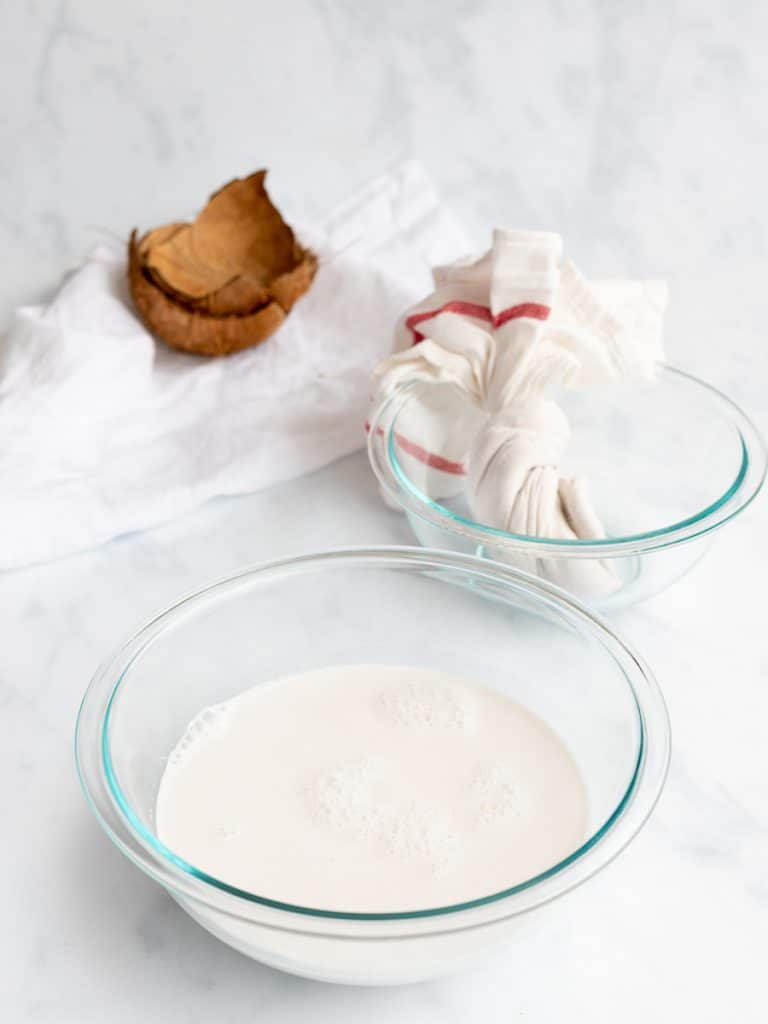
4. Strain and squeeze. Pour the mixture into cheesecloth, a nut milk bag, or a clean kitchen towel set over a bowl. Gather it up and squeeze firmly to wring out every bit of milk. What’s left behind is coconut pulp, also called coconut meal.
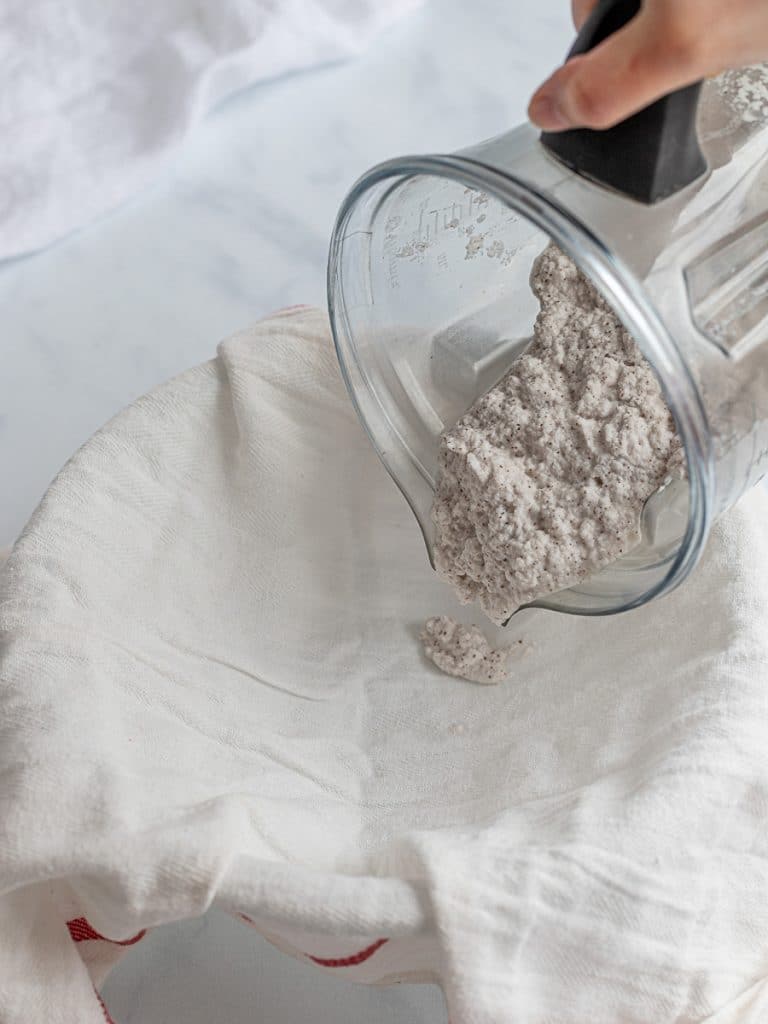
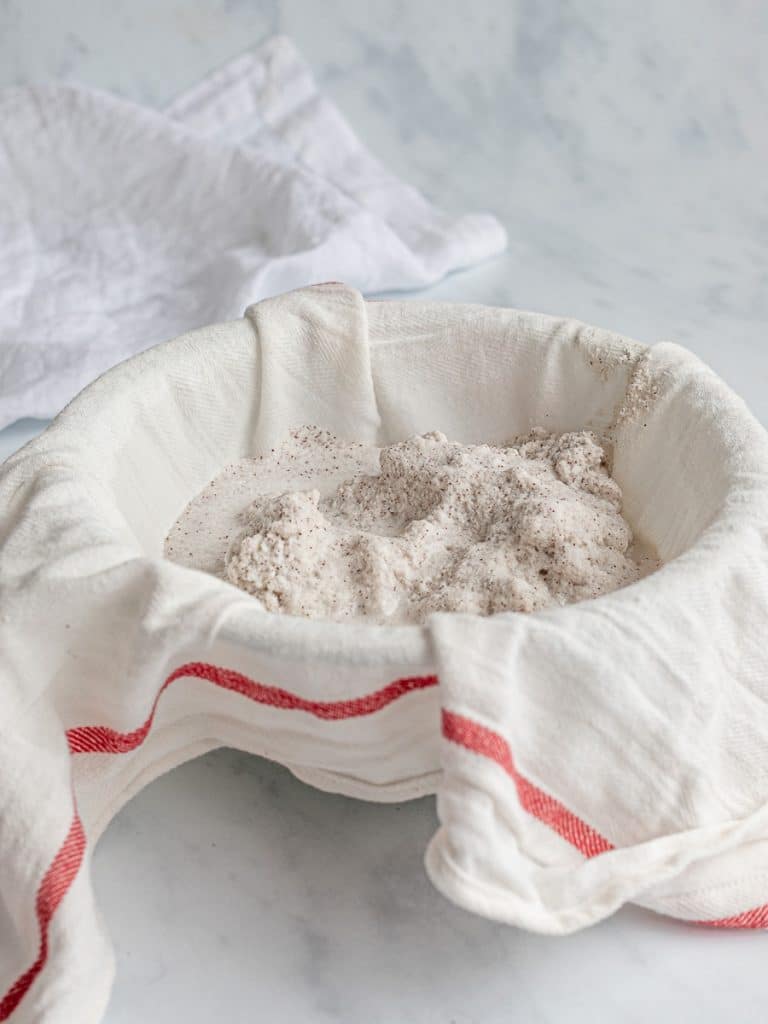
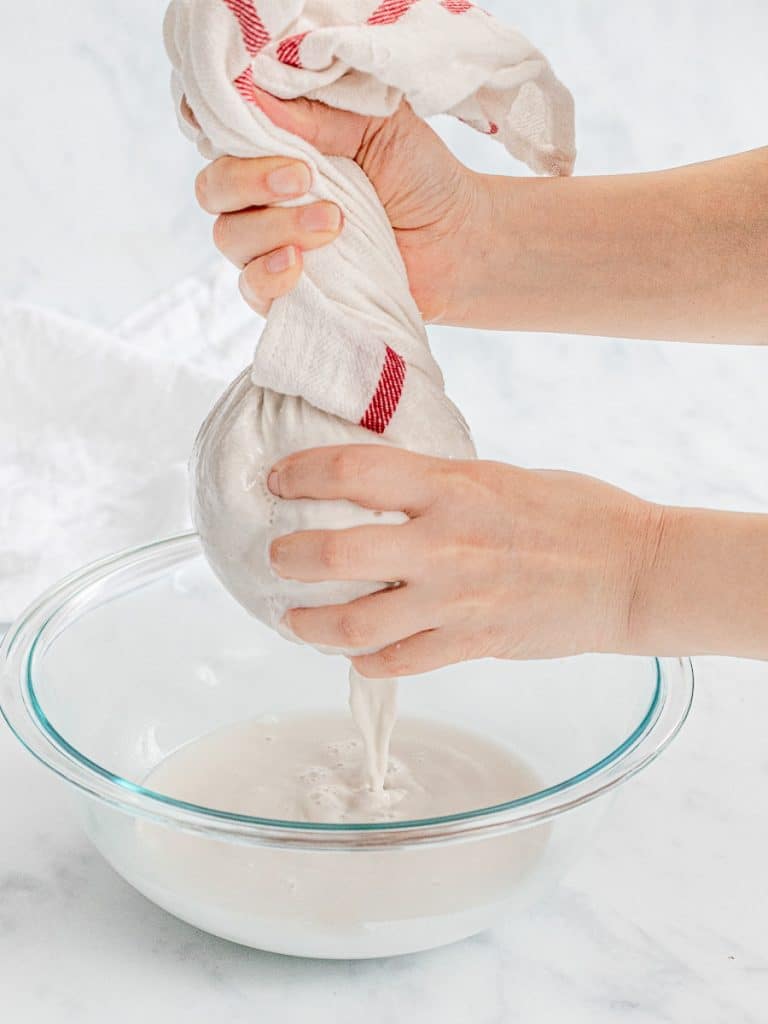
5. Adjust and chill. Taste it. If you like it thinner, stir in more water. Serve right away over ice with your favorite sweetener, or refrigerate to chill.
Homemade Coconut Cream
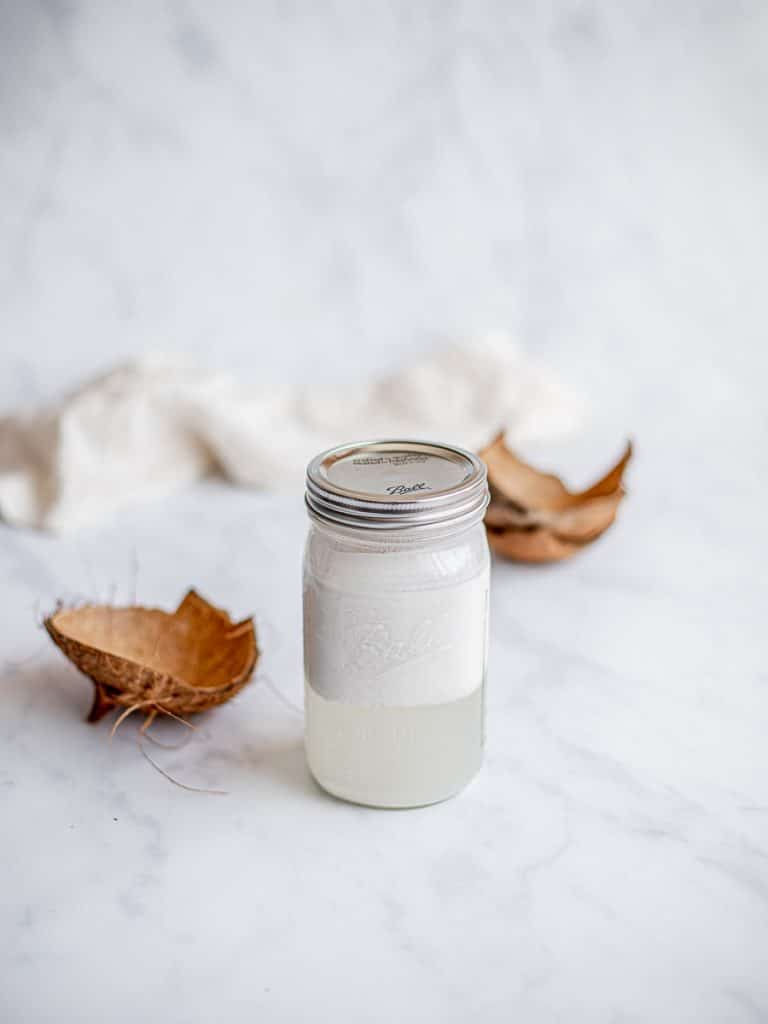
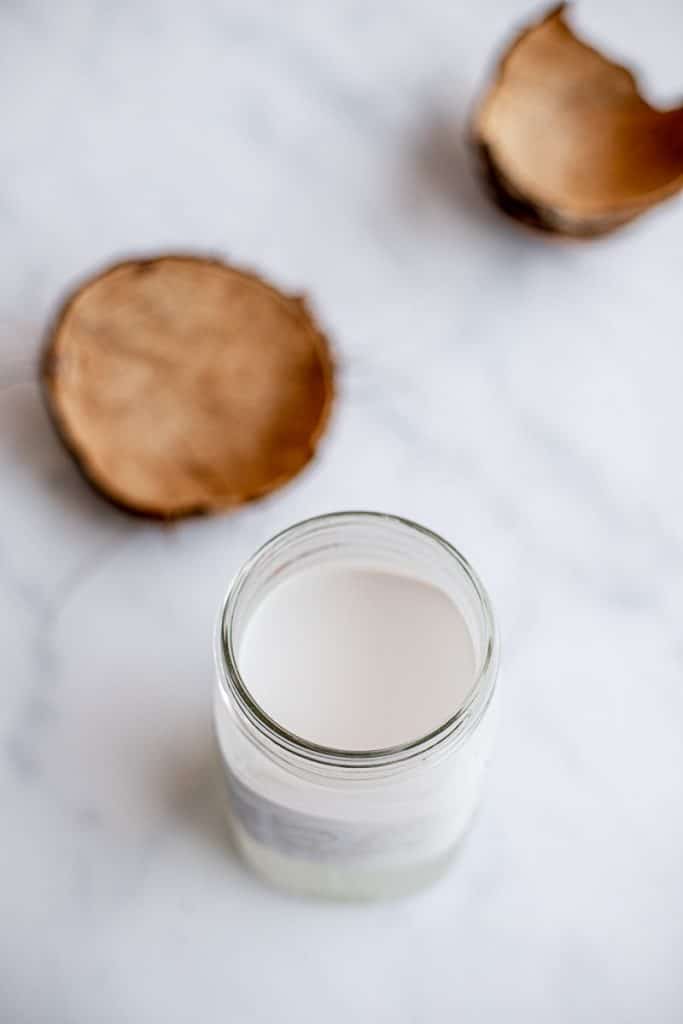
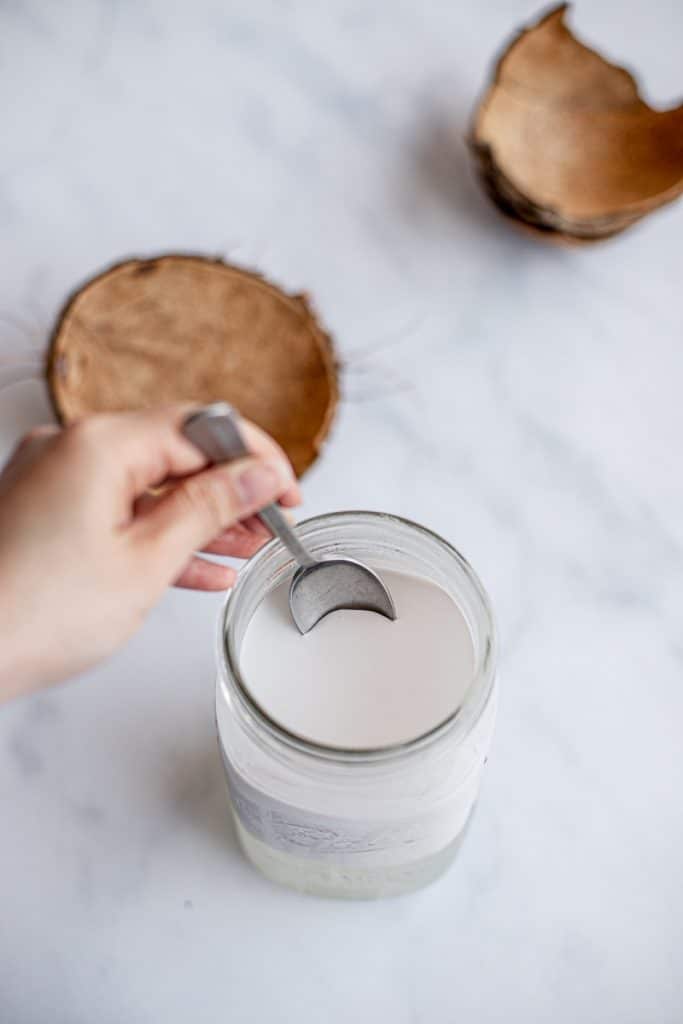
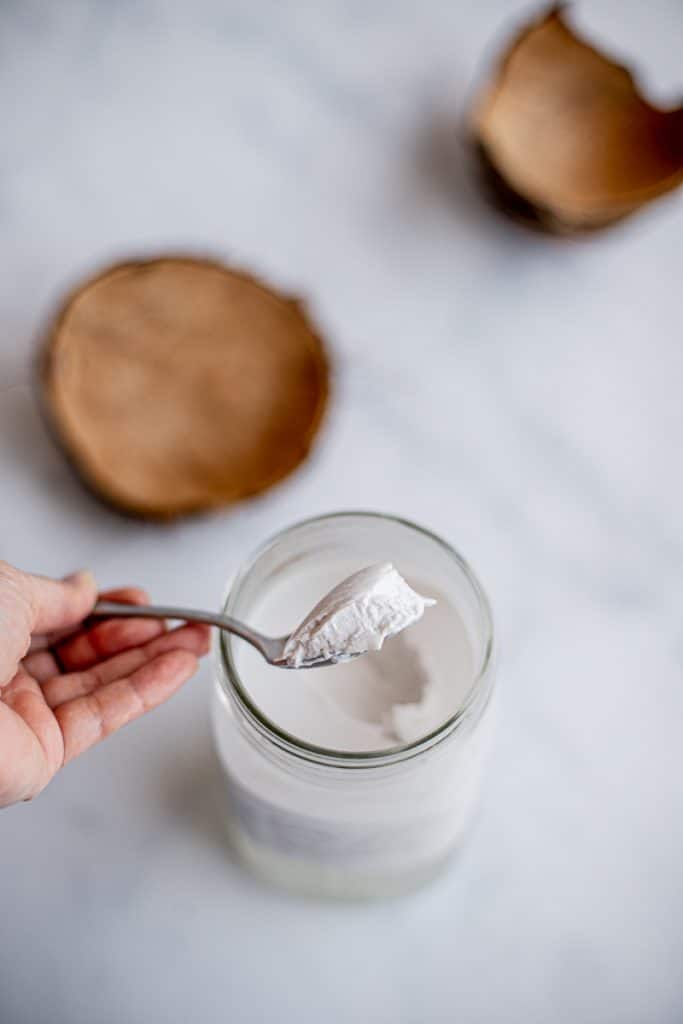
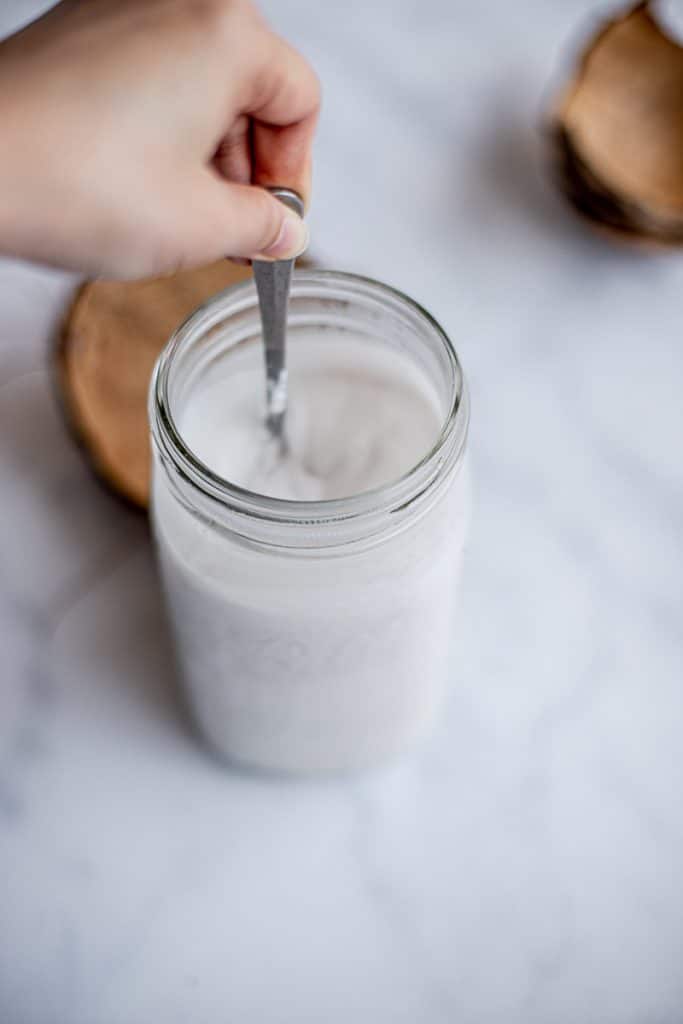
After several hours in the fridge, the coconut cream will separate and rise to the top, especially if you used fresh coconut. This is homemade coconut cream, and honestly it’s the best part. It’s silky, smooth, rich, and slightly sweet, and it just melts in your mouth. Canned coconut cream is good, but this is so much better.
You have two options:
- Stir it back in before serving for the creamiest coconut milk.
- Scoop it out to use in desserts. Just know the milk left behind will be much thinner and less creamy.
What to Do with Leftover Coconut Pulp
The pulp left in your cheesecloth is coconut meal. If you dry it, you’ve made your own homemade coconut flour.
If you plan to eat or bake with the pulp, peel the brown skin off the coconut before blending. Some ideas:
- Cookies
- Muffins
- Pancakes
- Bread
- Dog treats (Millie loves coconut just like her mom)
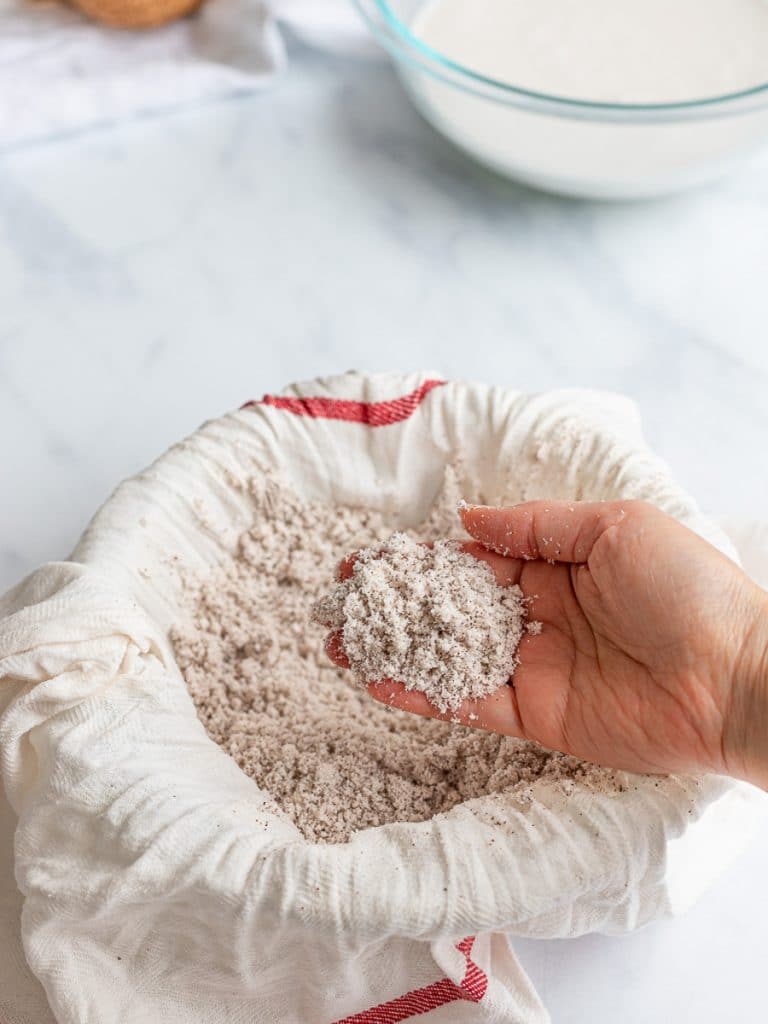
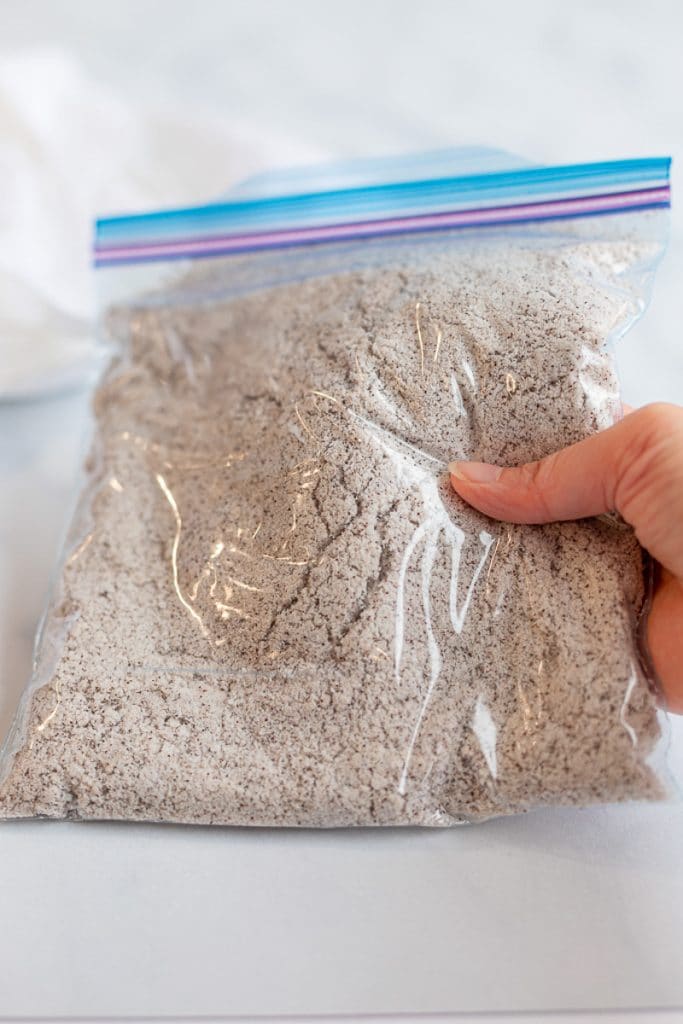
Coconut meal is pretty oily, so store it in a zip-top bag in the freezer to keep the oil from going rancid. If you don’t plan to use it, it’s also great for compost.
How to Store Homemade Coconut Milk
Keep homemade coconut milk in an airtight container in the fridge for up to 3 days. Expect the cream to separate, so shake or stir it before using.
Ways to Use Homemade Coconut Milk
- Straight up over ice, with or without a little sweetener.
- In fruity drinks. The tropical flavor goes with just about any fruit. It’s what I use in my Homemade Korean Strawberry Milk.
- In coffee, like one reader who adds it with a touch of sweetener.
- In desserts that call for coconut milk, like my Chewy Butter Mochi.
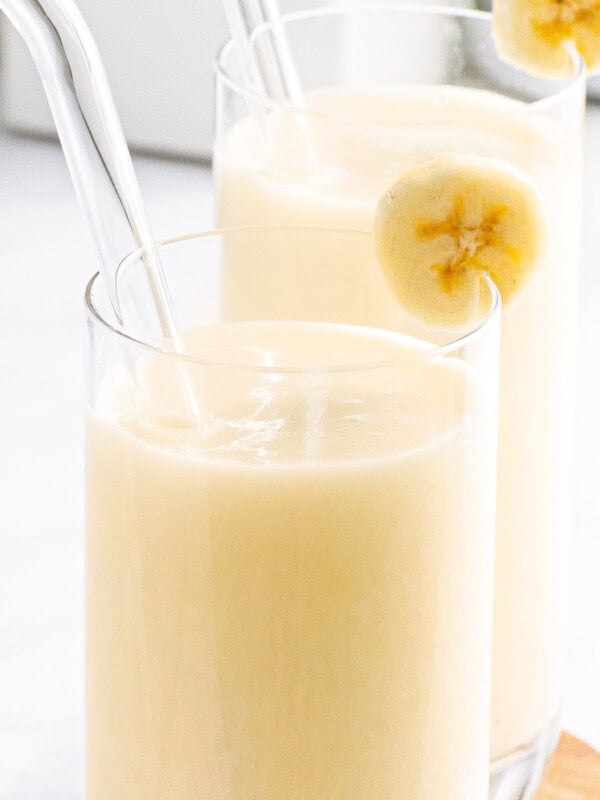
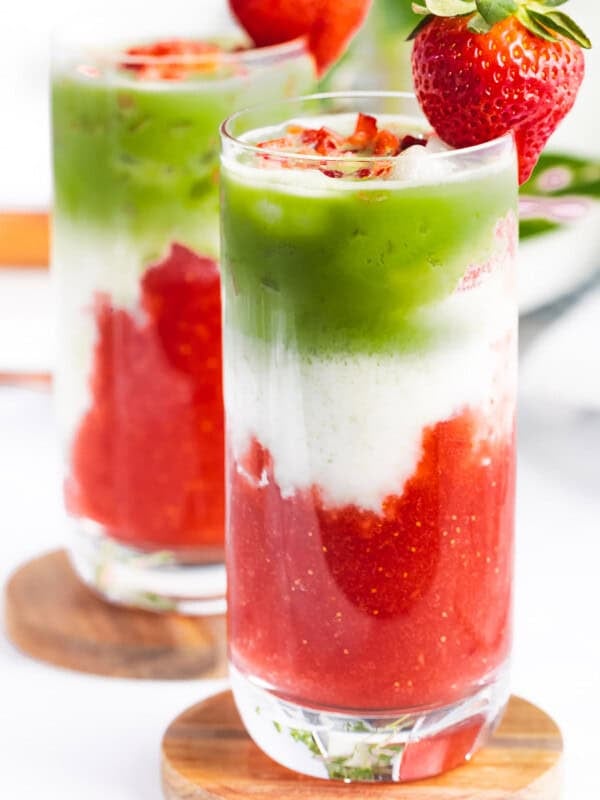
Looking for more homemade drinks? Try my Korean Banana Milk, a layered Strawberry Matcha Latte, Vietnamese Coffee, or a batch of Aguas Frescas.
Frequently Asked Questions
Yes. Blend 2 cups of dried shredded coconut with hot filtered water, then strain as usual. It makes about 2 cups of coconut milk.
Yes. If you’re using a fresh coconut, you can blend the meat with the coconut water you drained from the shell instead of hot water.
No. The skin gets strained out and doesn’t change the taste of the milk. Only peel it if you plan to use the leftover pulp.
It isn’t required, but I strongly recommend one. It breaks down the coconut more thoroughly so you extract more flavor.
That’s the coconut cream rising to the top, which is completely normal, especially with fresh coconut. Stir it back in before serving, or scoop it out to use separately.
Up to 3 days in an airtight container in the fridge.
I hope you make this recipe for homemade coconut milk! Please share, rate, and comment below. I’d love to hear from you!
Don’t forget to subscribe to my newsletter for recipe updates and occasional kitchen tips and tricks! Also come find me on Pinterest, Facebook, Instagram, and Twitter. Stop by and leave me a message! I love reading your comments!
Thanks so much for stopping by!

*This post may contain affiliate links which means any purchases made through my link pay out a small commission without any extra cost to you. All opinions are my own and I only recommend products that I know, personally use, and trust. For more information, please see my Privacy Policy.
Homemade Coconut Milk (Fresh or Shredded Coconut)
Equipment
- Cheesecloth, nut milk bag, or clean kitchen towel
- Hammer or meat tenderizer (fresh coconut only)
- Butter knife or straight-edge spatula (fresh coconut only)
- Vegetable peeler, optional
Ingredients
- 1 whole mature coconut, or 2 cups of dried shredded coconut flakes
- 1 ¾ cup hot filtered water
Instructions
If Using Fresh Coconut:
- Find the three "eyes" of the coconut and poke holes through them with a skewer. Pour the coconut water into a glass and set aside for later use.
- Wrap the coconut in a towel and hit it with a hammer or meat tenderizer until it breaks into pieces.
- Wedge a butter knife or straight-edge spatula between the meat and the shell and rock it gently until the meat pops out.
- Optional: peel off the thin brown skin with a vegetable peeler if you plan to use the leftover pulp.
Making the Coconut Milk:
- Add the fresh coconut meat or the dried shredded coconut flakes to a high-speed blender.
- For rich, creamy coconut milk, add just enough water to cover the coconut meat (I added 1 3/4 cups of hot water for 3 cups of fresh coconut meat). Feel free to add more water for a thinner coconut milk. If using fresh coconut, you can also use the drained coconut water.
- Blend on high for 1 to 3 minutes, until thick, creamy, and smooth.
- Pour into cheesecloth, a nut milk bag, or a kitchen towel set over a bowl. Squeeze firmly until only dry pulp remains.
- Serve immediately over ice, or refrigerate and serve chilled. Stir before serving, since the cream will separate.
Notes
Nutrition
Nutrition information is automatically calculated, so should only be used as an approximation.
Like this? Leave a comment below!


I used the dried coconut method, and it worked so well. I had no idea it was so easy to make. I will now be making my own from now on!
This is the best coconut milk I’ve had. It’s so much better than store bought.
Brilliant recipe- easy to make and amazingly delicious! Thank you ?
This recipe was amazing! I had some coconut pieces that I was just not wanting to snack on. I couldn’t get it to shred so I researched and came across this recipe. It was an AHA moment! I have made my own nut milks before, so why not coconut milk? It was so delicious! It goes so well with my coffee and just a touch of sweetener. Going to make so much more of this!
That’s great to hear Joann! Great idea adding it to coffee. 🙂