
As an Amazon Associate I earn from qualifying purchases. This post may contain affiliate links.
Try this Hawaiian butter mochi recipe for a chewy, buttery, fudgey dessert with crisp, crunchy edges. A Hawaiian favorite, this butter mochi is highly addictive!
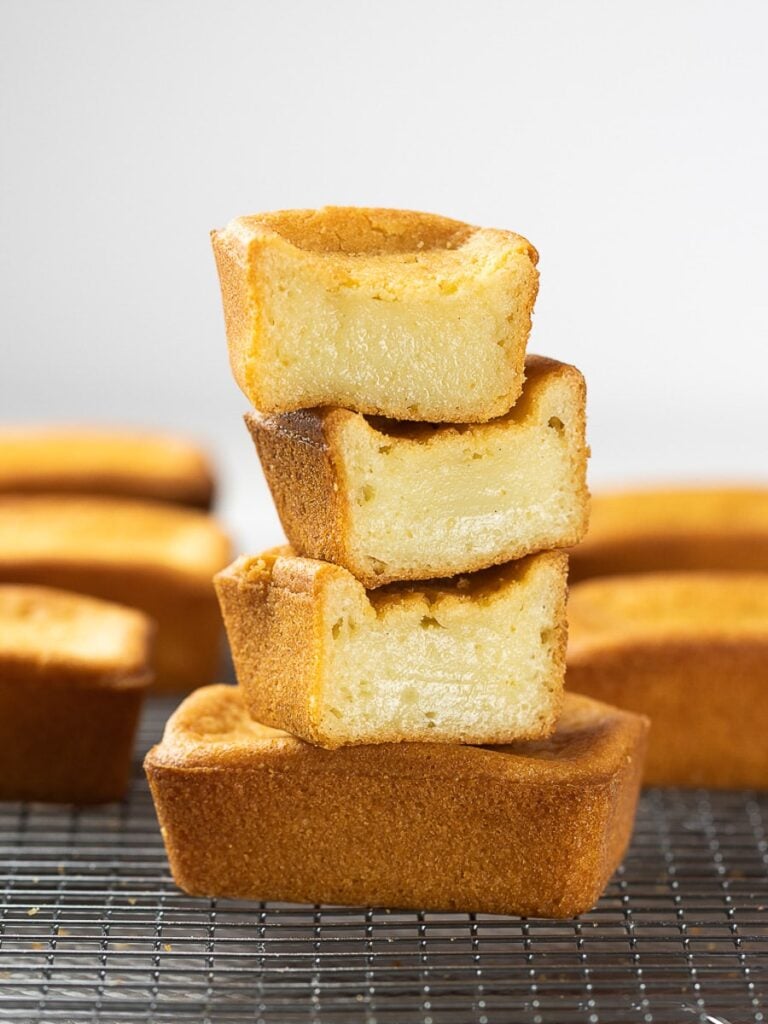
The first time I had Hawaiian butter mochi was on a trip to Maui and I happened across these in an outdoor market. Initially I thought they were blondies and was curious why there were so popular but then I saw the words “butter mochi” written on top and I knew I would love them as I’m a huge fan of mochi.
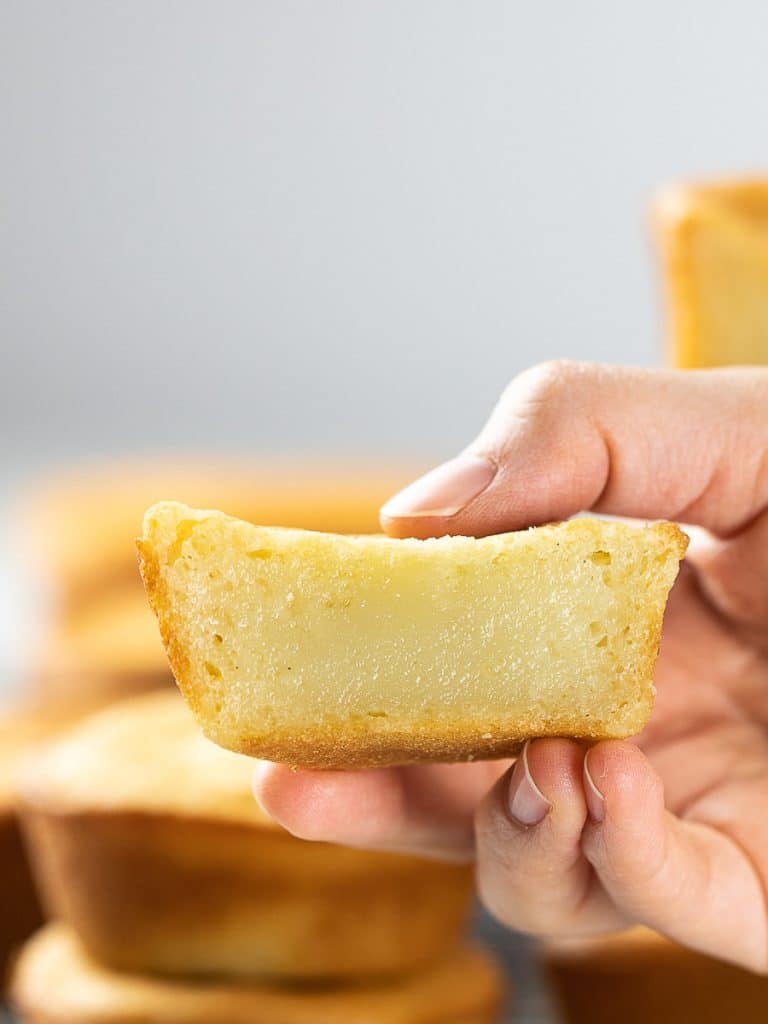
What is Hawaiian Butter Mochi?
Hawaiian butter mochi is a popular sweet treat made with mochiko flour, sugar, eggs, and coconut milk. If you’ve never had it before, it’s chewy, fudgy, sweet, coconut-y, and surrounded by the crunchiest crust you can imagine. The best way I can describe it is like an extra fudgy brownie with crunchy edges and a chewy center. 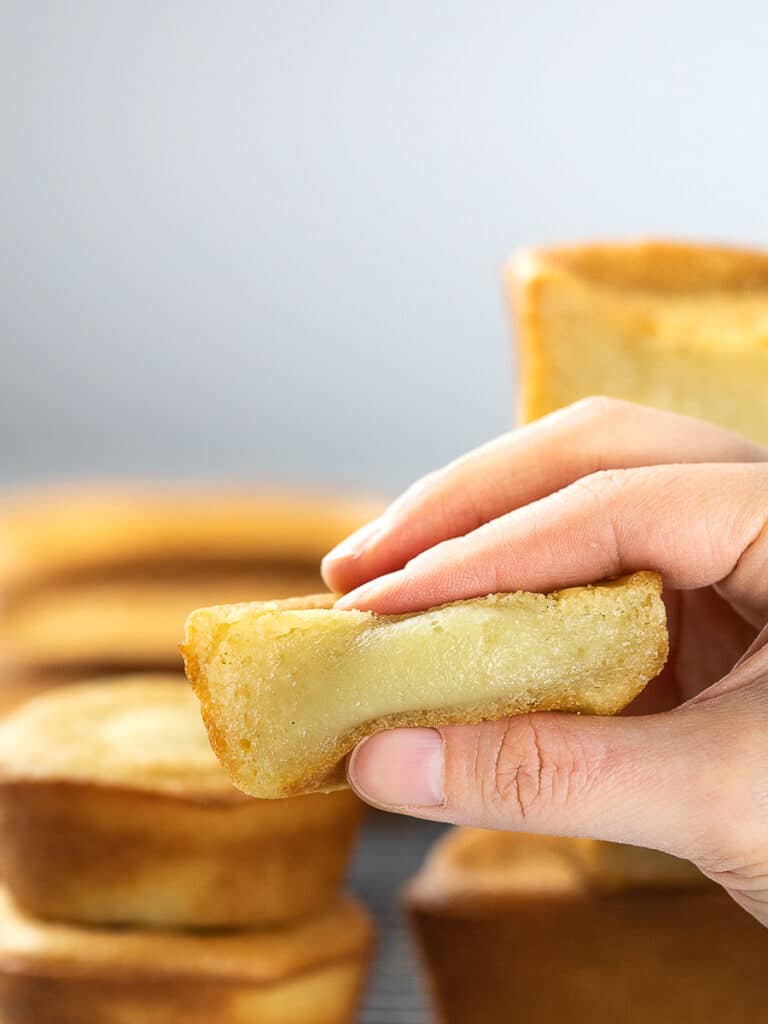
What is Mochiko?
Mochiko is a sweet rice flour, also called glutinous rice flour, milled from short-grain sticky rice into a fine powder. It looks like regular flour, but once baked it turns chewy and stretchy in a way no other flour can replicate. It’s widely used in Hawaiian, Korean, Japanese, and Southeast Asian recipes.
Look for Koda Farms Blue Star mochiko, the brand most Hawaiian bakers reach for. You can find it at Japanese and pan-Asian grocery stores, often in mainstream markets in the international aisle, or online.
Can I substitute shiratamako or regular rice flour? No. Shiratamako is processed differently and gives a softer, bouncier result that turns butter mochi too custardy. Regular (non-glutinous) rice flour won’t give you any chew at all. Stick with mochiko for the texture this recipe is built around.
Hawaiian Butter Mochi Recipe Tips:
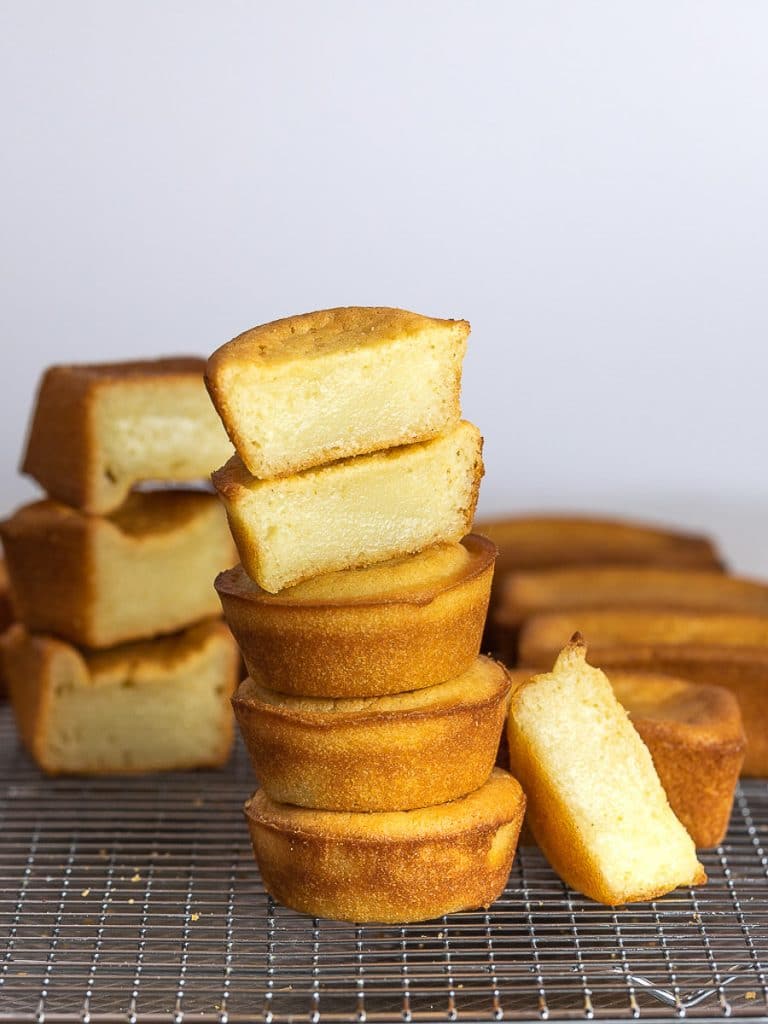
The trick to getting these butter mochi chewy is to let them cool completely. I waited a good 3 hours until they were cool enough to achieve the right texture. It’ll be worth the wait. If you eat them before they’re cool, the texture won’t be firm enough and you’ll miss out on all that chewy, fudgy texture. Just let them cool on a wire rack and you’ll notice them firming up.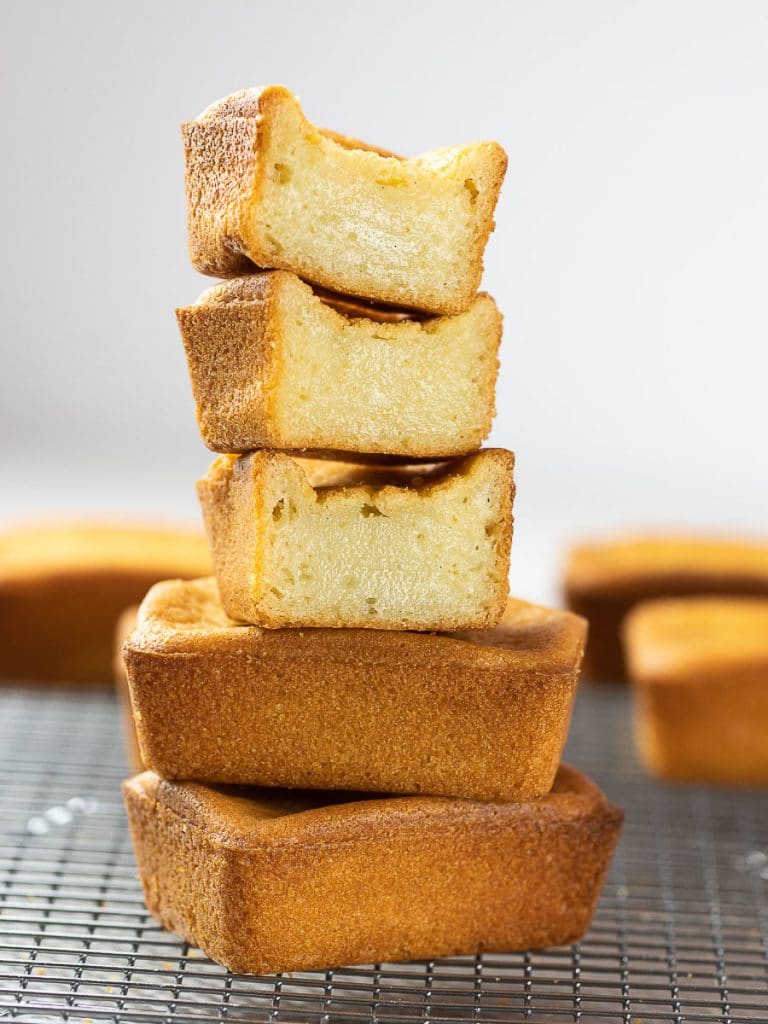
How to Make Hawaiian Butter Mochi
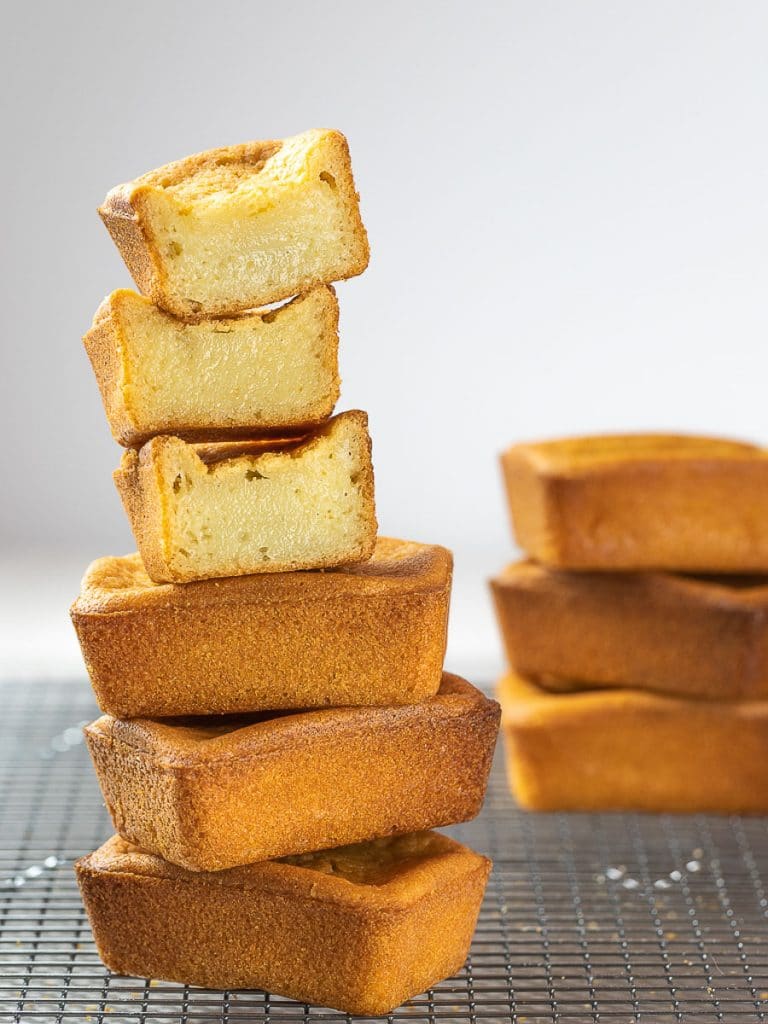
I used a mini loaf pan and muffin pan because I wanted more of those crunchy edges. I’m definitely a lover of those crispy, crunchy corner/edge pieces when it comes to any baked good so what better way to capitalize on that than a using these rectangular mini loaf pans. You get 4 edges in one piece – winning!
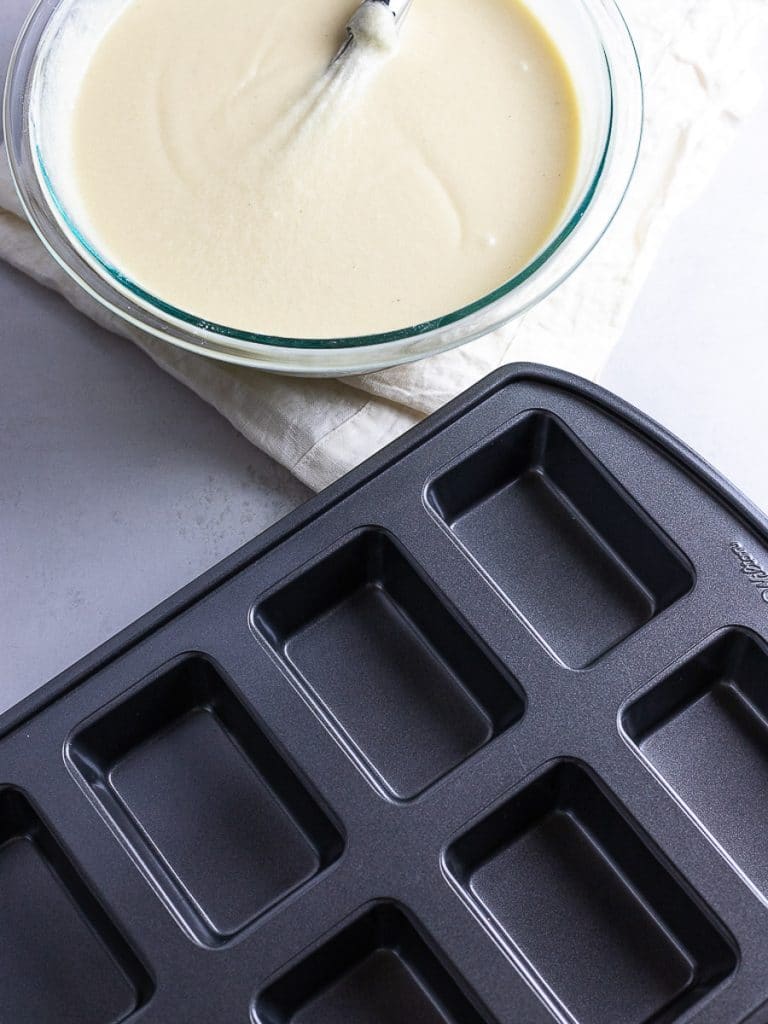
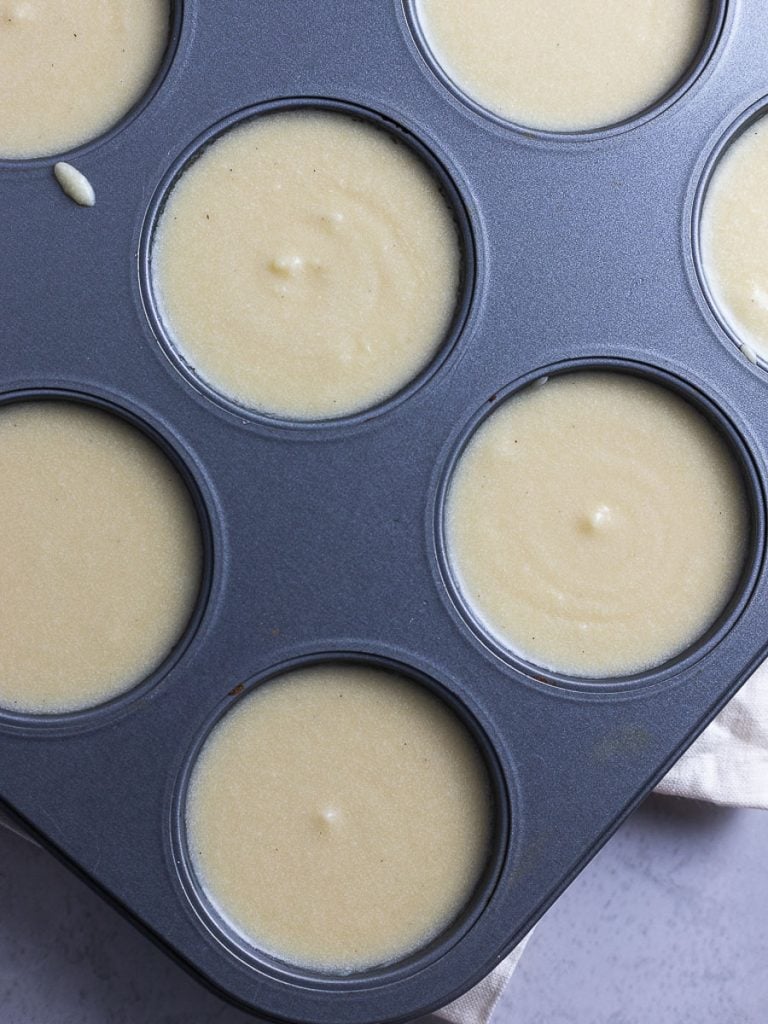
These butter mochi don’t rise that much so feel free to fill them up. You’ll see a bit of rise from the baking powder and egg but not enough to overflow the pan.
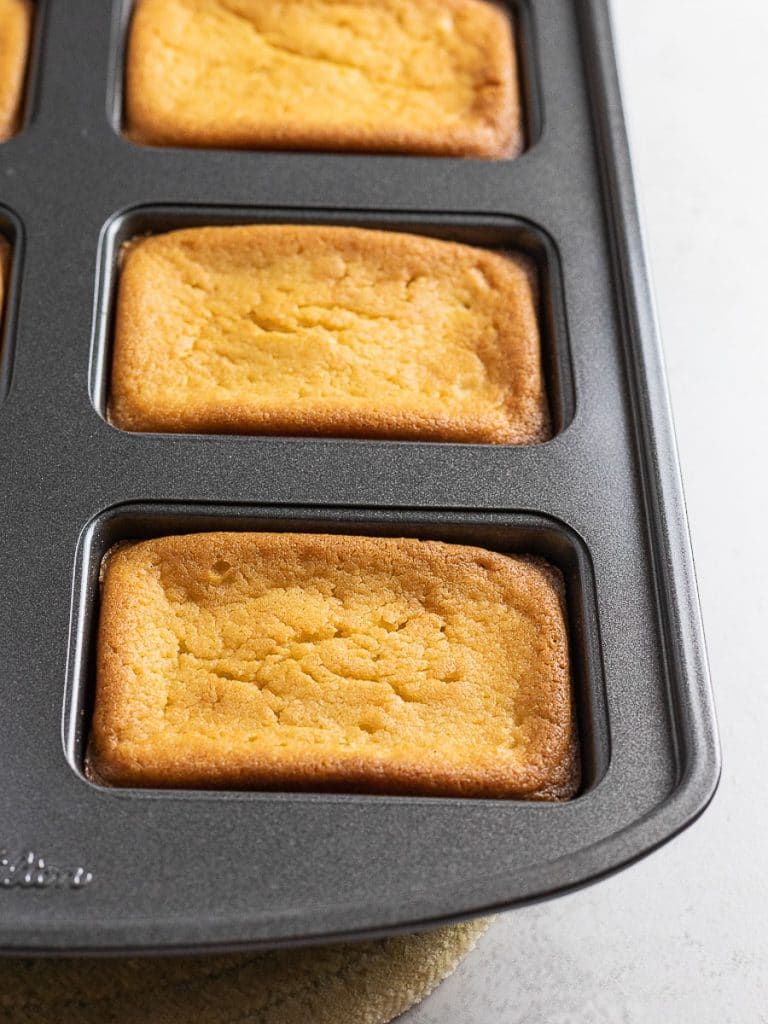
Look at those edges! I wish you could hear how crunchy and crispy the top edges are. It’s literally like biting into a crunchy cookie. The edges are nice and hard, but the center will still be too soft to fully enjoy these, so remove them from the pan and let them cool.
This Hawaiian butter mochi recipe is perfect for get togethers or parties. They’re perfect at room temperature and everyone loves it when I bring them to get togethers. Store any leftovers in an airtight container in the fridge for up to 5 days. Microwave them for about 10 seconds to soften up or reheat them in a toaster oven. Let them cool before enjoying.
Butter Mochi Variations
One of the best things about butter mochi is how easily it takes to add-ins. A few readers have shared their favorites, and these are worth trying:
- Fold a spoonful of red bean paste into the center of each piece for a nod to Japanese wagashi.
- Press fresh mango or blueberries into the batter before baking.
- Sprinkle shredded coconut on top for extra texture and a toasted, caramelized crust.
- A few drops of pandan extract turn the batter fragrant and pale green.
- For a richer flavor, brown the butter before adding it to the wet ingredients.
I hope you enjoy this Hawaiian butter mochi recipe! Please share, rate, and comment below. I’d love to hear from you!
Let’s stay connected! Find me on:
Want more? Check out these recipes!
*This post may contain affiliate links which means any purchases made through my link pay out a small commission without any extra cost to you. All opinions are my own and I only recommend products that I know, personally use, and trust. For more information, please see my Privacy Policy.
Frequently Asked Questions
Gummy usually means it hasn’t cooled fully. Butter mochi needs to cool completely, at least 2 to 3 hours, before the texture sets into a proper chew. Cutting it warm gives you a dense, gummy interior. It can also happen if the batter is under-baked, so make sure the edges and surface turn deep golden brown.
Over-baking dries it out, and low-quality mochiko cut with regular rice flour makes it heavy. Use 100% glutinous rice flour and pull it from the oven once the surface is golden and set.
This recipe uses coconut milk plus water. You can swap the water for evaporated, whole, or oat milk for a richer result. Full-fat coconut milk gives more coconut flavor than lite.
Bake in a mini loaf pan or muffin pan instead of a single large dish so more surface caramelizes. The smaller the piece, the more crisp edges you get.
Store in an airtight container at room temperature for up to 2 days. After that, refrigerate or freeze. To bring back the crisp crust, reheat in a toaster oven on convection for 3 to 5 minutes rather than the microwave.
Yes. Wrap individual pieces and freeze for up to 2 months. Let a piece thaw at room temperature, or microwave briefly to soften.
Yes. Mochiko is made from rice, so butter mochi is naturally gluten-free. Check that your baking powder and other ingredients are certified gluten-free if that matters for you.

Chewy Hawaiian Butter Mochi
Equipment
Ingredients
Dry Ingredients:
- 3 cups Mochiko sweet rice flour
- 1 ½ cups sugar
- 1 ½ teaspoons baking powder
- pinch salt
Wet Ingredients:
- 13.5 oz lite coconut milk
- 1 ½ cups water
- 7 Tablespoons butter, melted
- 3 large eggs
- 2 teaspoons vanilla extract
Instructions
- Preheat the oven to 375°F. Grease a nonstick mini loaf pan or muffin pan thoroughly, including the corners and up the sides.
- In a large bowl, whisk together the mochiko, sugar, baking powder, and salt until no lumps remain.
- In a separate bowl, whisk the coconut milk, water, melted butter, eggs, and vanilla until smooth.
- Pour the wet ingredients into the dry and whisk until the batter is smooth and pourable, with no streaks of dry flour.
- Divide the batter between the prepared pans, filling each well nearly to the top. The mochi rises only slightly, so it won't overflow.
- Bake for 40 to 45 minutes, until the surface and edges are deep golden brown and the center feels set when lightly pressed. In a 9×9 baking dish, bake for about 1 hour.
- Remove the pieces from the pan and set them on a wire rack. Cool completely, 2 to 3 hours, before serving. This is what firms them up into the chewy texture, so don't cut them warm.
Notes
Nutrition
Nutrition information is automatically calculated, so should only be used as an approximation.
Like this? Leave a comment below!



I came across your blog searching for some easy sauce recipes (delicious, by the way!) and as I was scrolling, I came across this recipe. Well, I was so excited. It brought back the best memories of my travels a couple of years ago, and I couldn’t wait to try it! So good – just as I remembered mochi to be.
This recipe is so good. My Mum loves it, so she requested it as a sweet treat for her birthday party over the weekend. As always, they came out perfectly! If you haven’t tried them yet, I highly recommend this recipe!
I really wish I could share some photos of the butter mochi my friend and I made. They were such a success! We’ve made this three times already!
Loved this recipe! It was delicious but we couldn’t finish it all in one sitting. What is the best way to store?
Thanks Jeanie! Thanks for sharing and happy you loved it! 🙂 You can store the butter mochi in an airtight container at room temperature for up to 2 days. Afterwards, I would refrigerate or freeze it. To reheat, you can microwave it but if you want that crispy crust back, reheat it in the toaster oven until it’s soft throughout and the surface and edges crisp up.
This is one of my favorite recipes! Thanks!
I make mine in mini muffin tins so I get the chewy crispy parts too.
I started taking out about 1/2 cup of sugar and I buy a pack of redbean paste and add it into the mochi. I’ve done real fruit like mango or blueberries in the middle too. Also added shredded coconut on top.
Thanks Glo! That’s a great idea adding red bean paste to the mochi!
These are fantastic. I added pandan flavoring and they were yummy. How long will these keep and how should they be kept, if not all eaten right away?
I made this recipe and it was delicious! Loved the crispiness of the edges (my favorite). But it lost that crispiness after storing it in an airtight container. How do you maintain the crispness?
Thanks Allyson! I’m so glad you loved the recipe. To maintain the crispiness of the edges, I reheat it in a toaster oven and turn on the convection setting if it’s available. You’ll have that crispy texture back in 3 to 5 minutes depending on your oven. I hope that helps!