
As an Amazon Associate I earn from qualifying purchases. This post may contain affiliate links.
These Easter bunny donuts start with boxed cake mix baked into mini donuts, then get almond ears, a white candy melt coating, and a tiny pink nose. An easy Easter treat to decorate with kids.
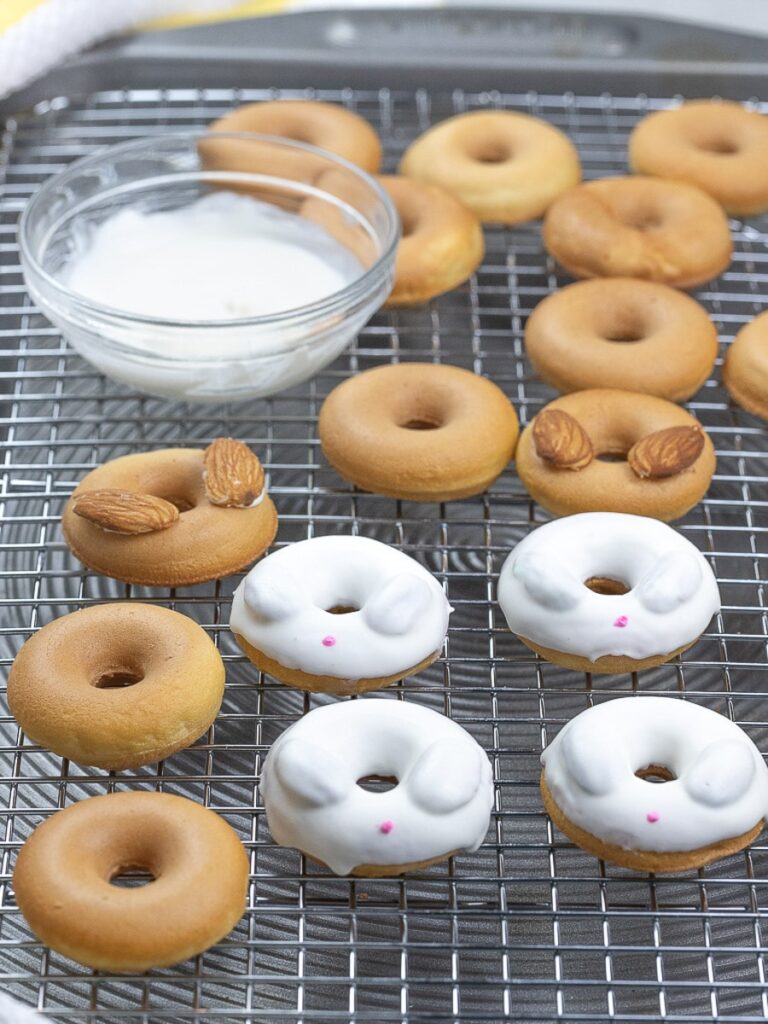
These little Easter bunny donuts are almost too cute to eat, and they’re one of the easiest Easter treats you can make with kids. Each one is a mini cake donut with halved almonds for ears, a coat of white candy melts, and a pink dot for a nose. The pink nose is my favorite part.
The secret to how easy they are? Boxed cake mix. I come from three generations of bakers, so I’ll always tell you scratch cake tastes better. When I want the real thing, I make a from-scratch cake like my easy sponge cake. But nobody bakes a cake from scratch just to turn it into bite-size bunnies. For a decorating project where the fun is in the ears and the nose, cake mix is the right call. It also means the donuts are ready fast, so kids aren’t waiting around to start decorating.
Donut Maker or Donut Pan?
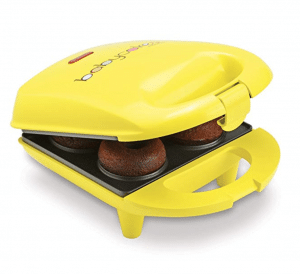
You can make these with a BabyCakes Mini Donut Maker, a nonstick donut pan, or silicone donut molds.
I use the BabyCakes. It works like a waffle maker with mini donut-shaped molds. There’s no oven to preheat, cleanup is quick, and I can keep an eye on the donuts the whole time. A donut pan or silicone molds in the oven work too. Both methods are in the recipe card below.
How to Make Easter Bunny Donuts
1. Heat your donut maker or oven. Plug in the BabyCakes and lightly grease the molds with vegetable oil. Give it about 2 minutes to heat up. For the oven method, preheat to 350°F and lightly grease your donut pan or molds.
2. Mix the batter. In a large bowl, mix the cake mix, water, oil, and egg until combined. Transfer the batter to a piping bag or zip-top bag and snip the end. This makes filling the small molds much neater.
3. Bake the donuts. In the BabyCakes, add about 2 tablespoons of batter per mold. Don’t overfill, because the batter expands. Close the lid and check after 3 to 4 minutes. In the oven, fill the molds ¾ full and bake for 8 to 10 minutes.
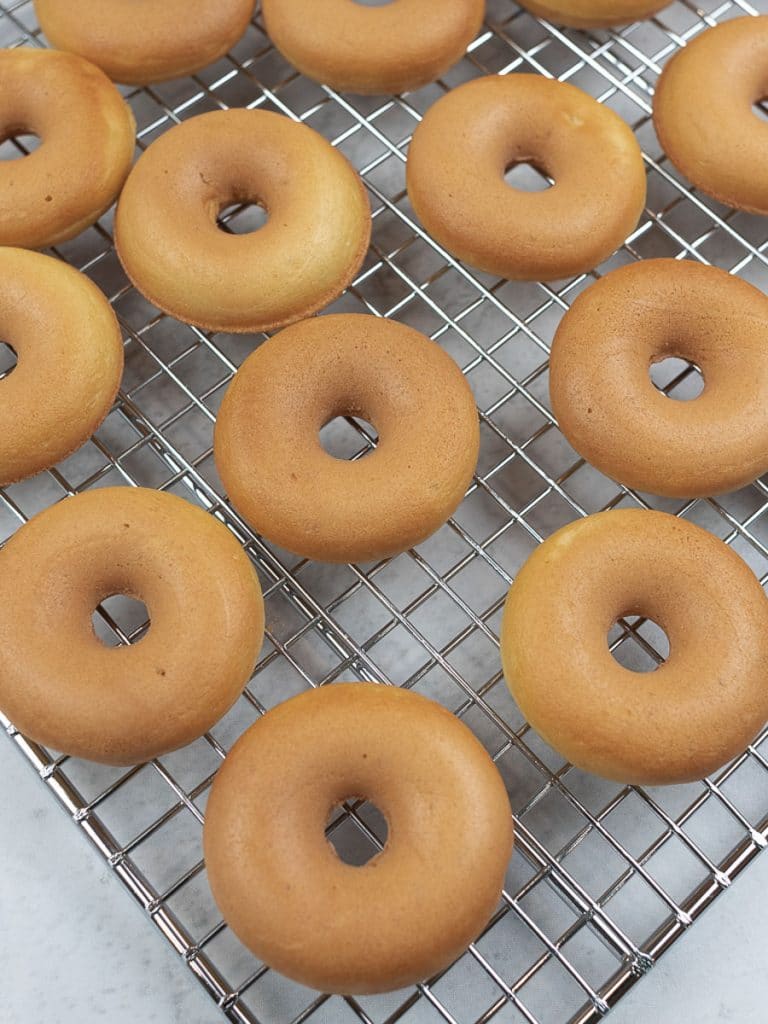
4. Cool completely. Move the donuts to a cooling rack and let them cool fully before decorating. Warm donuts won’t take an even coating.
5. Split the almonds. Halve the almonds lengthwise. The flat side sticks to the donut much more easily than a rounded whole almond.
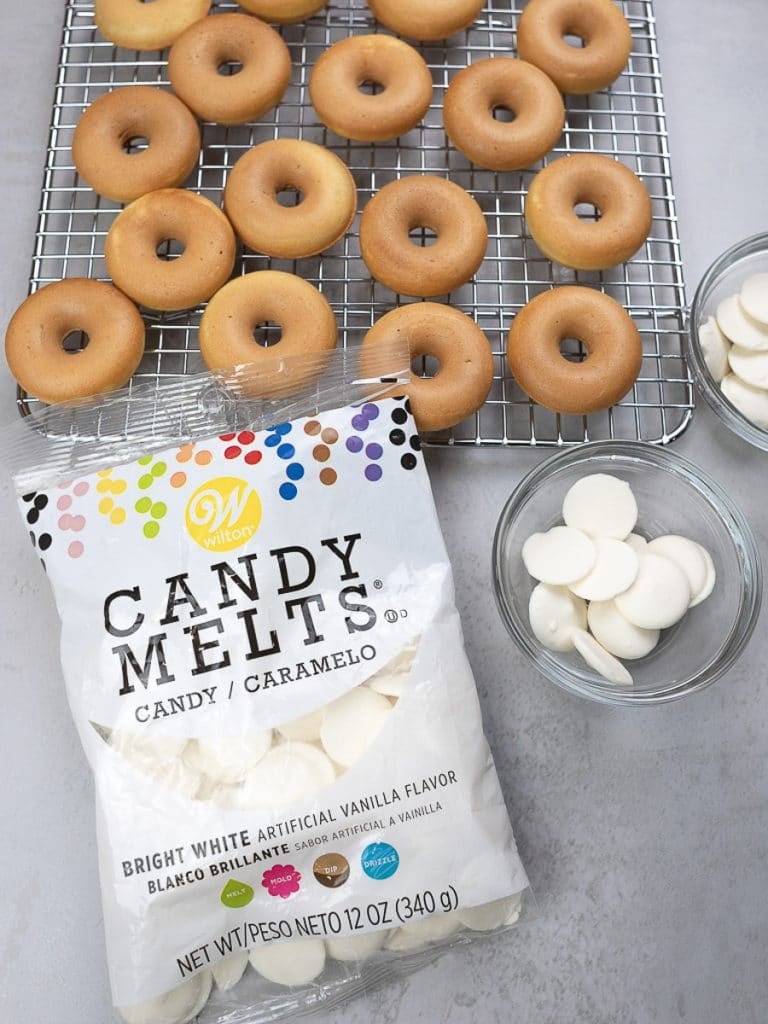
6. Melt the candy melts. Follow the package directions for melting, I used Wilton Bright White Candy Melts.
7. [Optional] Thin the candy melts. For a thinner coating, warm the candy melts in the microwave first. Then add ¼ teaspoon of vegetable shorting or Wilton EZ Thins at a time until it reaches your desired consistency. If using shortening, avoid adding too much as this can affect the final texture of the candy coating.
8. Keep the coating fluid. Set the bowl of melted candy coating inside a larger bowl of hot water. This keeps it from hardening before you finish dipping.
9. Attach the ears. Dab a little melted candy coating on each almond half and press two onto each donut. They set in about a minute and are then ready for dipping.
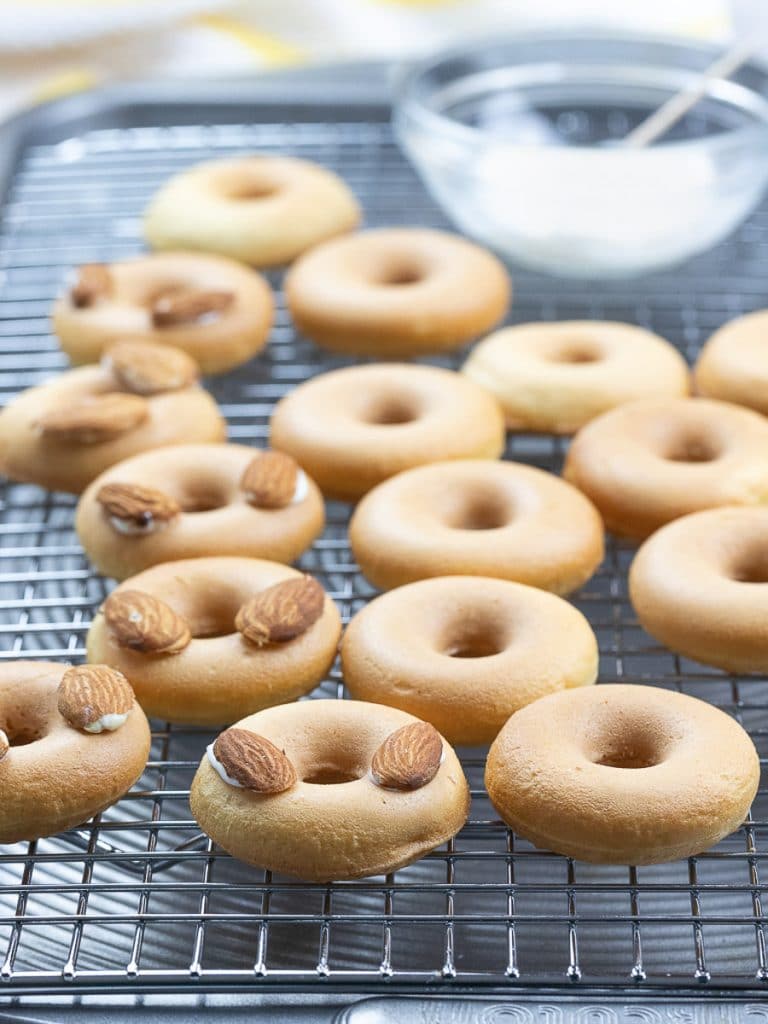
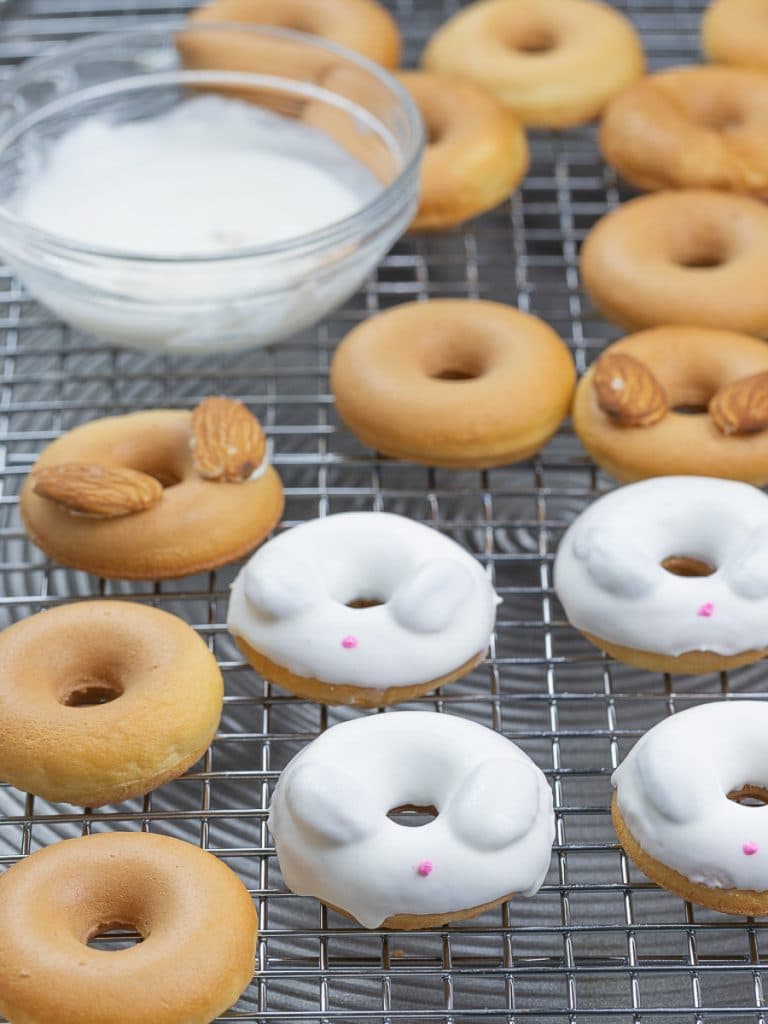
10. Dip and shake. Dip each donut, ears and all, into the white candy coating. Give it a little shake to even out the coating so the surface is smooth. Set it back on the rack.
11. Add the pink noses. Put about a teaspoon of the melted white candy in a small bowl. Use a toothpick to add a little oil-based pink coloring at a time until you like the shade. Then dot on a nose with a toothpick.
Jamie’s Tip
Tips for Decorating With Kids
Bake the donuts ahead. If kids are helping, have the donuts baked and cooled before they start. That way they get straight to the fun part.
Only use oil-based coloring. Water-based food coloring will make white candy melts seize up and turn hard, and it only takes a tiny bit. I learned this one the frustrating way. Oil-based candy coloring is made to mix into candy melts.
Let the ears set before dipping. The minute you wait after gluing on the almonds keeps the ears from sliding off in the coating.
Frequently Asked Questions
Yes. Any flavor works for the donuts. White or vanilla mixes keep the inside light under the white coating, while chocolate gives a fun contrast when you bite in.
No. A nonstick donut pan or silicone donut molds work in the oven at 350°F for 8 to 10 minutes. Fill each mold ¾ full. I prefer the BabyCakes Mini Donut Maker because it’s fast, needs no preheated oven, and lets me watch the donuts as they cook.
The most common cause is water-based food coloring. Even a small amount will turn white candy melts thick and hard. Use oil-based candy coloring instead.
Warm them first, then stir in ¼ teaspoon of Wilton EZ Thins or vegetable shortening at a time until the coating is as fluid as you like. Don’t add too much shortening, since it can affect the final texture of the coating.
Set the bowl of melted candy coating in a larger bowl of hot water. This keeps it fluid while you work.
You can bake the donuts ahead so they’re ready to decorate.
More Easter and spring desserts
Looking for more treats for your Easter table? These two pair well with the bunny donuts:
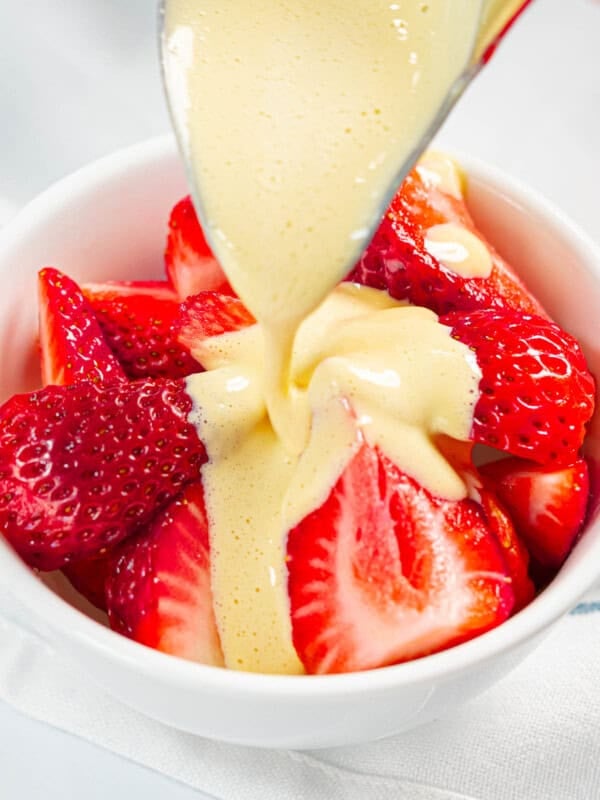
- This light and creamy zabaglione spooned over fresh berries is lovely for Easter brunch.
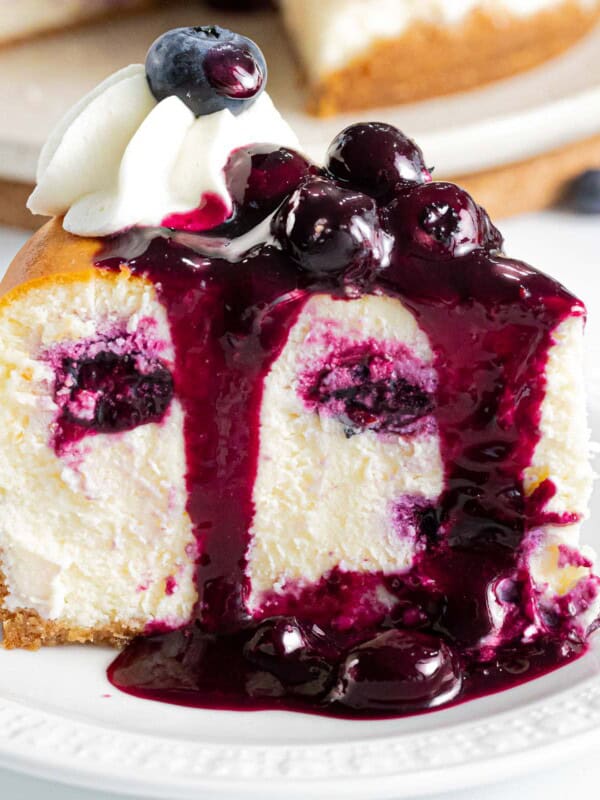
- My blueberry cheesecake is a make-ahead dessert for larger gatherings.
You can browse my other desserts and baked goods.
If you make these bunnies, leave a rating and a comment below. I’d love to hear how your kids’ bunnies turned out! For new recipes and baking tips, subscribe to my newsletter.
Thanks so much for stopping by!

*This post may contain affiliate links which means any purchases made through my link pay out a small commission without any extra cost to you. All opinions are my own and I only recommend products that I know, personally use, and trust. For more information, please see my Privacy Policy.
Easter Bunny Donuts
Equipment
- Non-stick donut pan (for oven method)
- Silicon donut molds (for oven method)
- Piping bag or zip-top bag
- Cooling rack
- Toothpicks
Ingredients
Donut Ingredients
- 1 package cake mix, any flavor
- 1 cup water
- ¼ cup oil
- 1 egg
- 1 cup almonds, for bunny ears, split in half length wise
Glaze Ingredients
- 1 package of Wilton Bright White Candy Melts
- Oil-based pink candy coloring
- ¼ teaspoon Wilton EZ Thins, optional to thin out candy melts
Instructions
Prep your donut maker or oven:
- BabyCakes: Plug in the donut maker and lightly grease the molds with vegetable oil. Let it heat for about 2 minutes.
- Oven: Preheat the oven to 350°F. Lightly grease your donut pan or molds.
Make the batter:
- In a large bowl, mix the cake mix, water, oil, and egg until combined. Transfer the batter to a piping bag or zip-top bag and snip the end.
Bake the donuts:
- BabyCakes: Add about 2 tablespoons of batter to each mold, taking care not to overfill since the batter expands. Close the lid and check for doneness after 3 to 4 minutes.
- Oven: Fill each mold ¾ full and bake for 8 to 10 minutes.
- Transfer the donuts to a cooling rack and let them cool completely before decorating.
Decorating:
- Melt the candy melts according to the package directions. To thin, warm them first, then stir in EZ Thins or shortening ¼ teaspoon at a time until you reach the consistency you like. Set the bowl in a larger bowl of hot water to keep the coating fluid.
- Dab a small amount of melted candy coating on the almond halves and press two onto each donut for ears. Wait about 1 minute for them to set.
- Dip each donut into the white candy coating and give it a little shake to smooth the surface. Return it to the cooling rack.
- Add about 1 teaspoon of melted white candy to a small bowl. Use a toothpick to add pink candy coloring a little at a time until you reach the shade you want. Dot on a nose with a toothpick.
Notes
Nutrition
Nutrition information is automatically calculated, so should only be used as an approximation.
Like this? Leave a comment below!

My niece just celebrated her 7th birthday, and she is a huge bunny fan, so I made these donuts for her as her birthday cake. She LOVED them, and said to say thank you to the lovely lady with the beautiful blog 🙂
Thank you Bri! I’m so glad your niece enjoyed them, please tell her she’s welcome. 🙂
These are the cutest! I meant to comment earlier that I made these over Easter – we have made them several times since as they just taste so good. You’re so creative! 🙂 Can’t wait to try some of your other recipes. Em
Oh my goodness! They looks.so.cute+delicious ? and I have everything to make them.. definitely.making them.with my boys!
Awesome Sonia! I hope you and your boys had fun making them! Thanks for the kind words! 🙂
Such a fun project to make with the kids! I can’t wait to show mine! They will want to gobble them up!
Haha isn’t this fun? I hope you and your kids enjoyed making them!
These are absolutely brilliant! The little pink nose is perfect 🙂
Haha thanks Sue! The little pink nose was my favorite part hehe
Oh gosh, these are super cute and so much fun to make with kids. Love this idea!
Thanks so much Edyta! Yes kids love this so much! I hope you enjoyed them!