As an Amazon Associate I earn from qualifying purchases. This post may contain affiliate links.

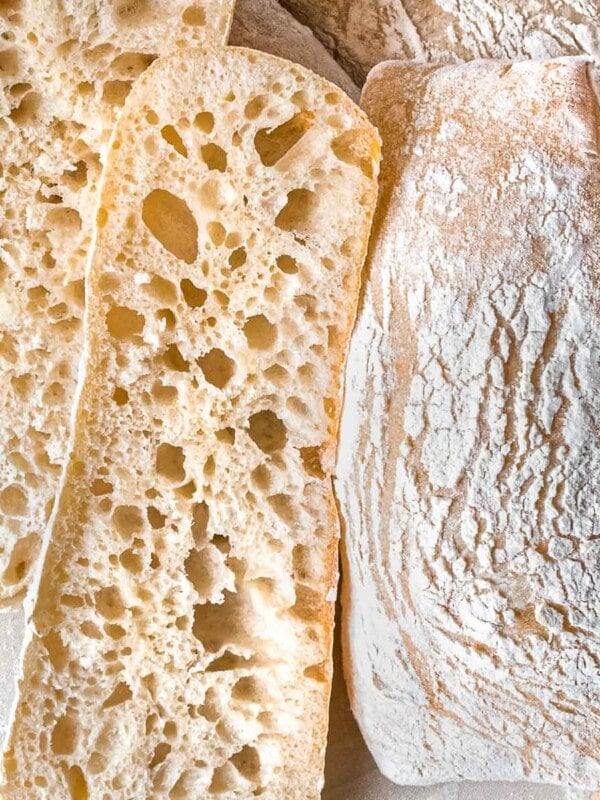
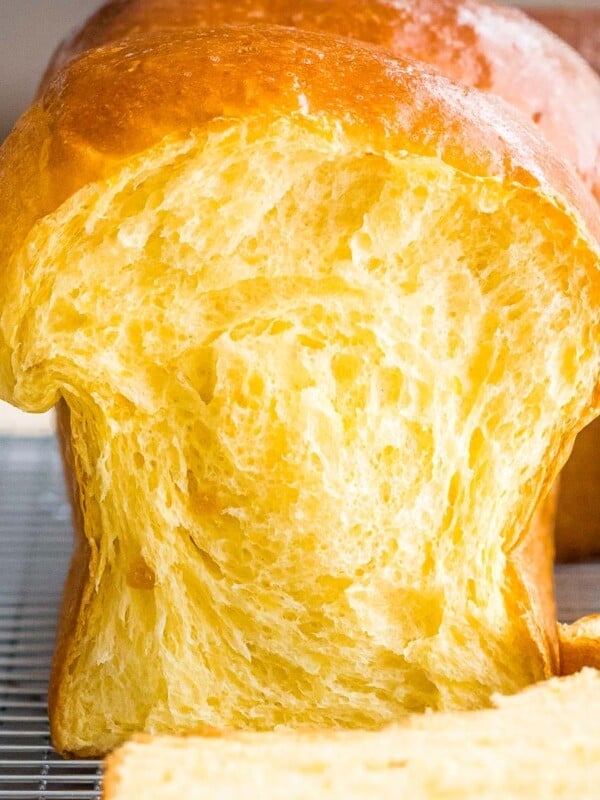
Yeast water is made by capturing and cultivating wild yeast found on fruit. When left to ferment, this water can be used to create a wild yeast starter that’s perfect for all kinds of baking and is a great substitute for sourdough starter!
What is yeast water?
Yeast water is a mixture of water and fruit that’s been allowed to ferment to capture the wild yeast in our environment.
The wild yeast on the skin of various fruits is captured into the water during this process, yielding a bubbly, carbonated liquid that’s full of active yeast!
How do you use it?
You can use this to create a wild yeast starter to make naturally leavened bread! The benefit to this is that it’s practically foolproof! I’ve never had a problem creating a starter using yeast water and there’s far less waste because there’s no discard!
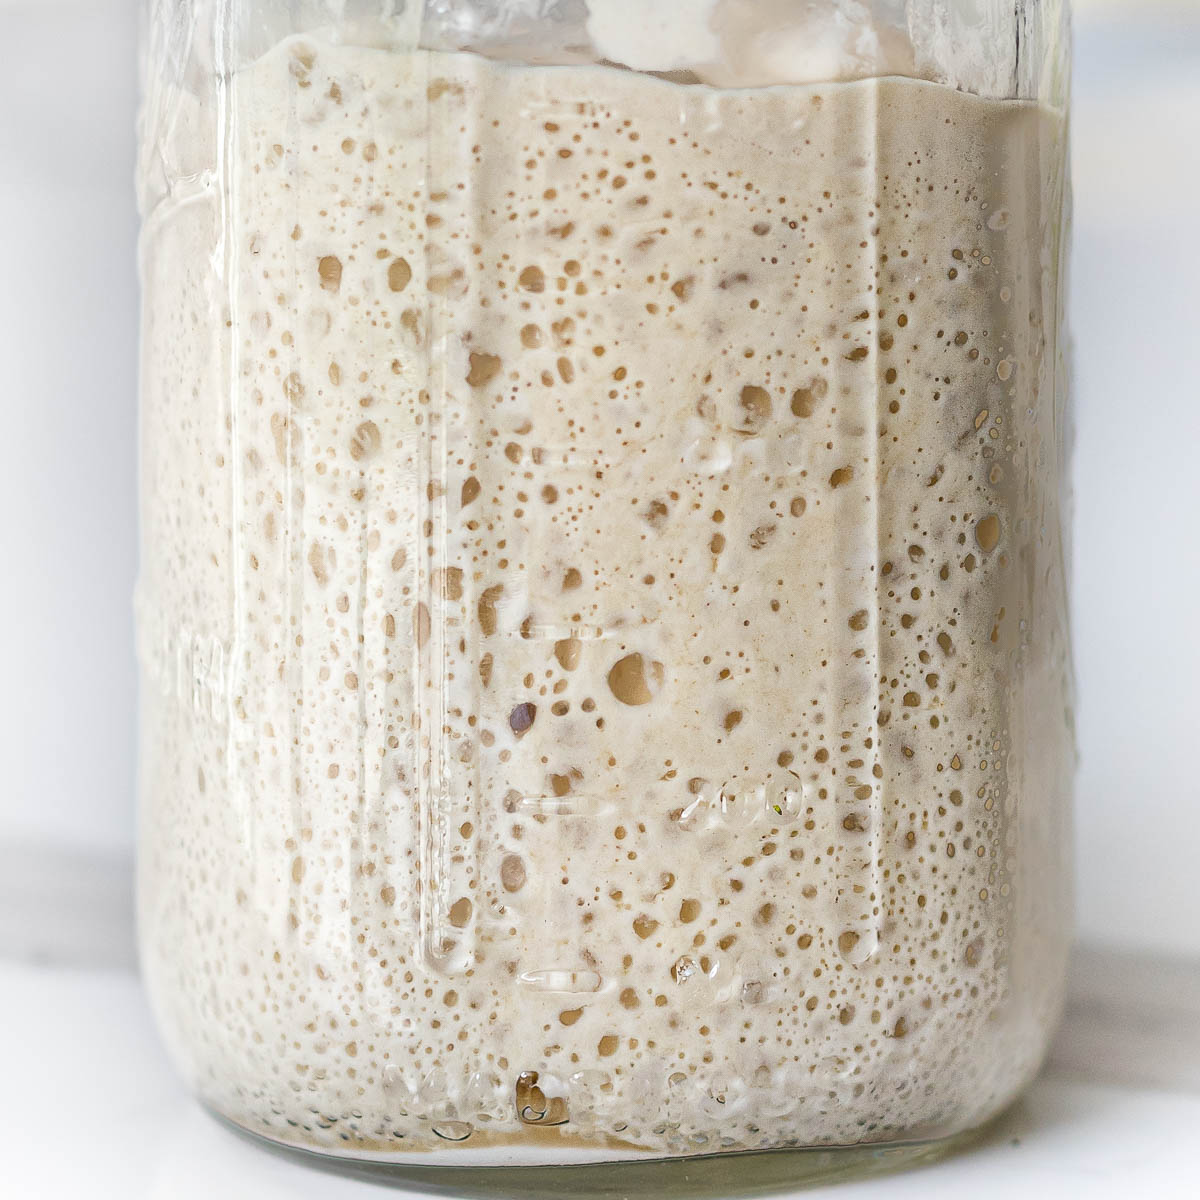
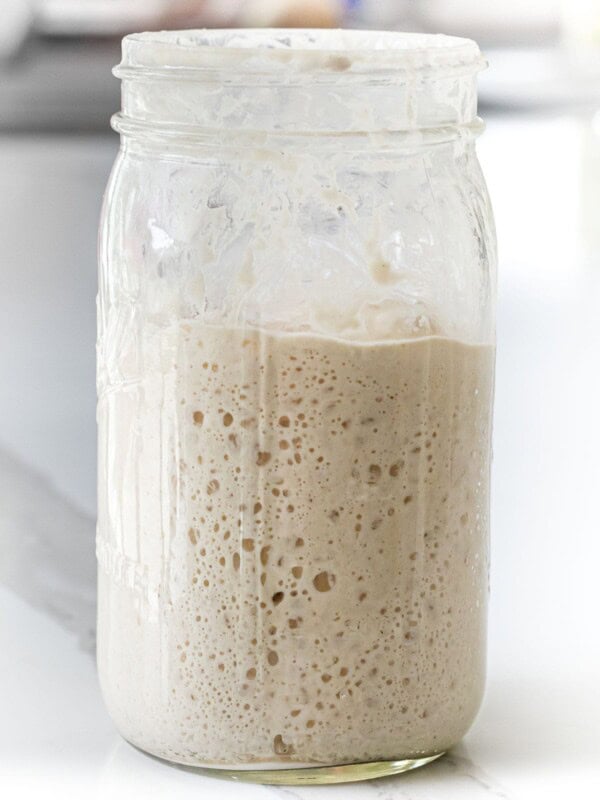
This is my wild yeast starter that almost tripled in volume after mixing it with flour!
Ingredients you’ll need
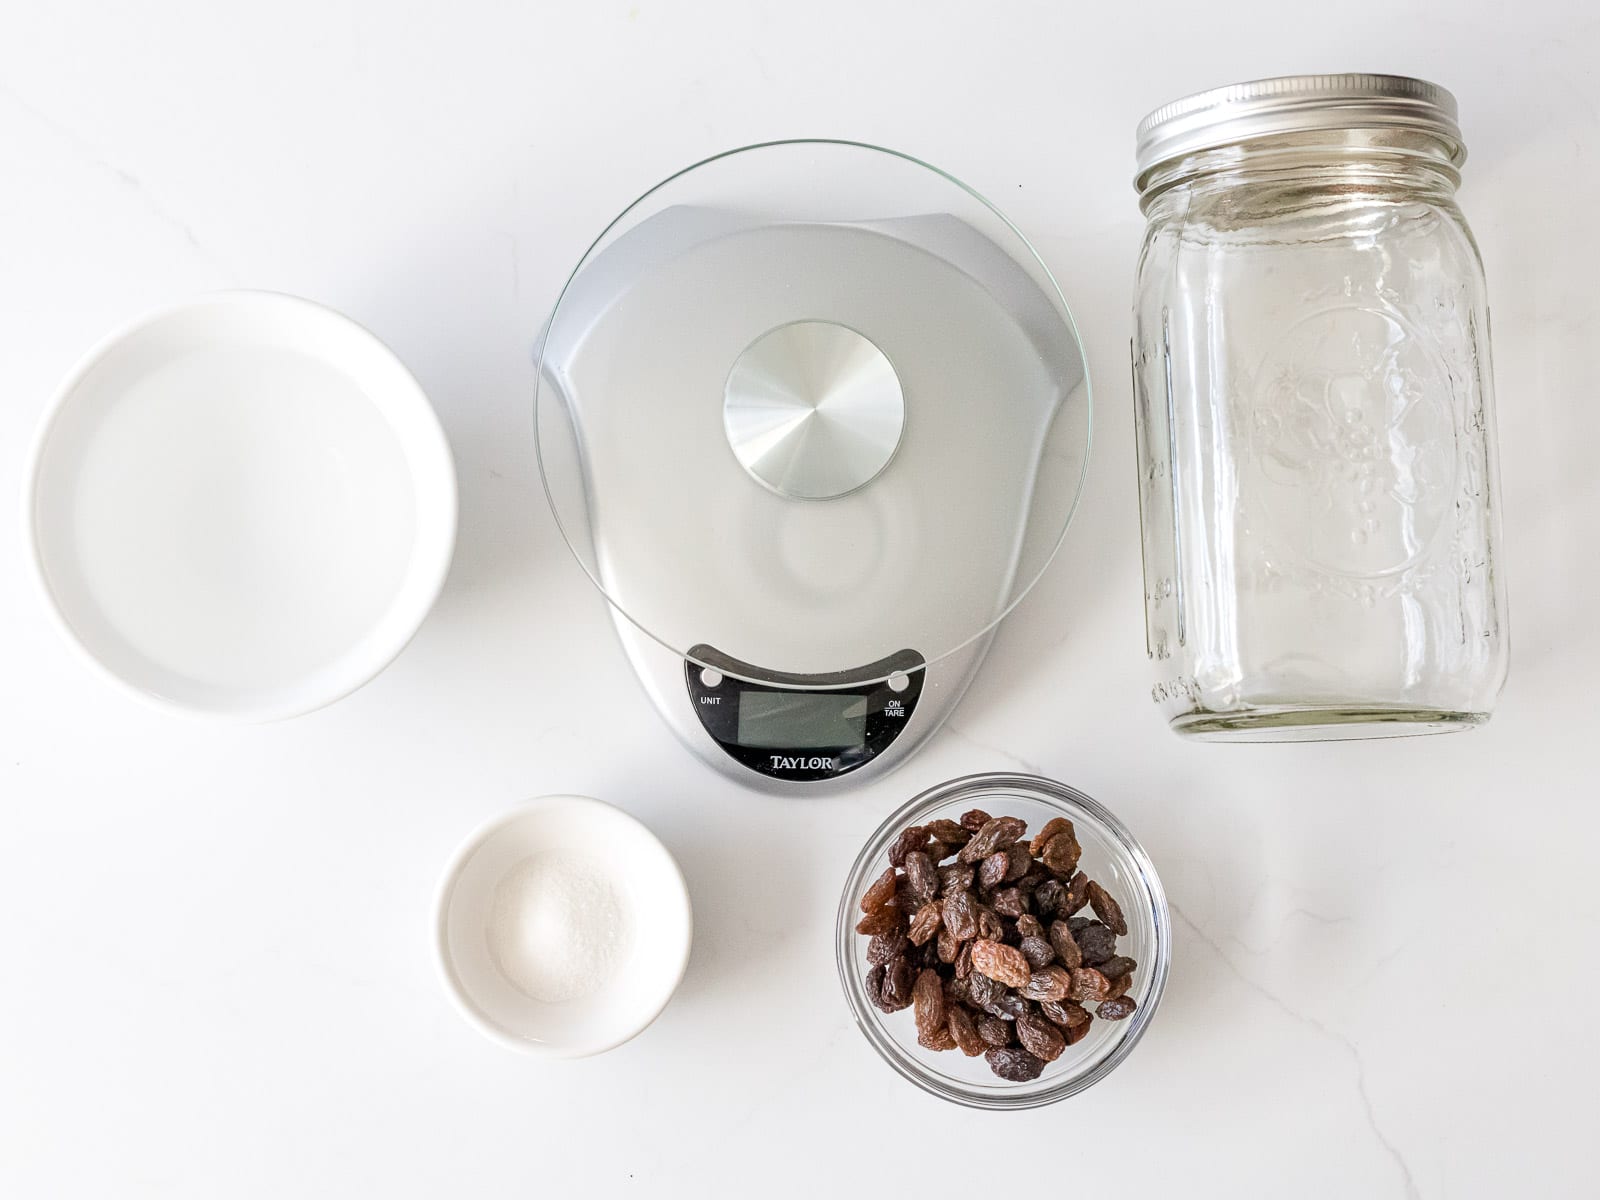
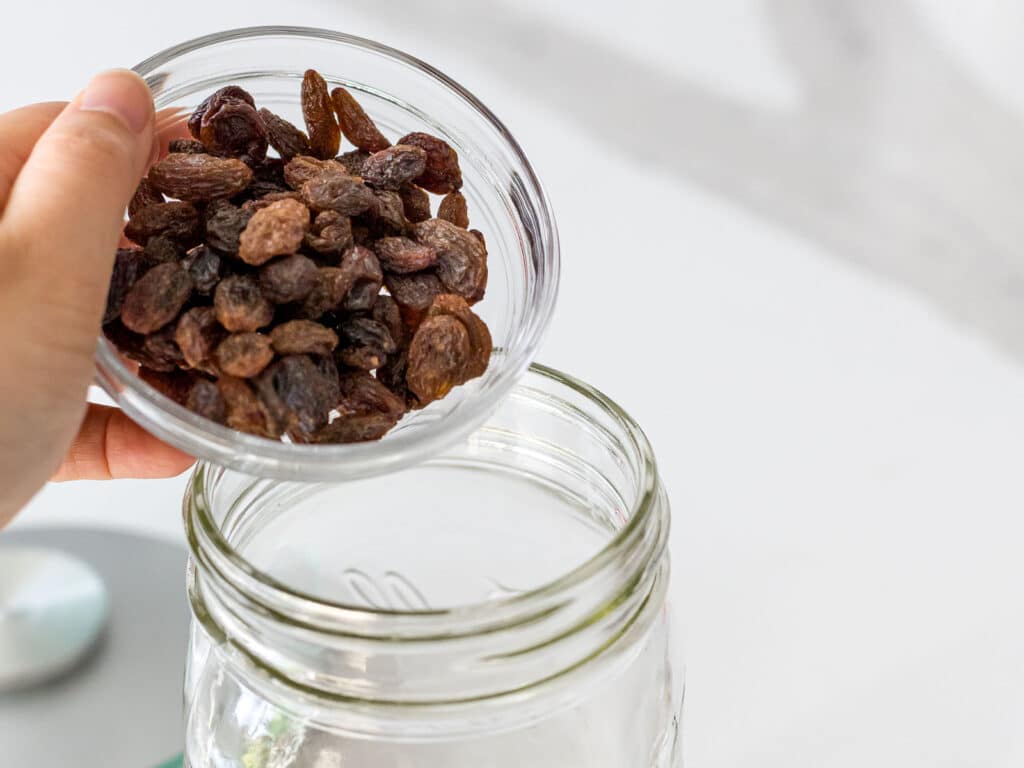
- Raisins – if possible, use organic raisins that have not been coated with any type of oil. Preservatives such as sulfur dioxide and oil coatings are found in some brands of raisins. If you’re using raisins that aren’t organic or have some type of coating, soak them in hot water for 15 minutes before starting. Dried figs or dried dates can be used as well.
- Water – if possible, use filtered water. If you’re using tap water, leave it in an open container for 24 hours to dechlorinate the water.
- Sugar – this will be food for the wild yeast and will help it colonize your water. The byproduct of consuming sugar is carbon dioxide which creates an effervescent effect.
- Clear jar with a lid – make sure your lid creates an airtight seal because you’ll be shaking this mixture twice a day.
Step by step instructions
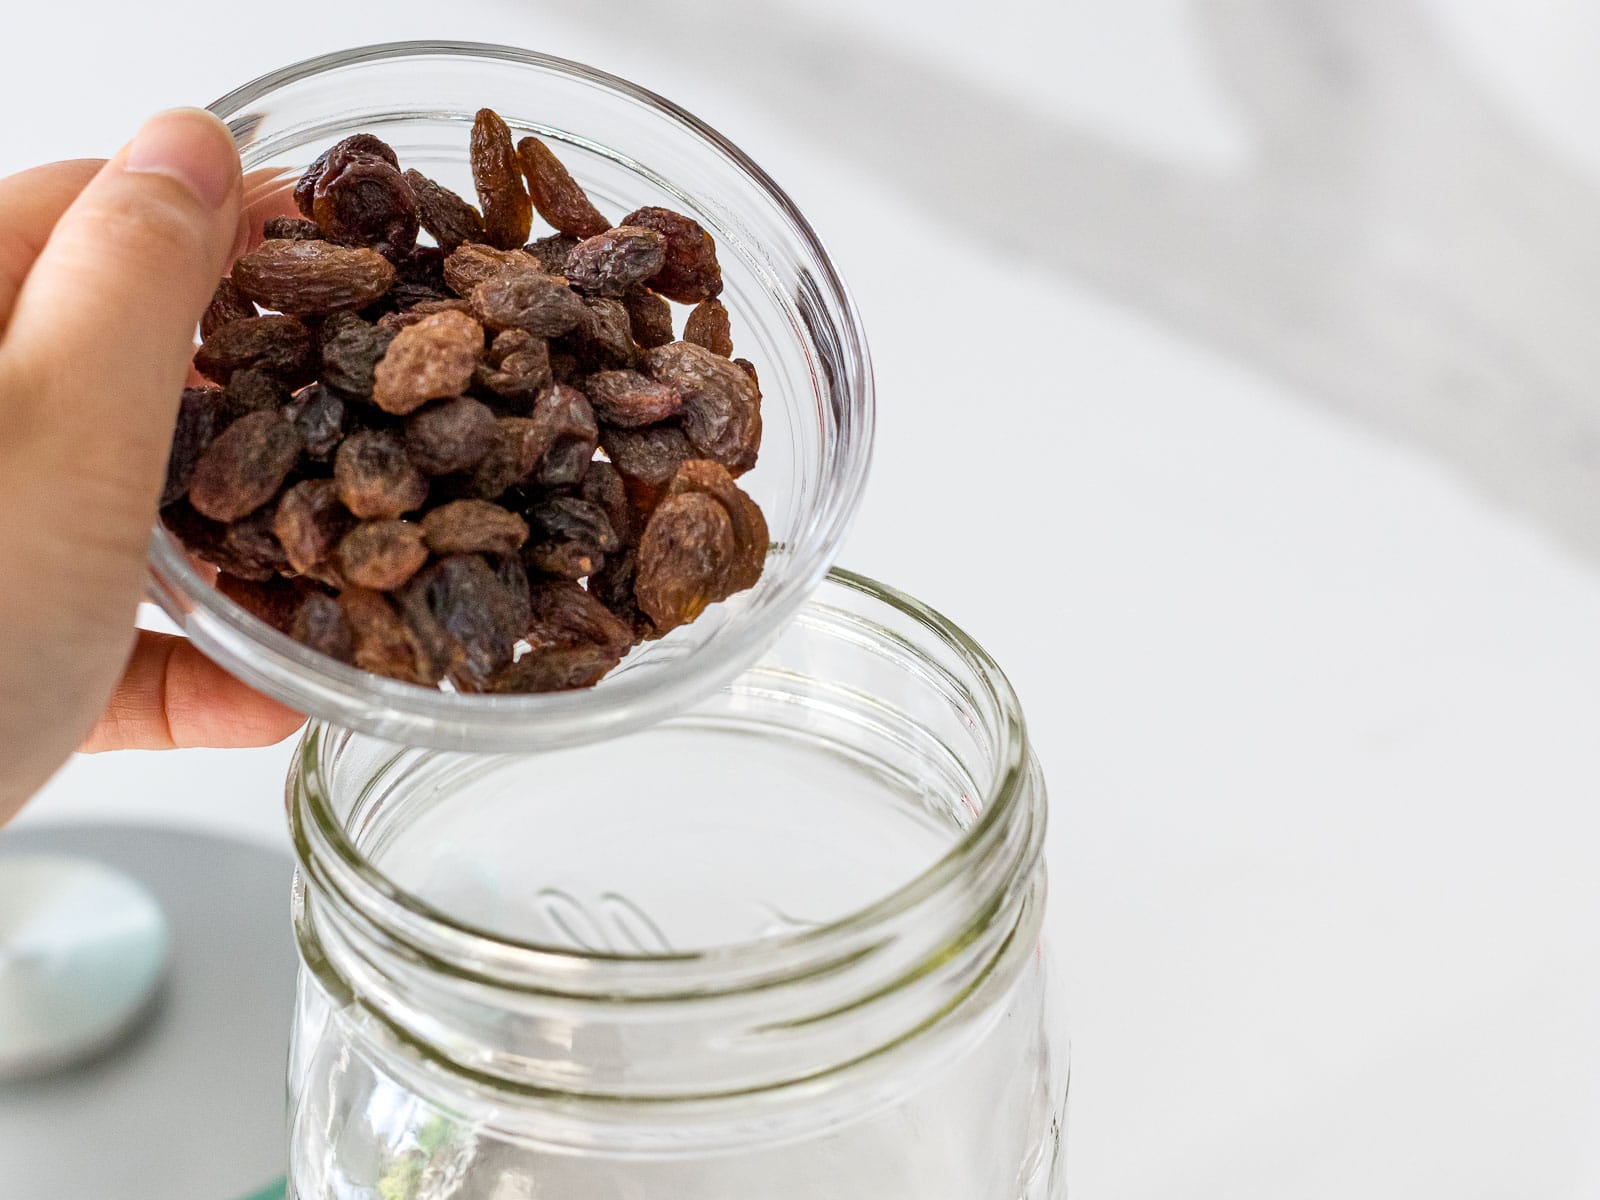
Add all the ingredients to your container and close the lid tightly. Shake it vigorously until the sugar has completely dissolved. Then, place it in a warm area away from direct sunlight.
Continue reading to see how this mixture changes each day into yeast water. It usually takes me 3 to 4 days until it’s ready to use. I leave it on my kitchen counter where the temperature is usually anywhere from 74 to 76 degrees F.
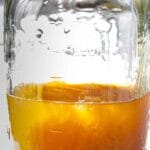
Day 1 and Day 2: Water is mostly clear but colored from the raisins. There’s a bit of cloudiness on day 2.

Day 1 – water is clear but colored from the raisins Day 2 – water showing slight signs of cloudiness
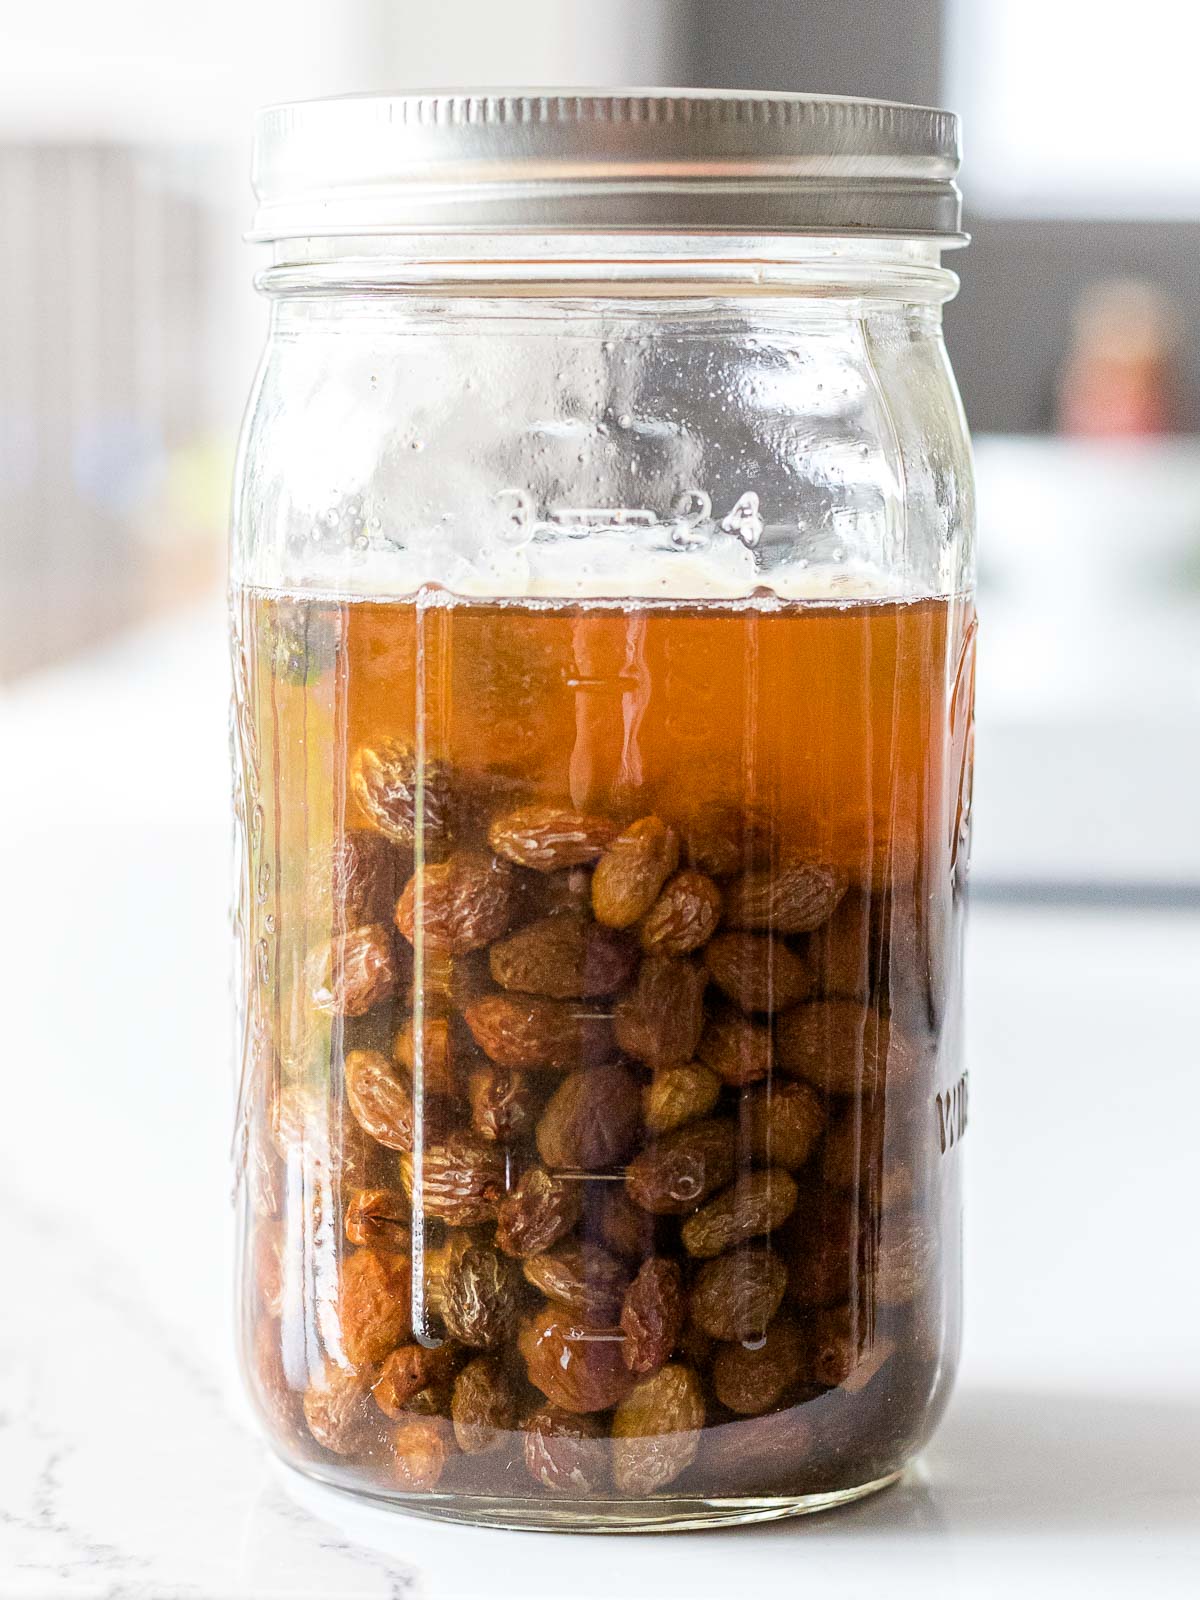
Notice how the raisins are still settled in the bottom of the container. This is because there’s no carbon dioxide being created yet from the yeast. The liquid is also clear, yet colored brown from the raisins.
Day 3 Morning:
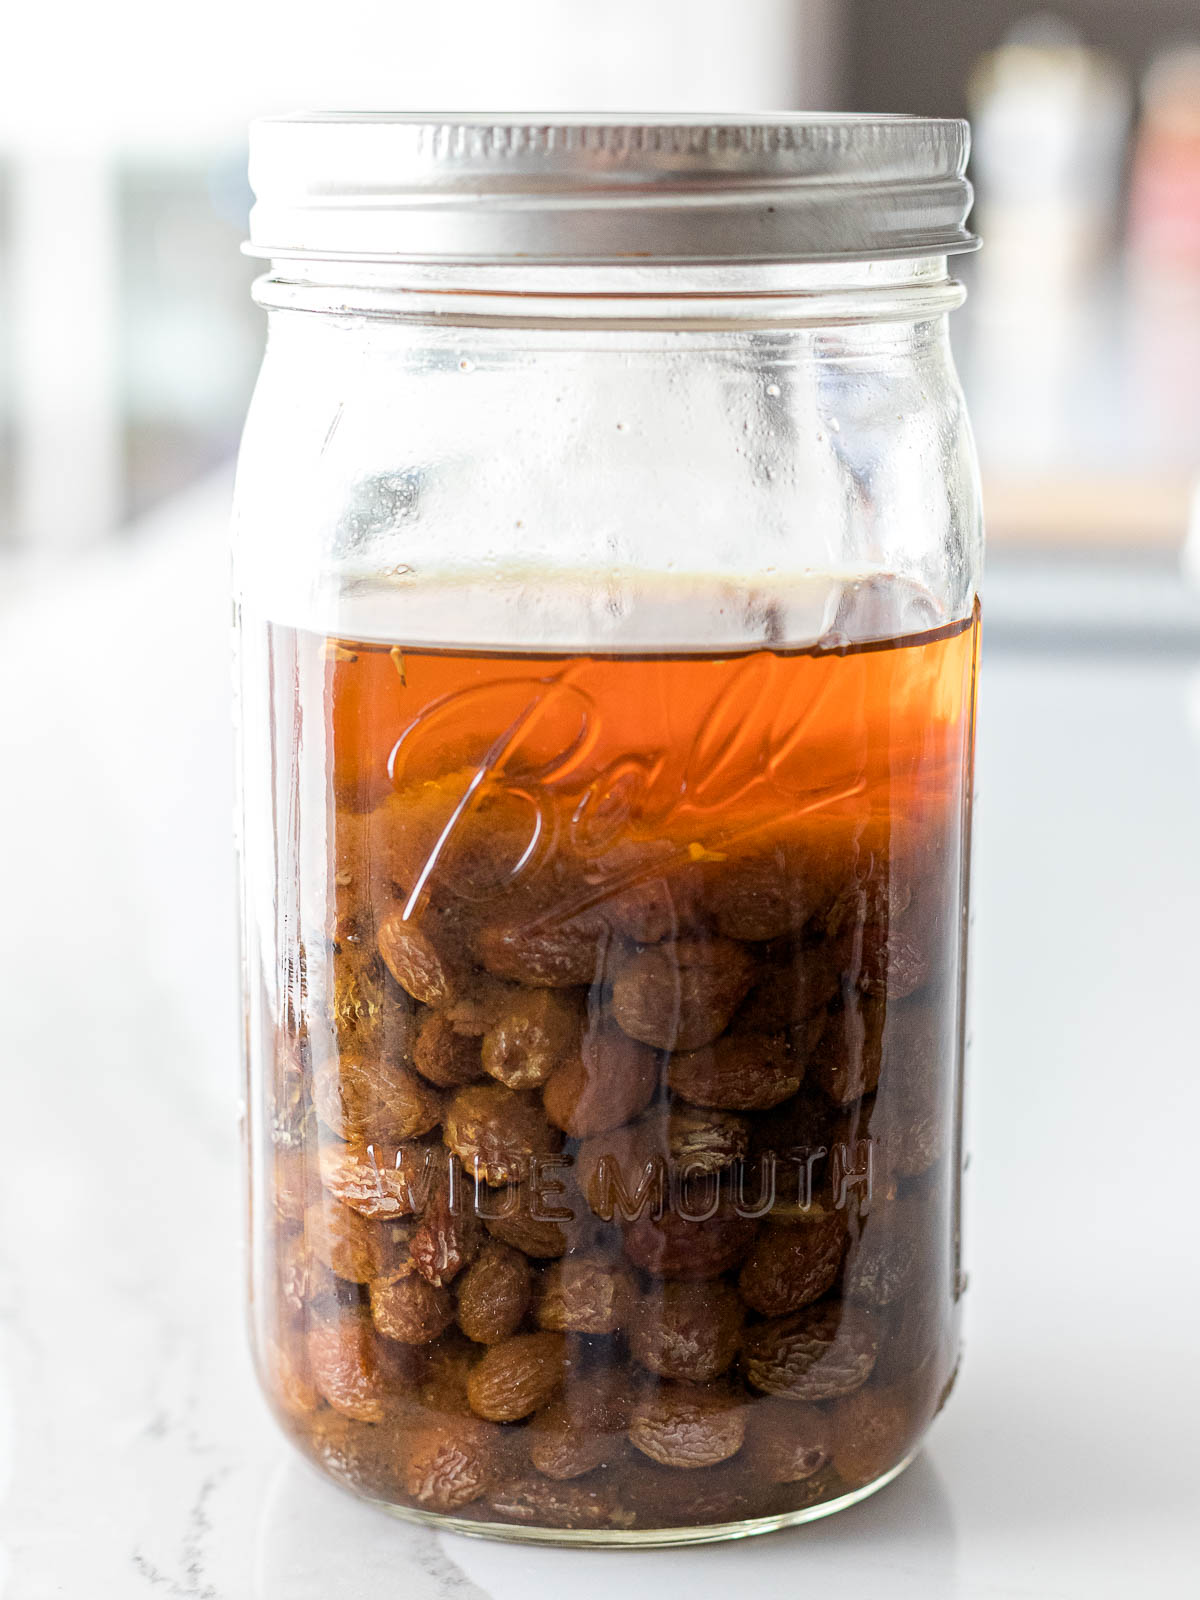
Day 3: after shaking, raisins halfway floating Day 3: close up – small bubbles, getting cloudy
The raisins started to rise to the top of the liquid and there were tiny bubbles forming around the raisins. The carbonation is created from carbon dioxide that’s created as a byproduct after the yeast feeds on the sugars.
The liquid started to get more cloudy from the yeast developing. Note: You may or not may see activity by the third day as it’s dependent on your temperature and the fruit you use.
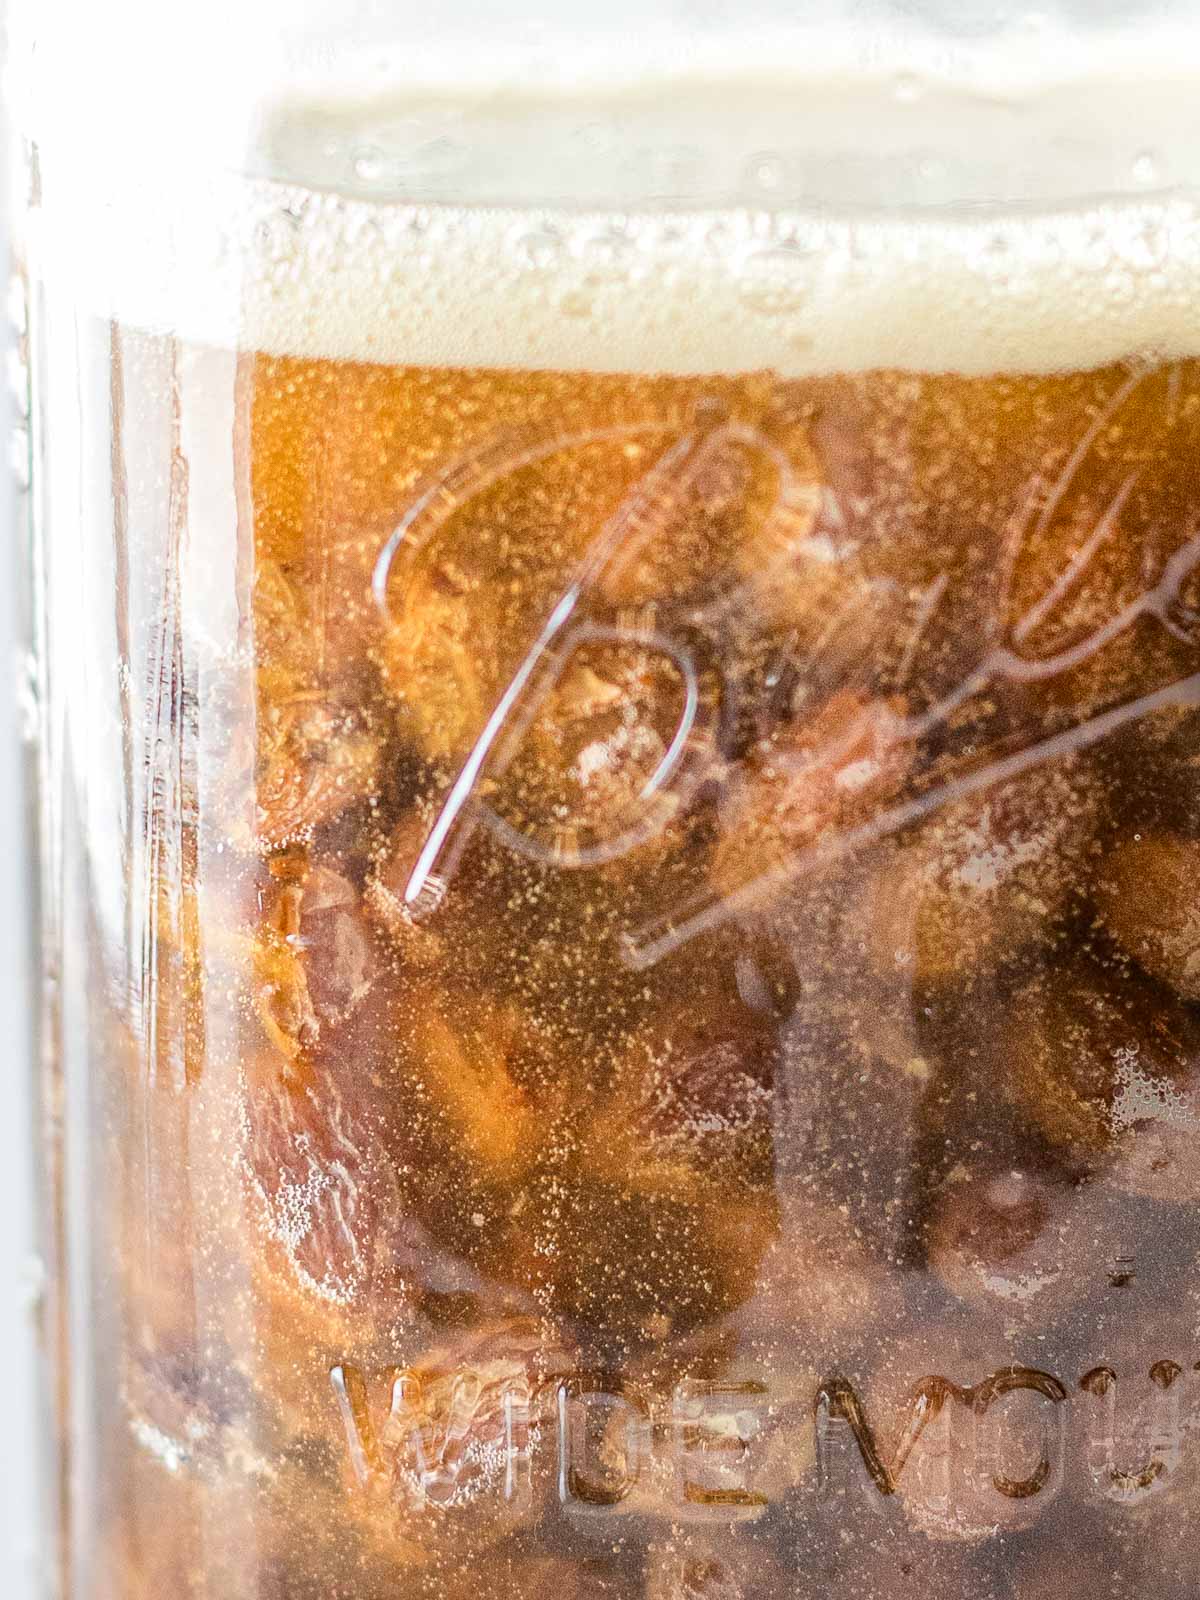
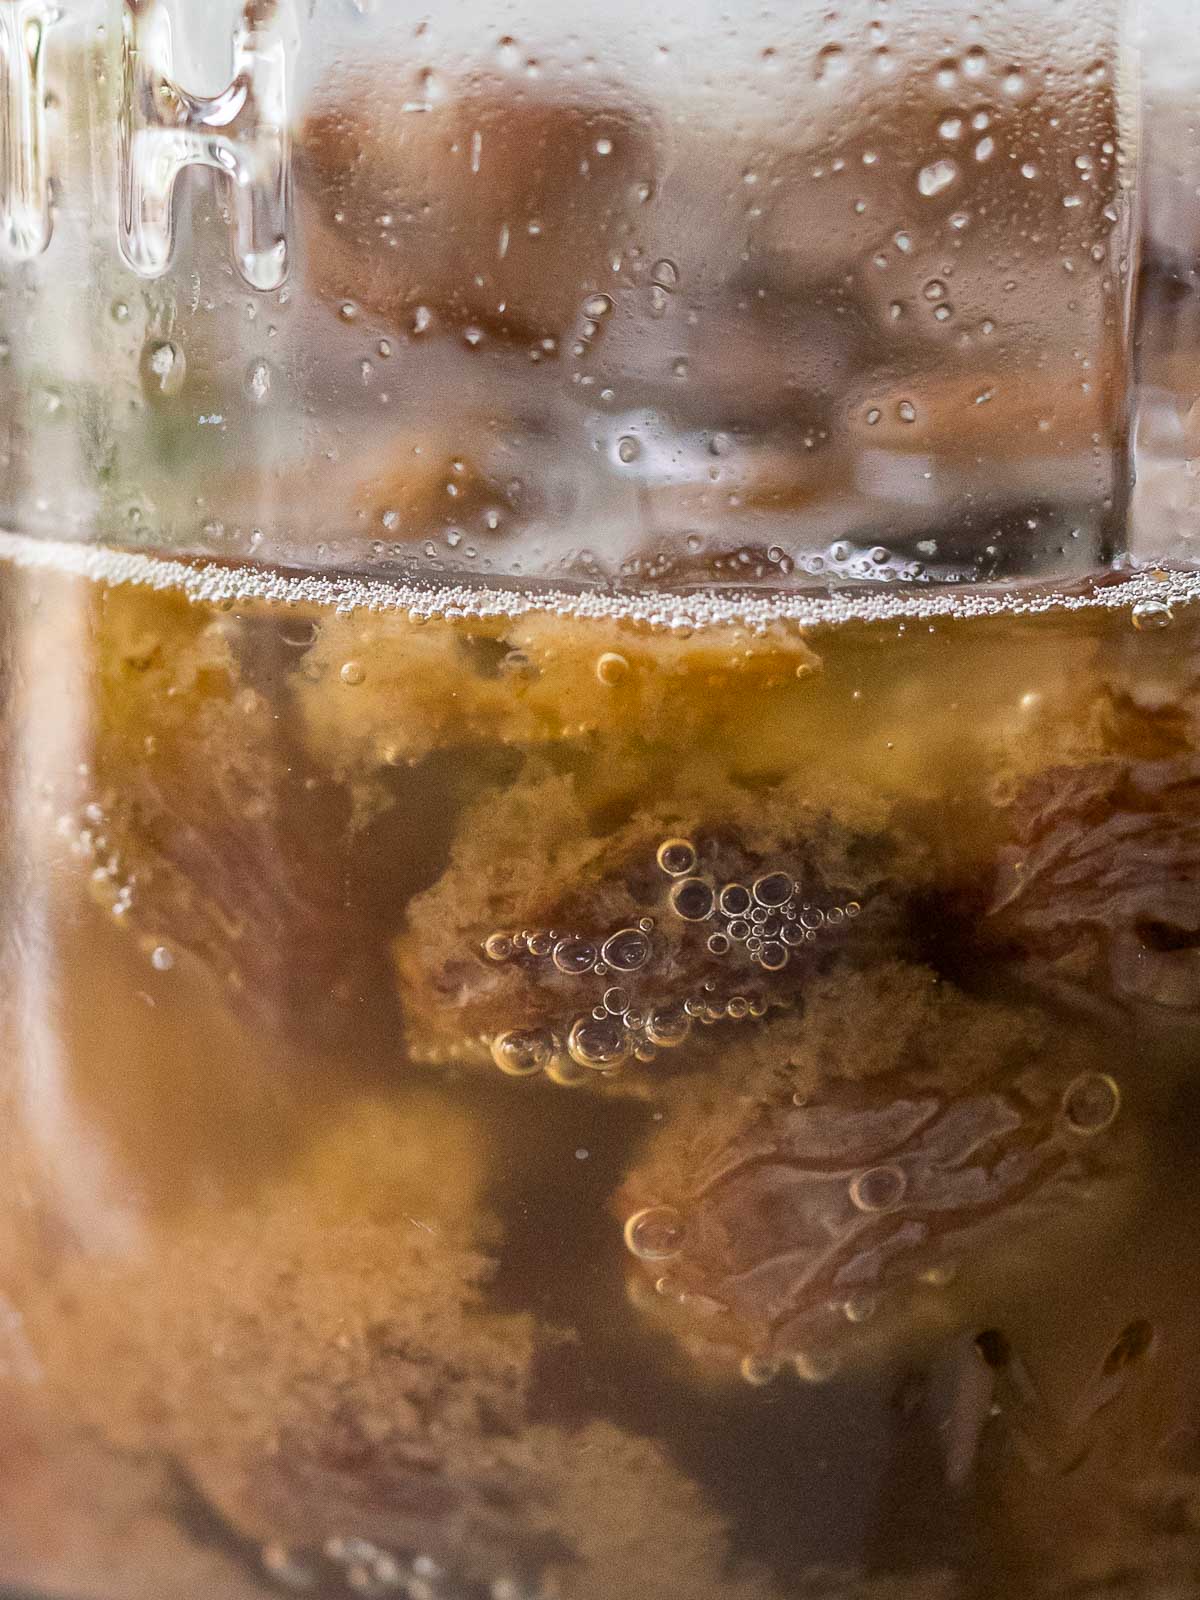
Day 3 Evening:
By the evening of day 3, the liquid was considerable more cloudy and smelled of subtle cider. It was slightly alcoholic smelling, but still mostly sweet. The lid gave off a slight hiss when opened and there were tiny bubbles forming along the sides of the jar.
This is an indication of increased yeast activity. It’s very important at this point to continue to open and close the lid after every shake. You don’t want to build up too much pressure where the lid may pop off.
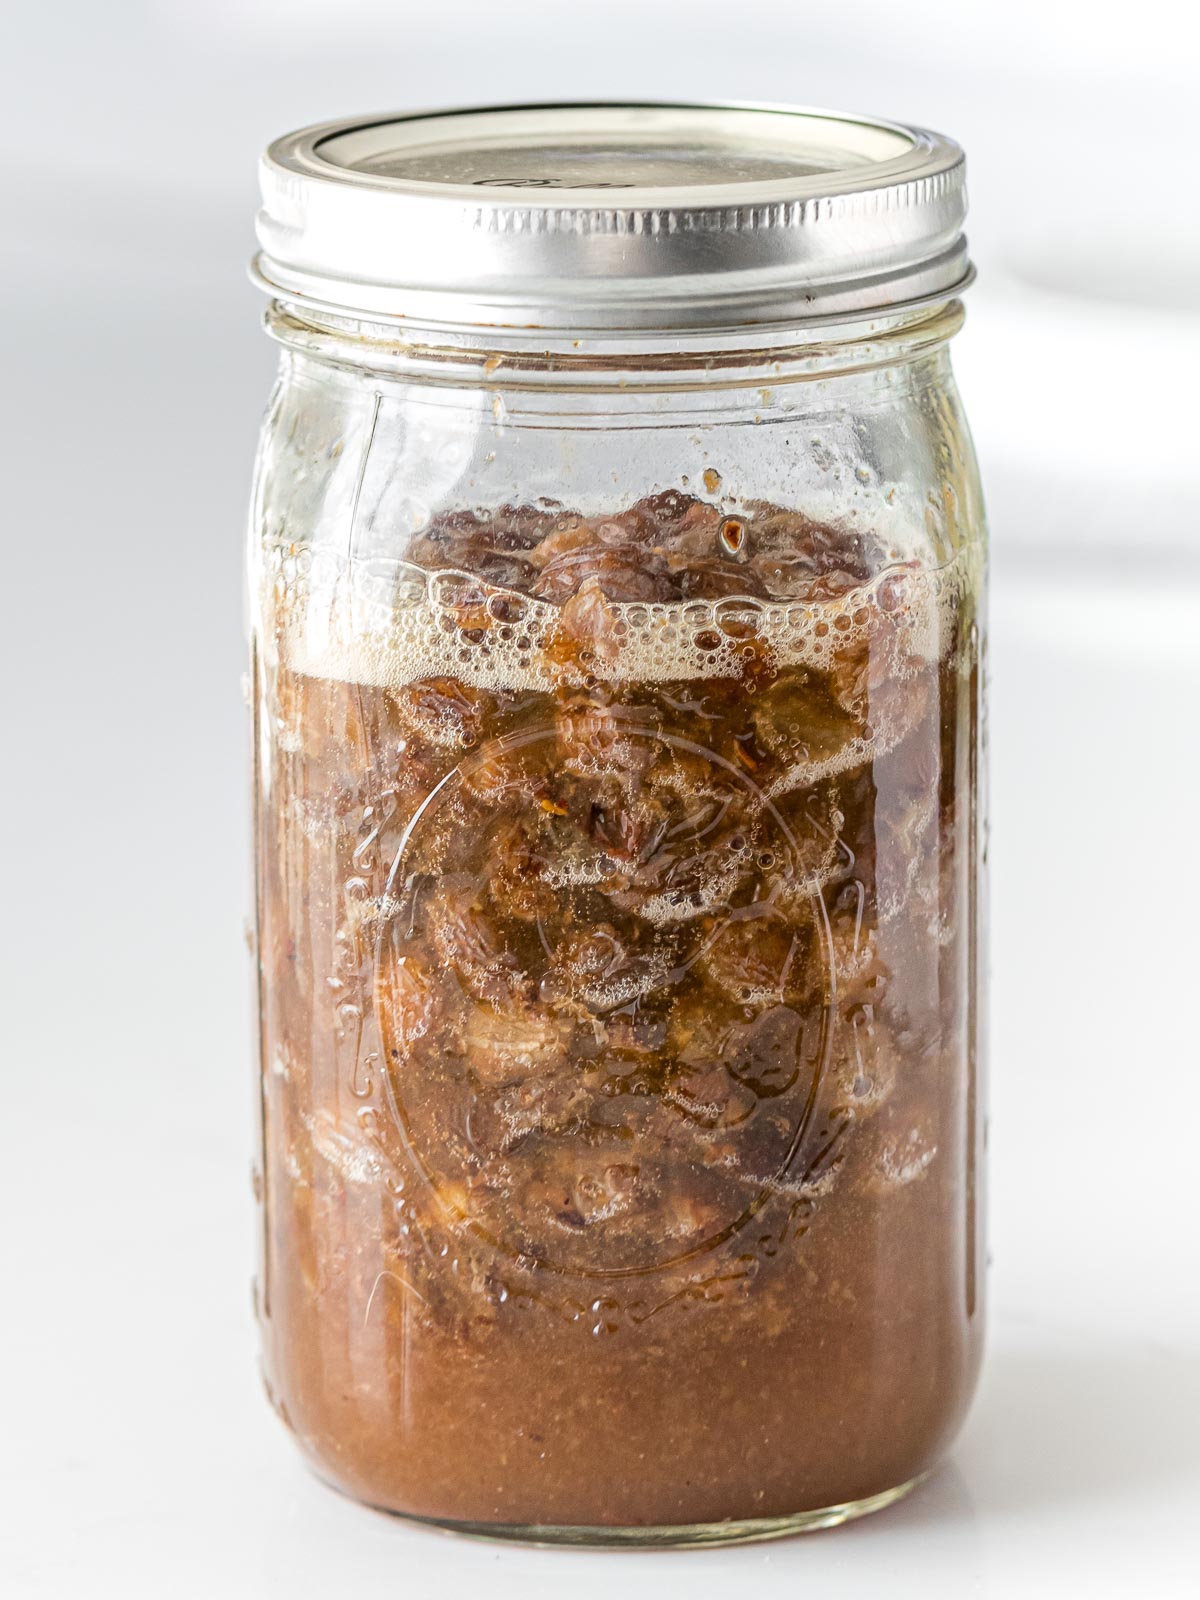
Day 4:
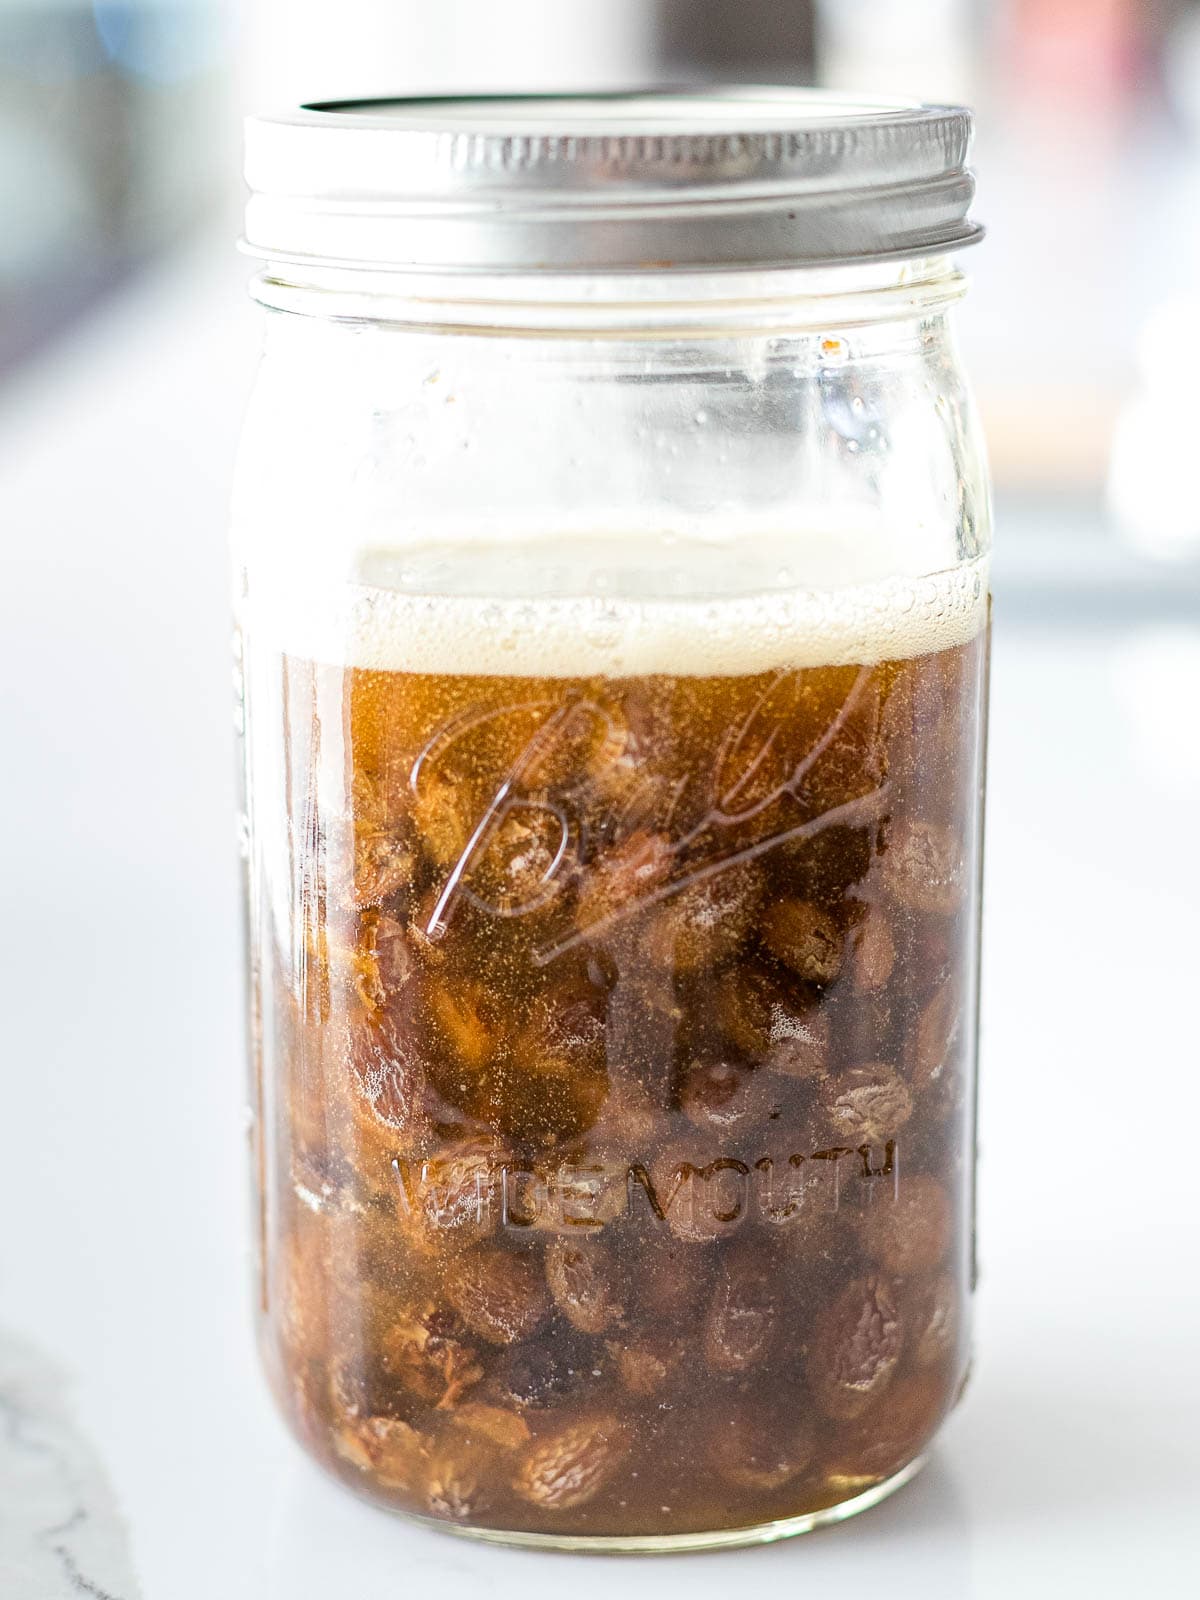
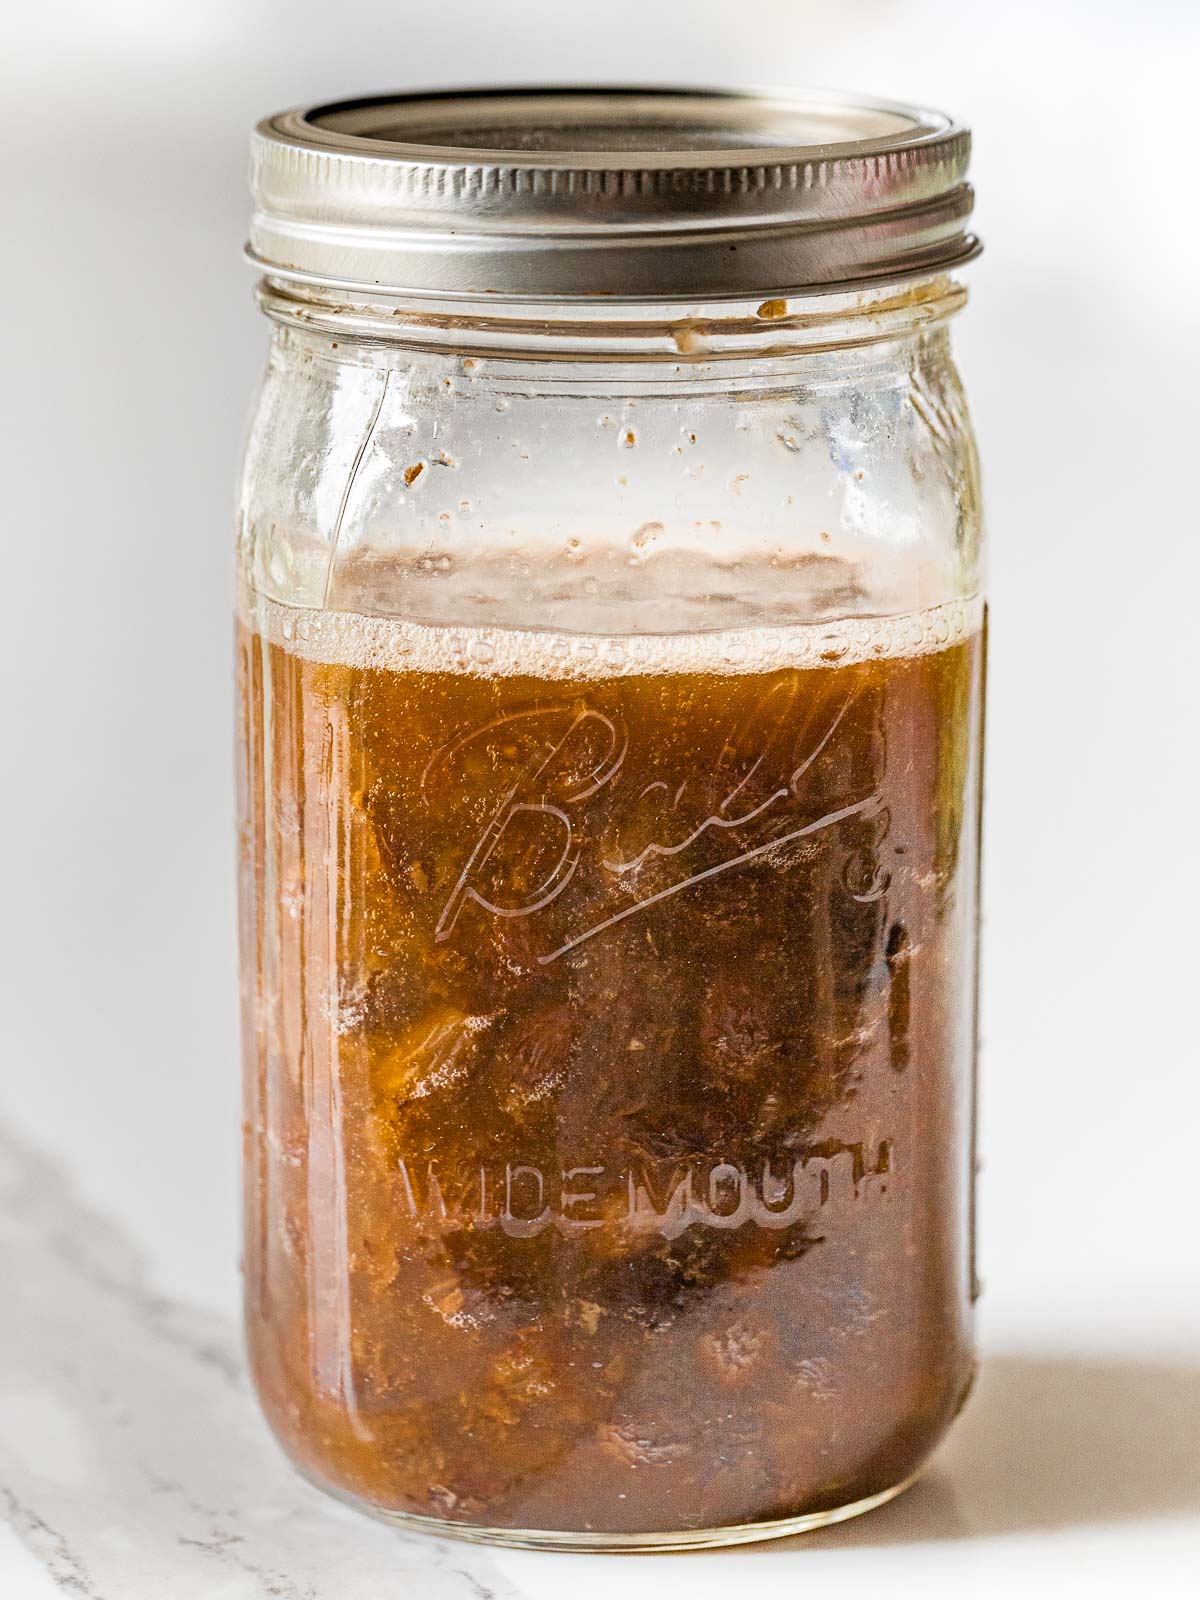
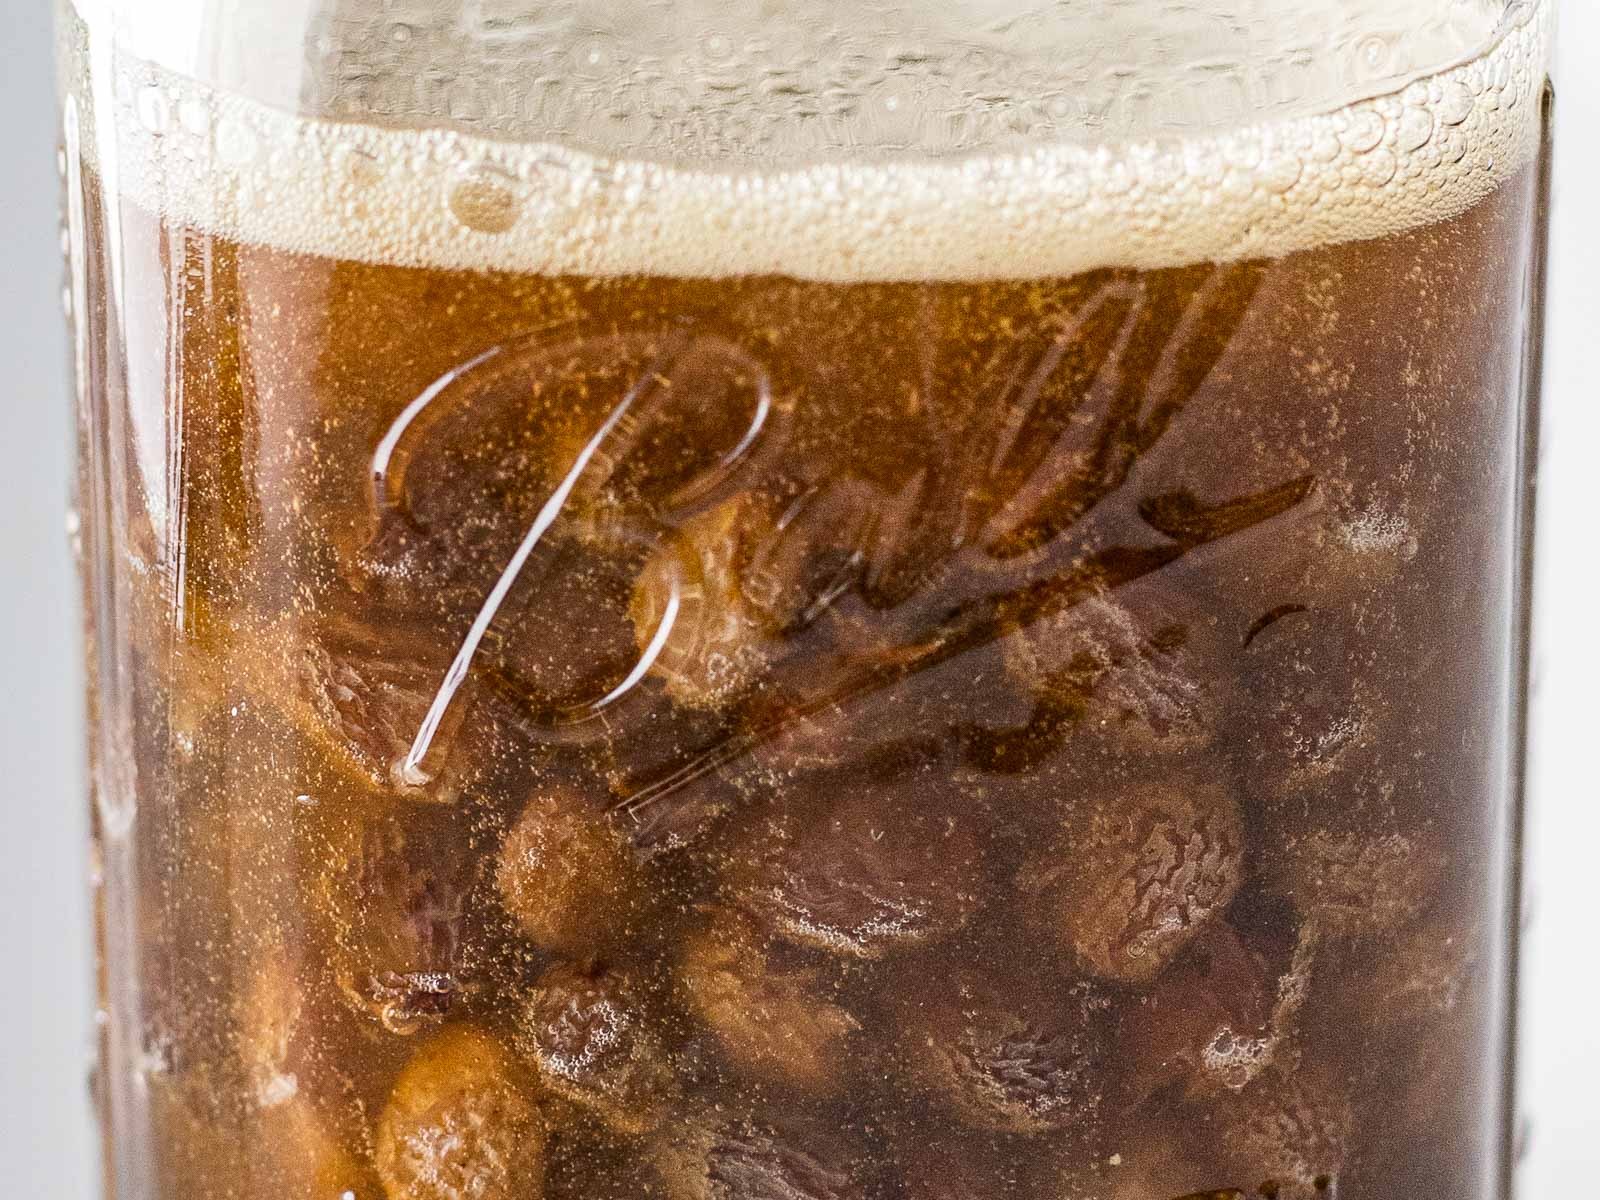
Day 4 – before shaking, raisins are floating 
Day 4 – after shaking, raisin continue to float
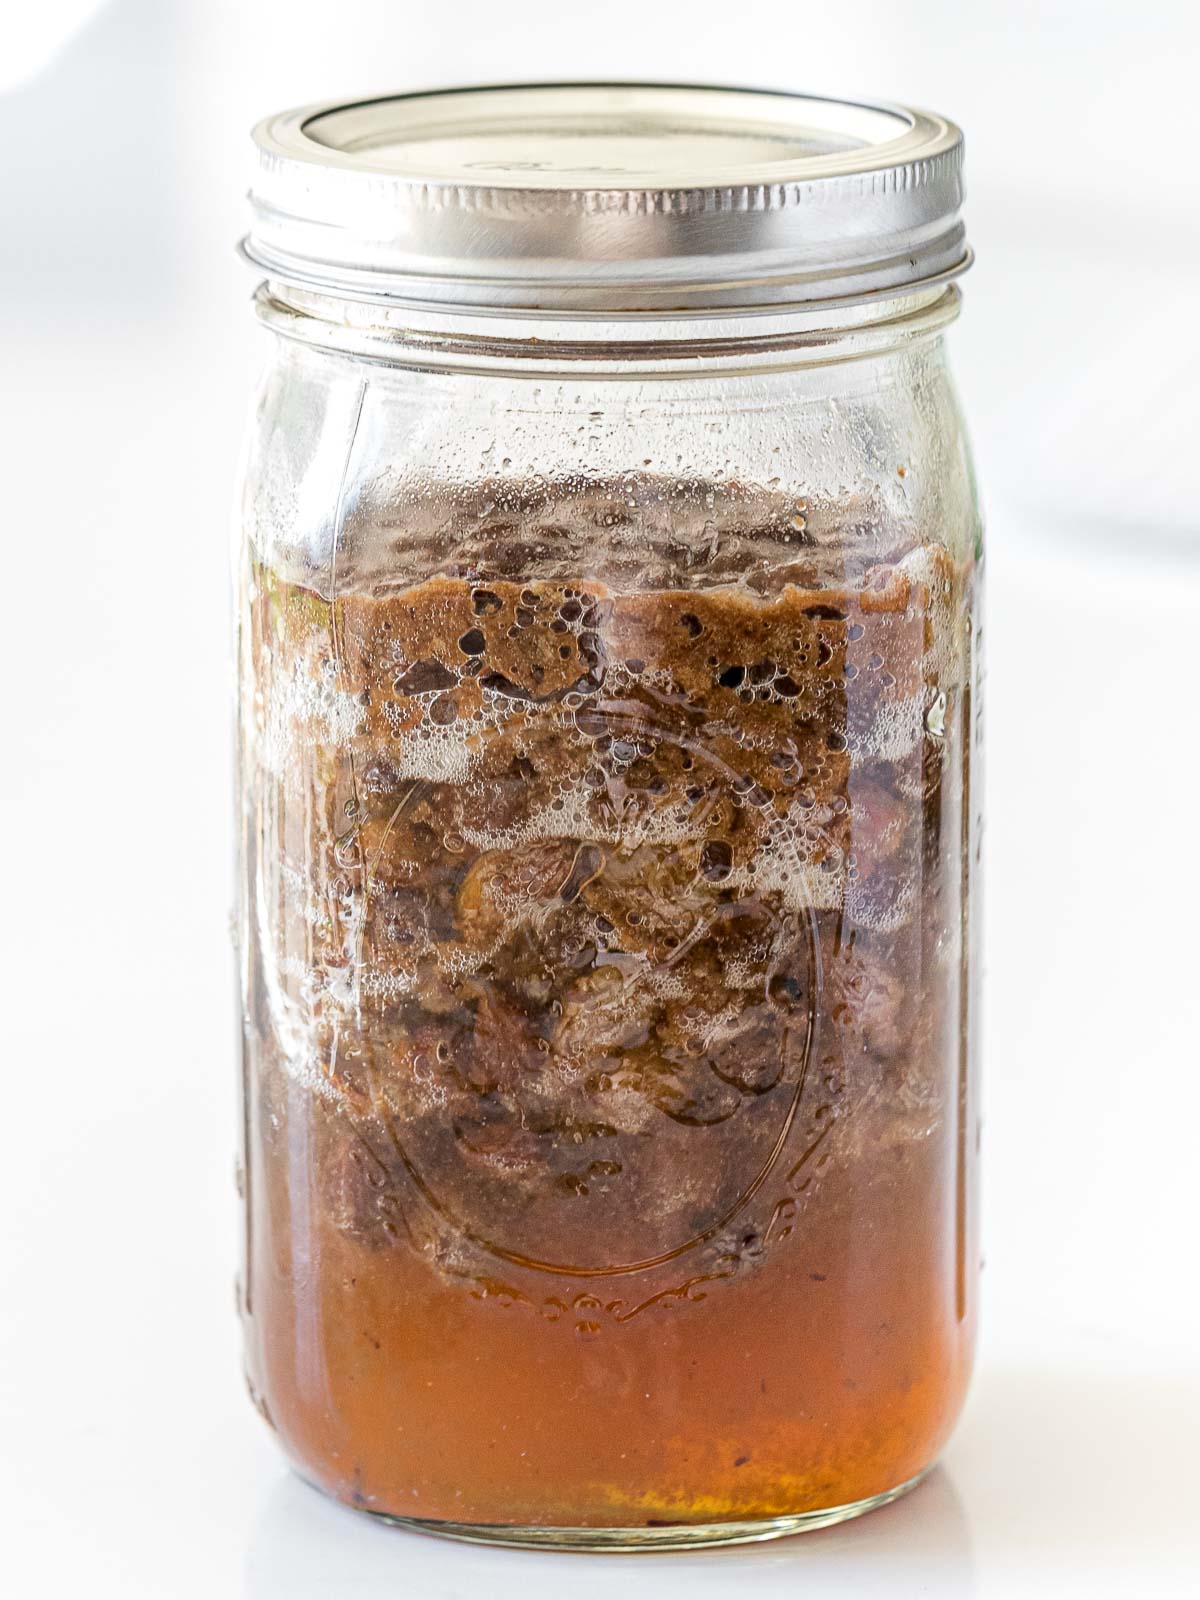

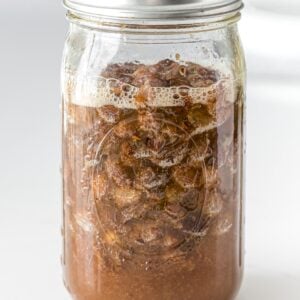
Once you see the raisins floating, there’s plenty of fermentation going on and it’s an indication that it’s ready to be strained and used in baking! The liquid should also be very fizzy at this point.
By this time, the lid gave off a noticeable hiss when opened and a rush of bubbles filled the jar, similar to when opening a bottle of soda. This effervescence effect means there’s enough carbon dioxide built up to create a pressurized environment inside the jar. A lot of gas build up means the yeast is consuming lots of sugar and is very active.
At this point, you can strain the raisins and gently squeeze out the excess liquid.
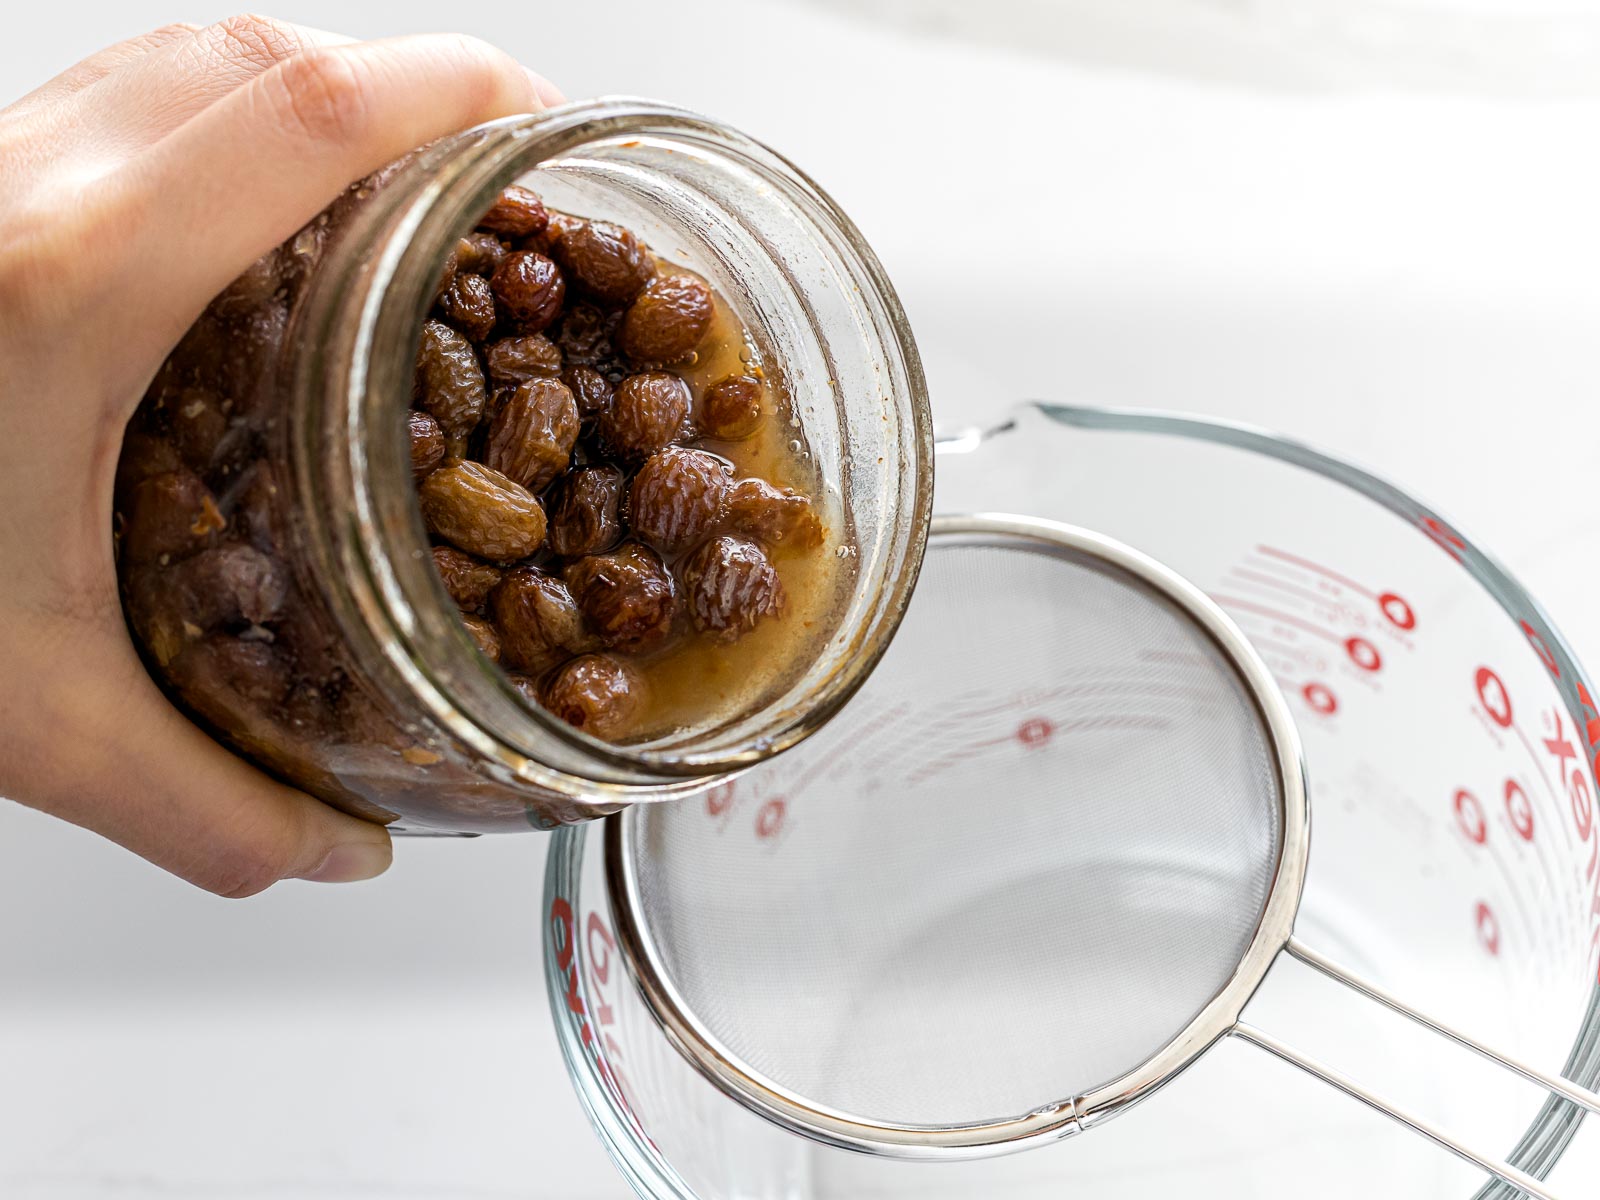
You can either compost your raisins or use them in a baking recipe.
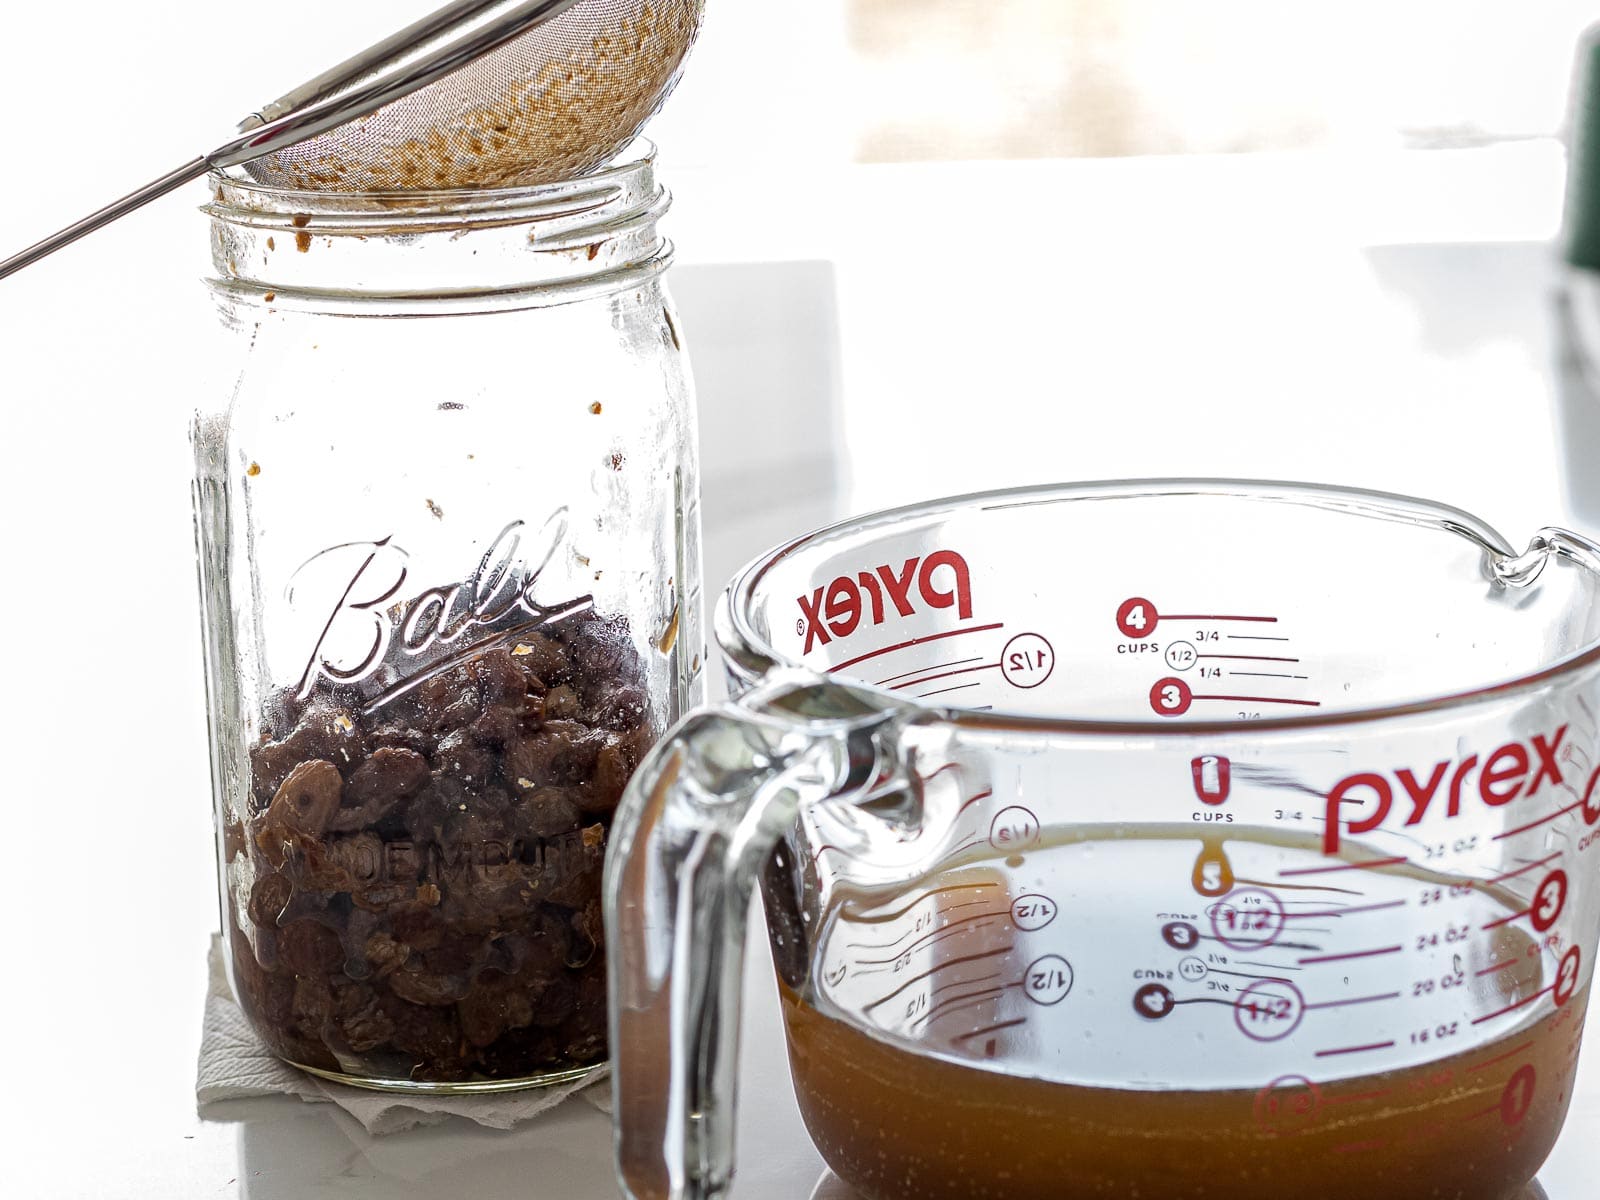
This yielded me 414g of yeast water.
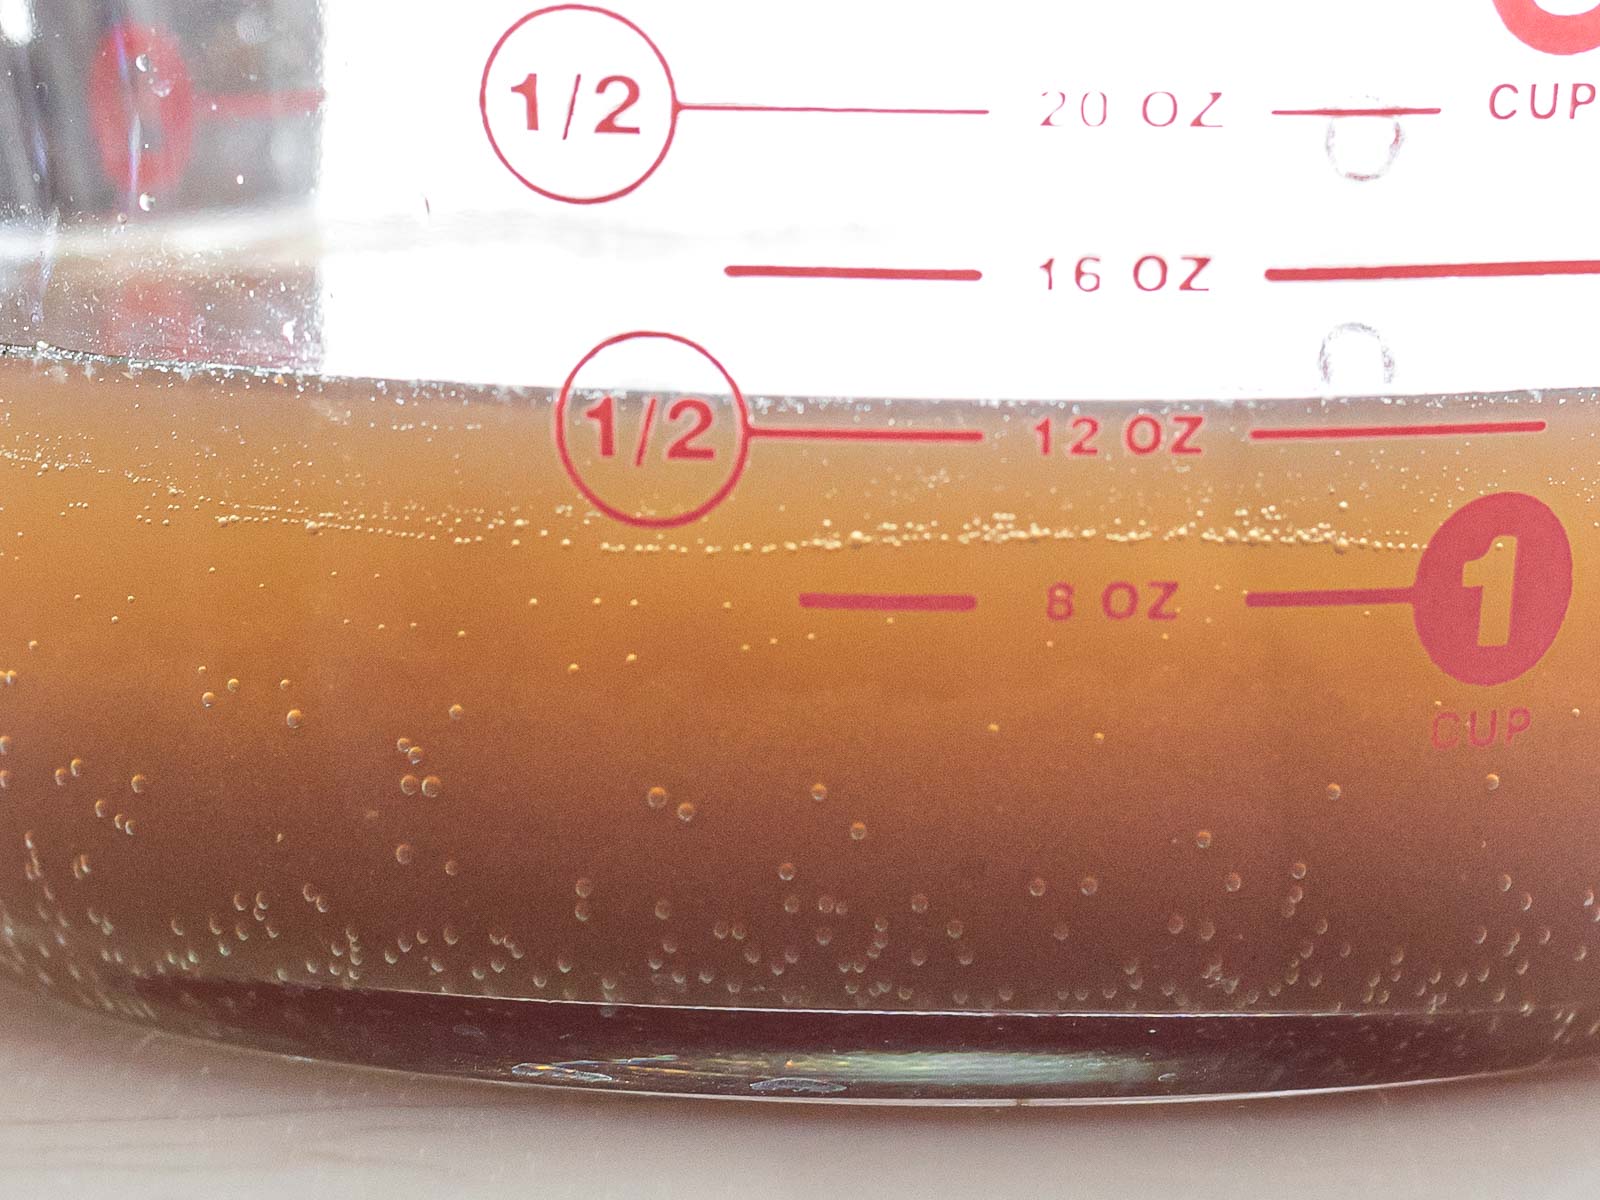
You should see a bit of effervescence in the liquid as there’s still a bit of carbonation.
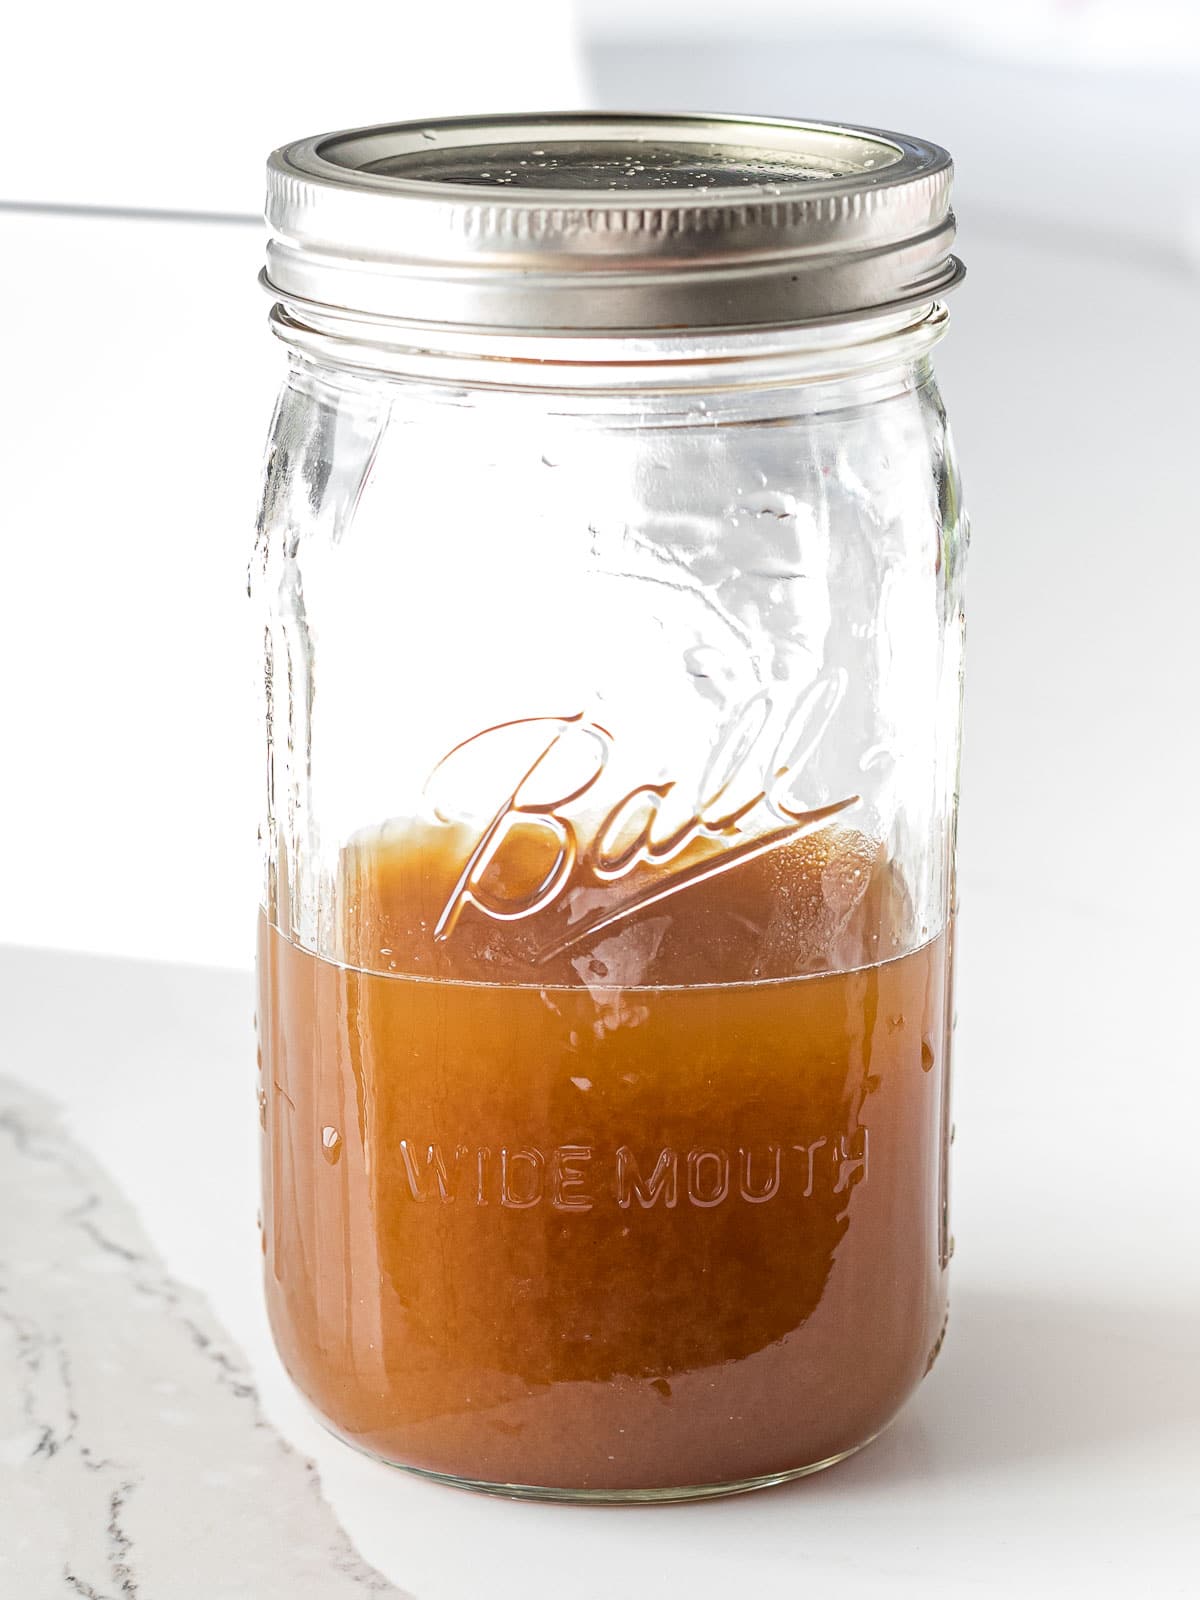
Store it in an airtight jar and keep it in the fridge for up to two months or use it right away in a wild yeast starter.
Be sure to shake the liquid before using it as there will be settling.
Frequently asked questions
Once you’ve strained the fruit, store it in an airtight container and keep it in the fridge for up to 2 months.
When you need to make more, save a small amount of the old batch and add it to your new batch to speed up the process.
I’ve had the most success with raisins so I recommend starting with that if you’re new to yeast water. I’ve also had good results with dried dates and dried figs.
You can also use fresh fruits but from my experience, you get the most consistent results from dried fruits.
For dried fruits, look for preservative free and organic if possible.
Shaking the mixture helps inhibit mold growth on the surface of the liquid and sides of the jar.
You can use it to make a natural yeast starter or eventually turn it into a sourdough starter.
Expert tips and tricks
- Use organic, preservative free raisins that are not coated in oil. This will yield the best results as preservatives and oil may inhibit yeast growth.
- But, if your raisins are coated in oil or contain preservatives, try soaking it in hot water for 15 minutes and then continuing the recipe as written. This should remove some of the preservatives and oil coating.
- When you need to make a new batch of yeast water, save a small amount of the previous batch and add it your new batch. The existing yeast will help speed things along.
- If using tap water, fill your container with water and let it sit out uncovered for 24 hours. This will dechlorinate the water.
More recipes to try:
- Sourdough Starter 2 Ways – Traditional and No-discard method
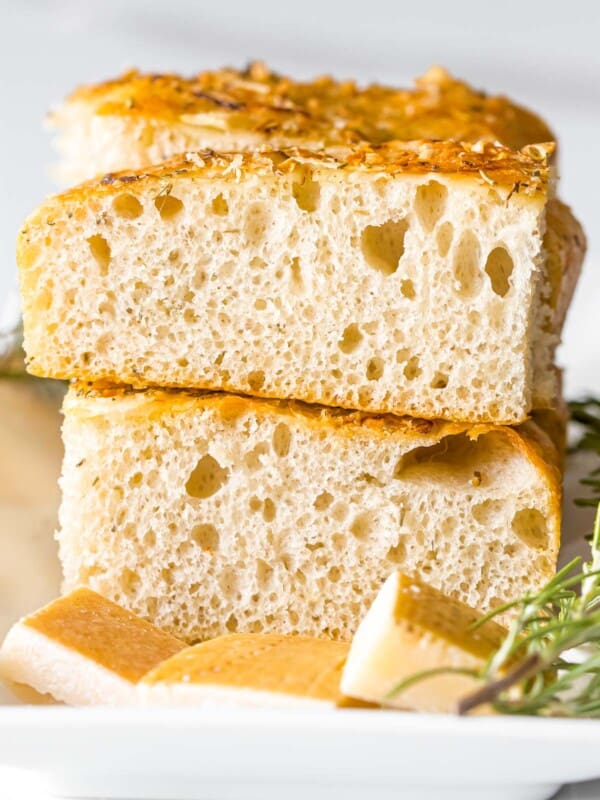
- Sourdough Focaccia with Rosemary and Parmesan
- Pumpkin Chocolate Chip Bread with Cream Cheese Swirls
- Bakery Swiss Roll Cake Recipe
- Chocolate Roll Cake – Swiss Roll
- Custard Bread Pudding with Vanilla Sauce
How to Make Yeast Water
Equipment
Ingredients
- 250 g filtered water, – see Notes if using tap water
- 100 g raisins, – See Notes about preservatives
- 4 g white sugar
Instructions
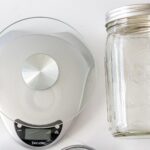
- Weigh all your ingredients with a kitchen scale. Check the label on your raisins to make sure they're free of sulfur dioxide (a preservative) and any type of oil coating. These can inhibit yeast growth. If possible, use organic raisins.

- Add all the ingredients to a clear jar with an airtight lid. Shake it until the sugar dissolves and place it in a warm place out of direct sunlight. The raisins should lay at the bottom of the container.
- Vigorously shake the mixture for 3 seconds morning and evening for the next 3 to 8 days or until you start to see the raisins float in the water. The length of time will depend on yeast activity and temperature.It's very important to open and close the lid before AND after every shake. This ensures you don't have excessive gas build up in your container which can cause the lid to pop off! Keep the lid sealed at all other times.

- After a few days, you should start to notice signs of fermentation in the yeast water. The water should be cloudy and there should be tiny bubbles around the raisins and along the sides of the container. The raisins will be suspended in the water instead of laying at the bottom of the container.
- The yeast water is ready to use once the raisins float to the top. (Note: Yeast consumes sugar as food and then produces carbon dioxide as a byproduct. When the raisins float, it's a sign that there's enough yeast activity to generate gas build up. This means it's ready to strain and use in a wild yeast starter.)
- Strain the raisins in a mesh strainer and gently press out any remaining liquid. You can either discard the raisins or use them for baking.
- Store the yeast water in an airtight container and keep it in the fridge for up to two months. You can use this liquid to create a natural yeast starter or add it to bread recipes. Be sure to mix it well before adding it to any recipe as there will be settlement.


Notes
- Read about how to create a starter using yeast water.
- This recipe yields 414g of yeast water.
- If using tap water, fill your container with water and let it sit out uncovered for 24 hours. This will dechlorinate the water.
- Raisins – if your raisins have preservatives or an oil coating, soak them in hot water for 15 minutes before using. Otherwise, it’s best to use organic, preservative free raisins. Check the ingredients to see that raisins are the only ingredient. If you see it contains sulfur dioxide, that is a preservative.
- The time it takes for the raisins to float depend on the amount of yeast present on the skin of the raisins and also the ambient temperature. To speed things up, place it in a warmer area of the house but away from direct sunlight.
- Be sure to keep the lid closed at all times except for when opening it before and after every shake.
- When you make a new batch, save a 1/4 cup of the previous yeast water and add it to your new batch. It will speed things up and will be ready to use a lot sooner!
Nutrition
Nutrition information is automatically calculated, so should only be used as an approximation.
Like this? Leave a comment below!


Can I use the yeast water in a traditional starter, to accelerate the process and make a really strong starter? I do want to have the sourness from lactobacilli as well.
Hi Peter! Yes you certainly can use yeast water to create a faster, stronger sourdough starter. I wrote about the process in this No Discard Sourdough Starter post. If you want to have a more pronounced sour flavor, continue discarding and feeding the yeast water starter as you would the traditional way. It should develop a sour smell after several days. For a really sour flavor, you want to increase the amount of acetic acid in the starter. You can do this by keeping the hooch (brownish liquid that sits atop the starter), keeping the starter at a cool temperature which encourages a slower, longer fermentation (I keep mine in the fridge), and feeding the starter a mixture of rye and whole grain flours. Hope that helps!
Have never heard of this, but how fascinating! I love to experiment with sourdough baking so I love this! Thanks for the informative recipe and the step by step photos!
Wow! This is so cool I never knew. I am sharing this with my sister that home schools I think it would be a great science and cooking project.
this has been on my to-do list forever – you’ve just brought it back up to the top. Thanks for the great instuctionals
Thanks to Wild Yeast Water, we can enjoy many of the benefits of a sourdough bread which builds flavor, lower glycemic index, due to the longer fermentation time, all while not developing the sour taste.
I’ve converted Chad Robertson’s Tartine bread to eliminate the sourdough starter and just replace the levain water with WYW. The Tartine bread was mild to begin with, and now very neutral using this Wild Yeast Water.
Not using much commercial yeast now and my Rye Sourdough starter is reserved for making a very nice Rye Deli loaf.
So far I’ve used raisins, apples, blueberries, crab apples. The regular apples {from the grocery store, and who knows how they were processed} never developed much gas/bubbles. All the others worked very well, with the free from my trees, Crab Apples giving the most activity and most rise.
Hi Mike! Great to hear you’re using wild yeast water! I haven’t tried crab apples before but that sounds really interesting! Blueberries are another great fruit to use, grapes have worked well for me in the past too.
You’re right in that there’s less of a sour taste when baking with wild yeast but it’s a welcomed change for me after baking so much sourdough. I only use commercial yeast now for making poolish but otherwise, I’ve been exclusively using my yeast water as well. I just made another batch a few weeks ago! 🙂
Yeast has been so hard to find in the stores lately, so I was really excited to give this a try. It worked so well! I am so comforted knowing that I have this recipe in my repertoire!
Can this be done without using sugar?
Hi Barb! Technically, you can do this without sugar but I’ve found the most success when adding sugar. It provides food for the wild yeast to feed on from the beginning. Hope that helps!
I am so glad to find your site. I love to bake sourdough bread but I could not maintain the Levaine. This will help me to keep making bread once every 2-3 weeks.
This looks so interesting and easy! I love making homemade bread and can’t wait to give this a try!
I have been playing around with sourdough starter, which I have been enjoying. I’m loving the concept of yeast water. Something I’ve not heard of before and will be giviing it a try to create another sourdough.
Hi Jamie,
I was thrilled to come across your recipe. I live in a remote country town, and have not been able to source yeast at my local store for many months. This is genius – thank you so much.. I am so excited to get baking again.
Kind regards, Bev
Hi Bev! So glad I can help you cultivate wild yeast! It’s definitely a fun process and great for making a starter!