As an Amazon Associate I earn from qualifying purchases. This post may contain affiliate links.
Learn how to make sourdough starter two ways – the traditional method of feeding and discarding & a no-discard method using yeast water!
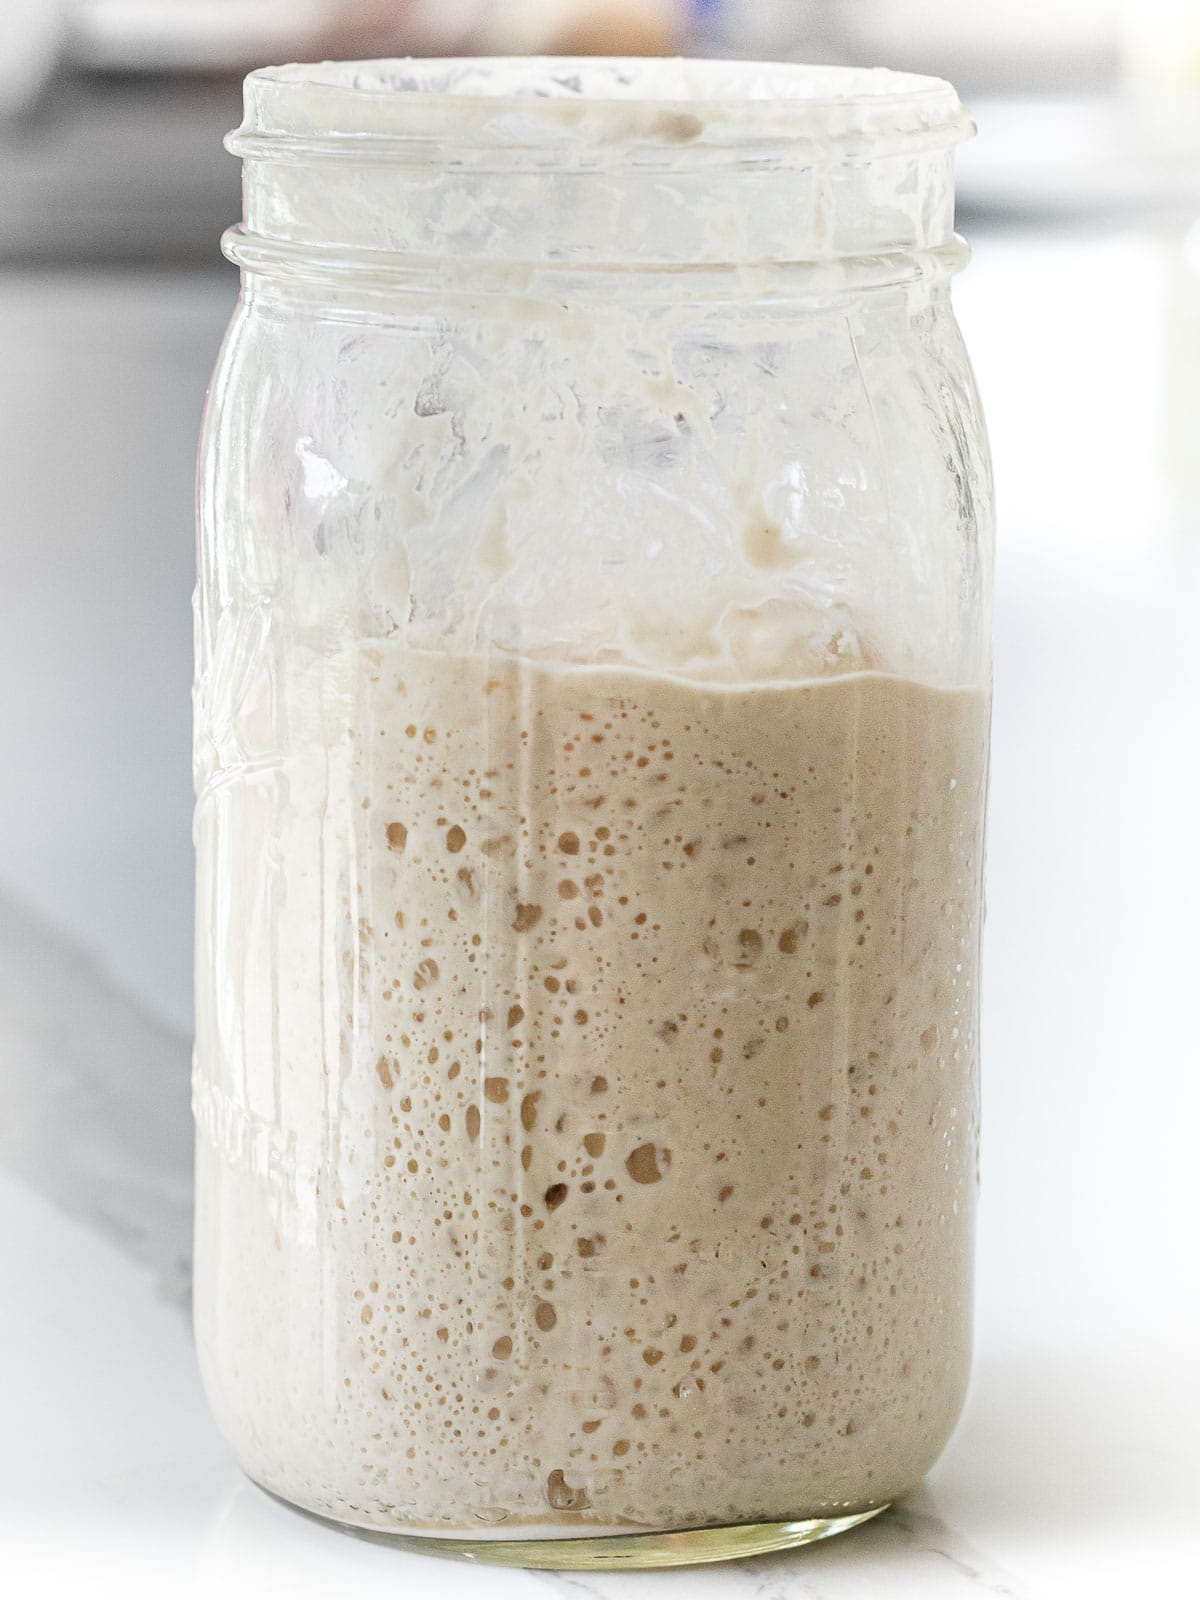
Table of Contents
What is sourdough starter?
Sourdough starter, also called a sourdough culture or levain starter, is a mixture of flour and water that’s been fermented to cultivate wild yeast and bacteria in our environment.
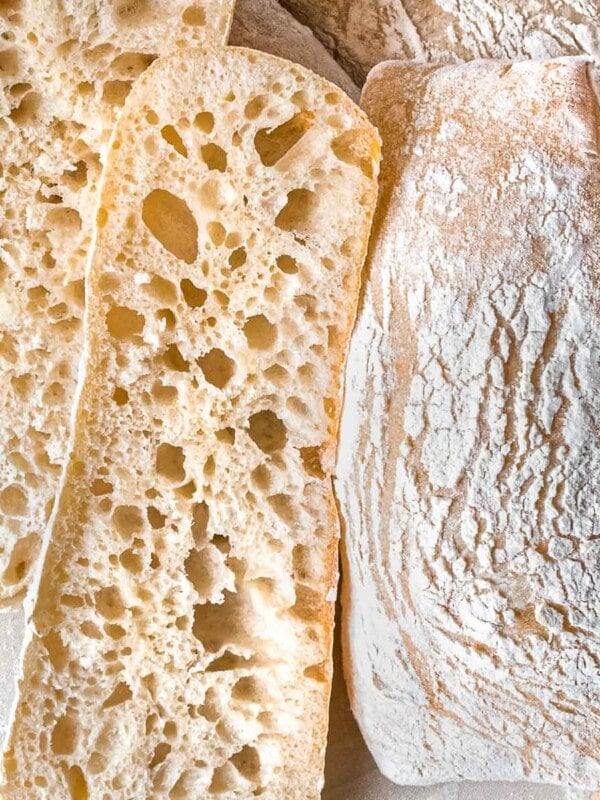
This is used as a natural leavening agent when making bread which gives it a far better texture and flavor compared to bread made with commercial yeast.
Most people know that sourdough starter requires regular feeding and discarding in order to keep it alive and active. Some even name their starters so it’ll be easier to remember to feed it.
But what most people don’t know is that there’s an easier way to make a sourdough starter that doesn’t require any feeding or discard. It’s made with yeast water, which I’ll explain more about below.
But first, let’s get into the traditional way of make sourdough starter so we can compare both methods!
Traditional method to making sourdough starter
This will produce a 100% hydration sourdough starter, which means there’s equal amounts of flour and water.
Ingredients you’ll need:
- Rye or Whole wheat flour
- Filtered water
- Kitchen scale
- Clear jar or bowl
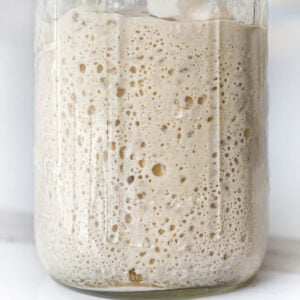
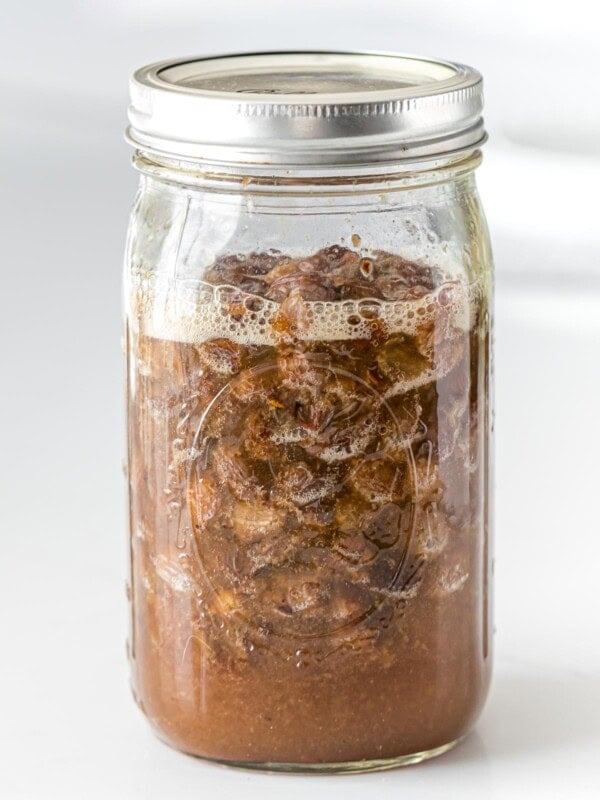
This method uses a flour and water mixture to provide food for the wild yeast to consume. As the yeast consumes the sugars in the flour, it produces carbon dioxide which creates the bubbles you’ll see in an active starter.
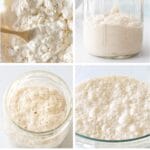
Step by step instructions – feeding & discarding
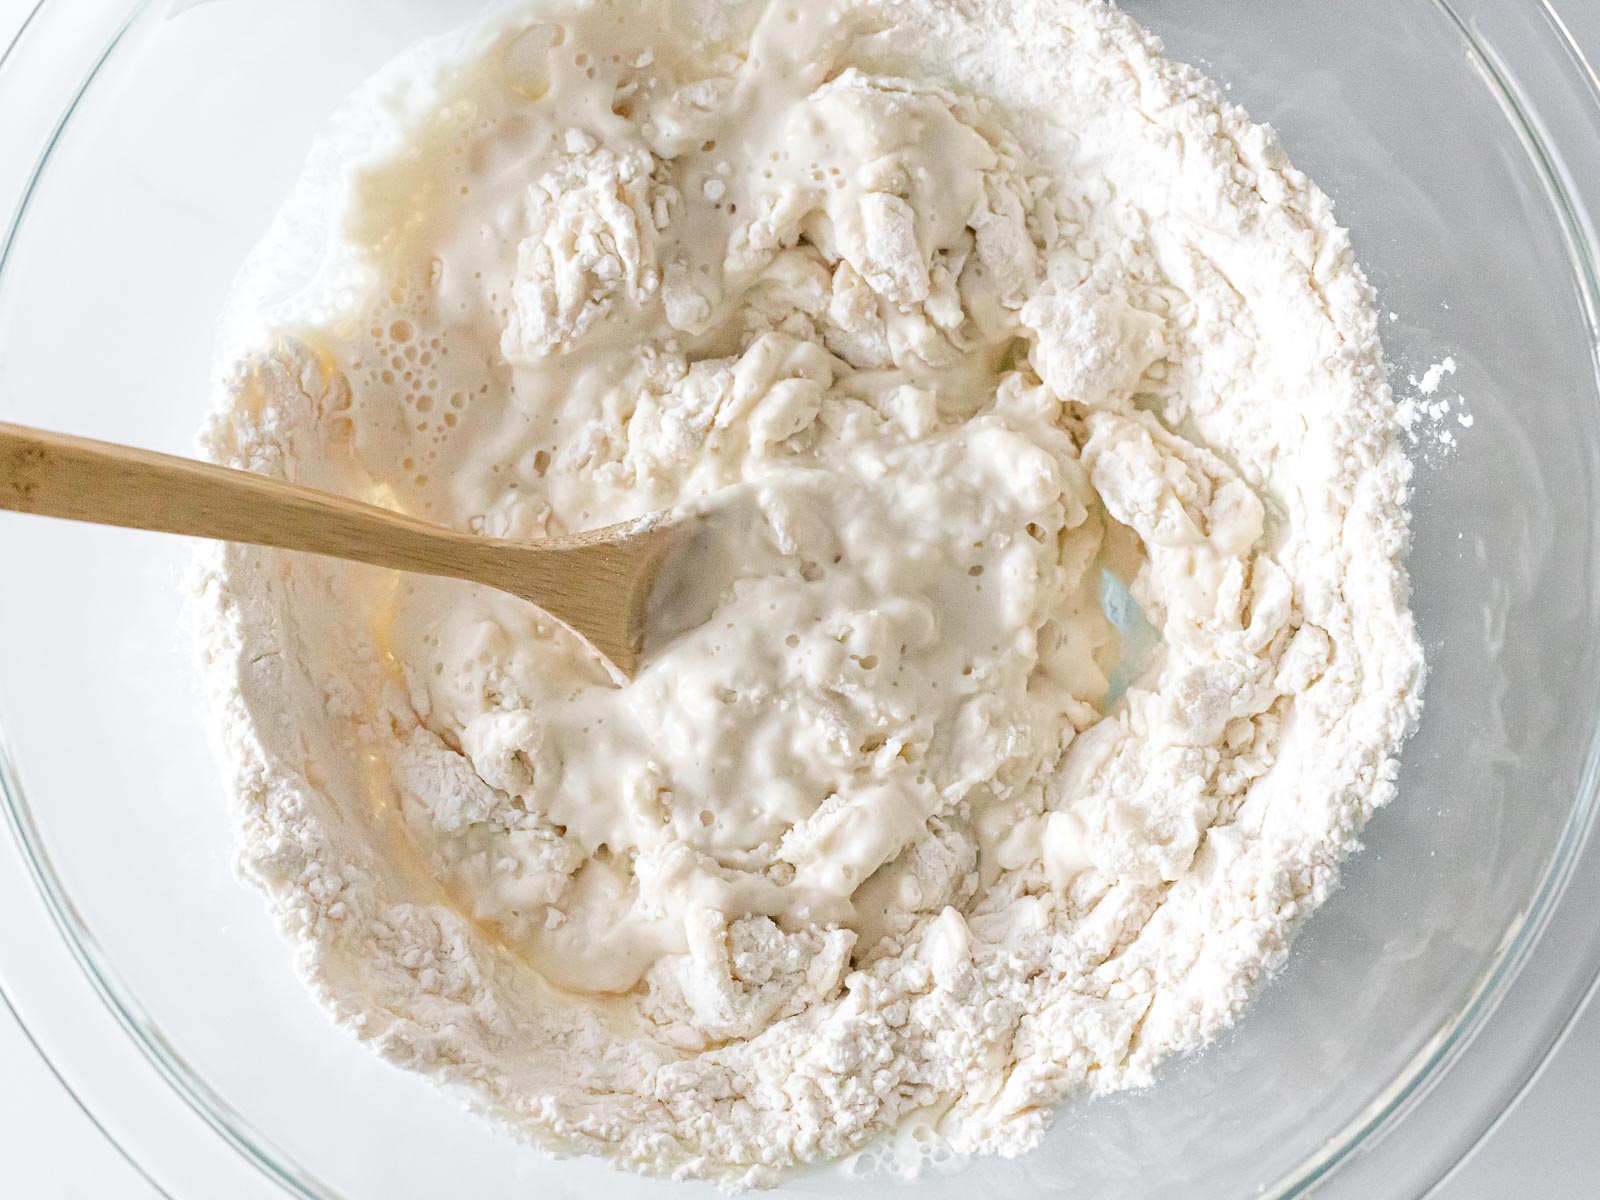
- Day 1 – Mix together an equal amount of flour and water (measured in grams). This mixture will be referred to as your starter. Place it in a clear bowl or jar and lightly cover with plastic wrap. Set it in a warm place away from direct sunlight.
- Day 2 – Discard most of the starter from the previous day and feed it a fresh mixture of flour and water. Mix it well and set it in a warm place away from direct sunlight.
- Day 3 through Day 5 (Do the following twice a day) – Discard most of the starter and feed it a fresh mixture of flour and water. Mix it well and set it in a warm place away from direct sunlight.
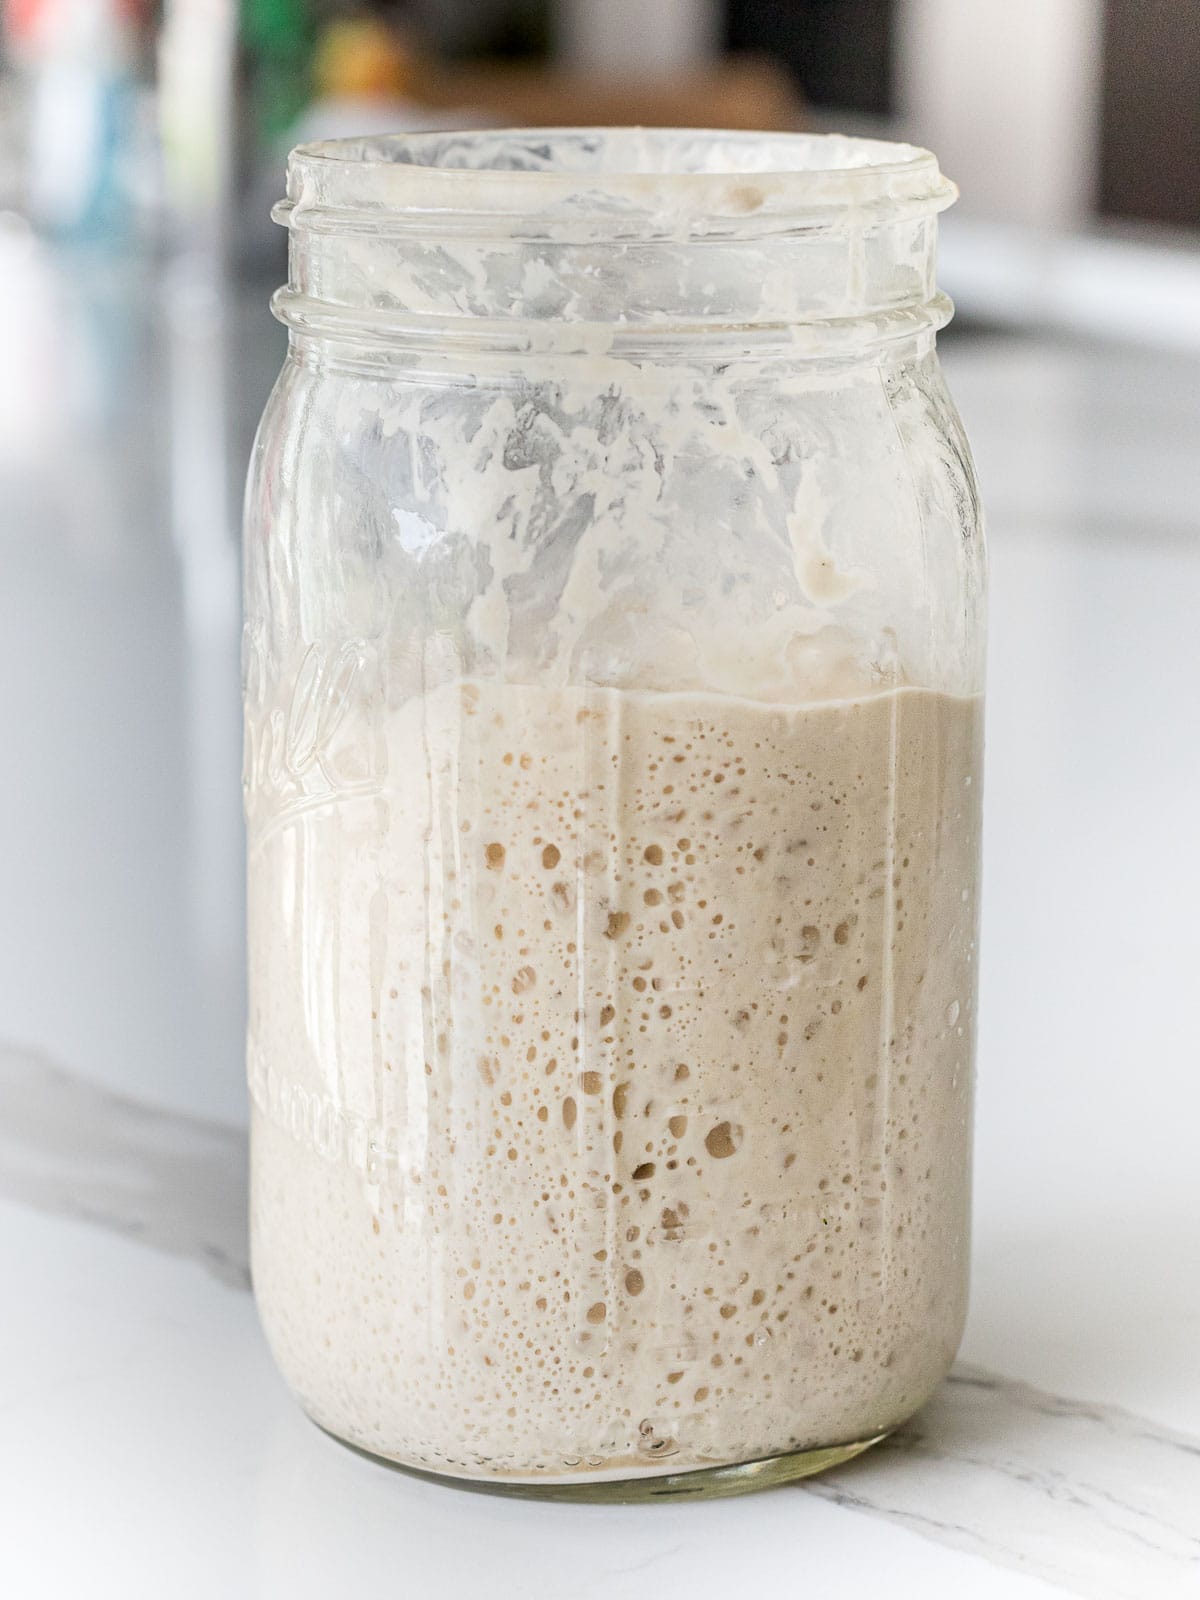
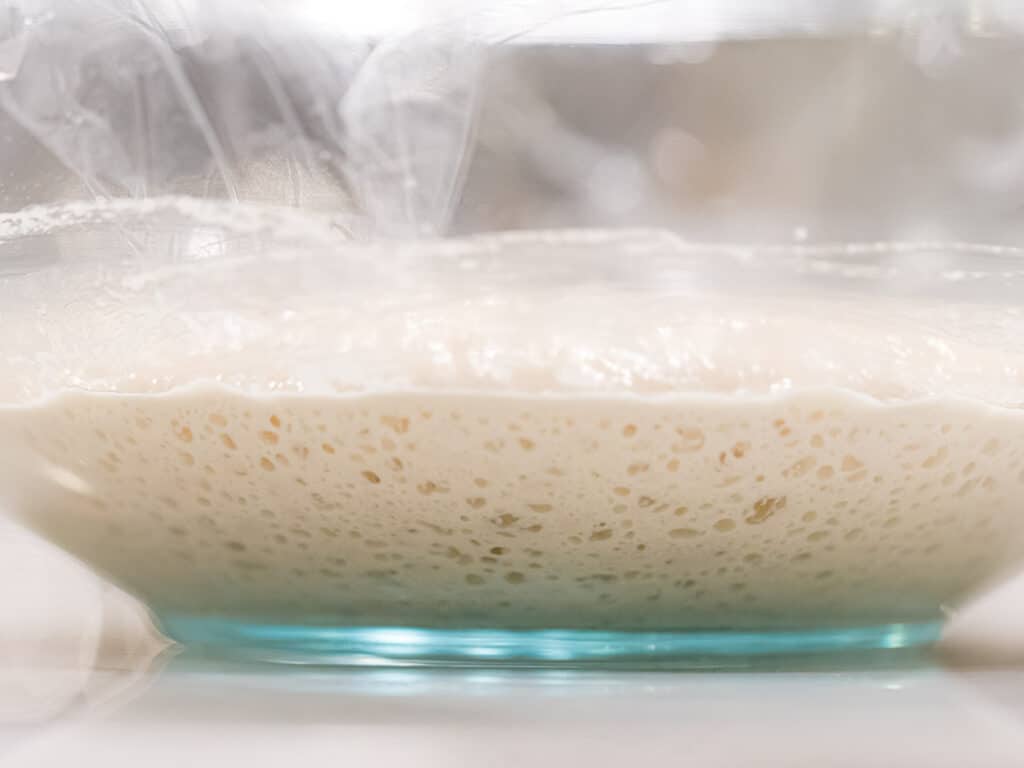
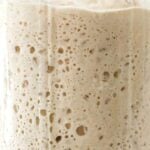
- You should start to see activity during days 3 through 5. There should be little bubbles forming in your starter several hours after feeding.
- The starter should smell a bit tangy and very yeasty. It should smell pleasant after a feeding, similar to fresh baked bread with a slight tang.
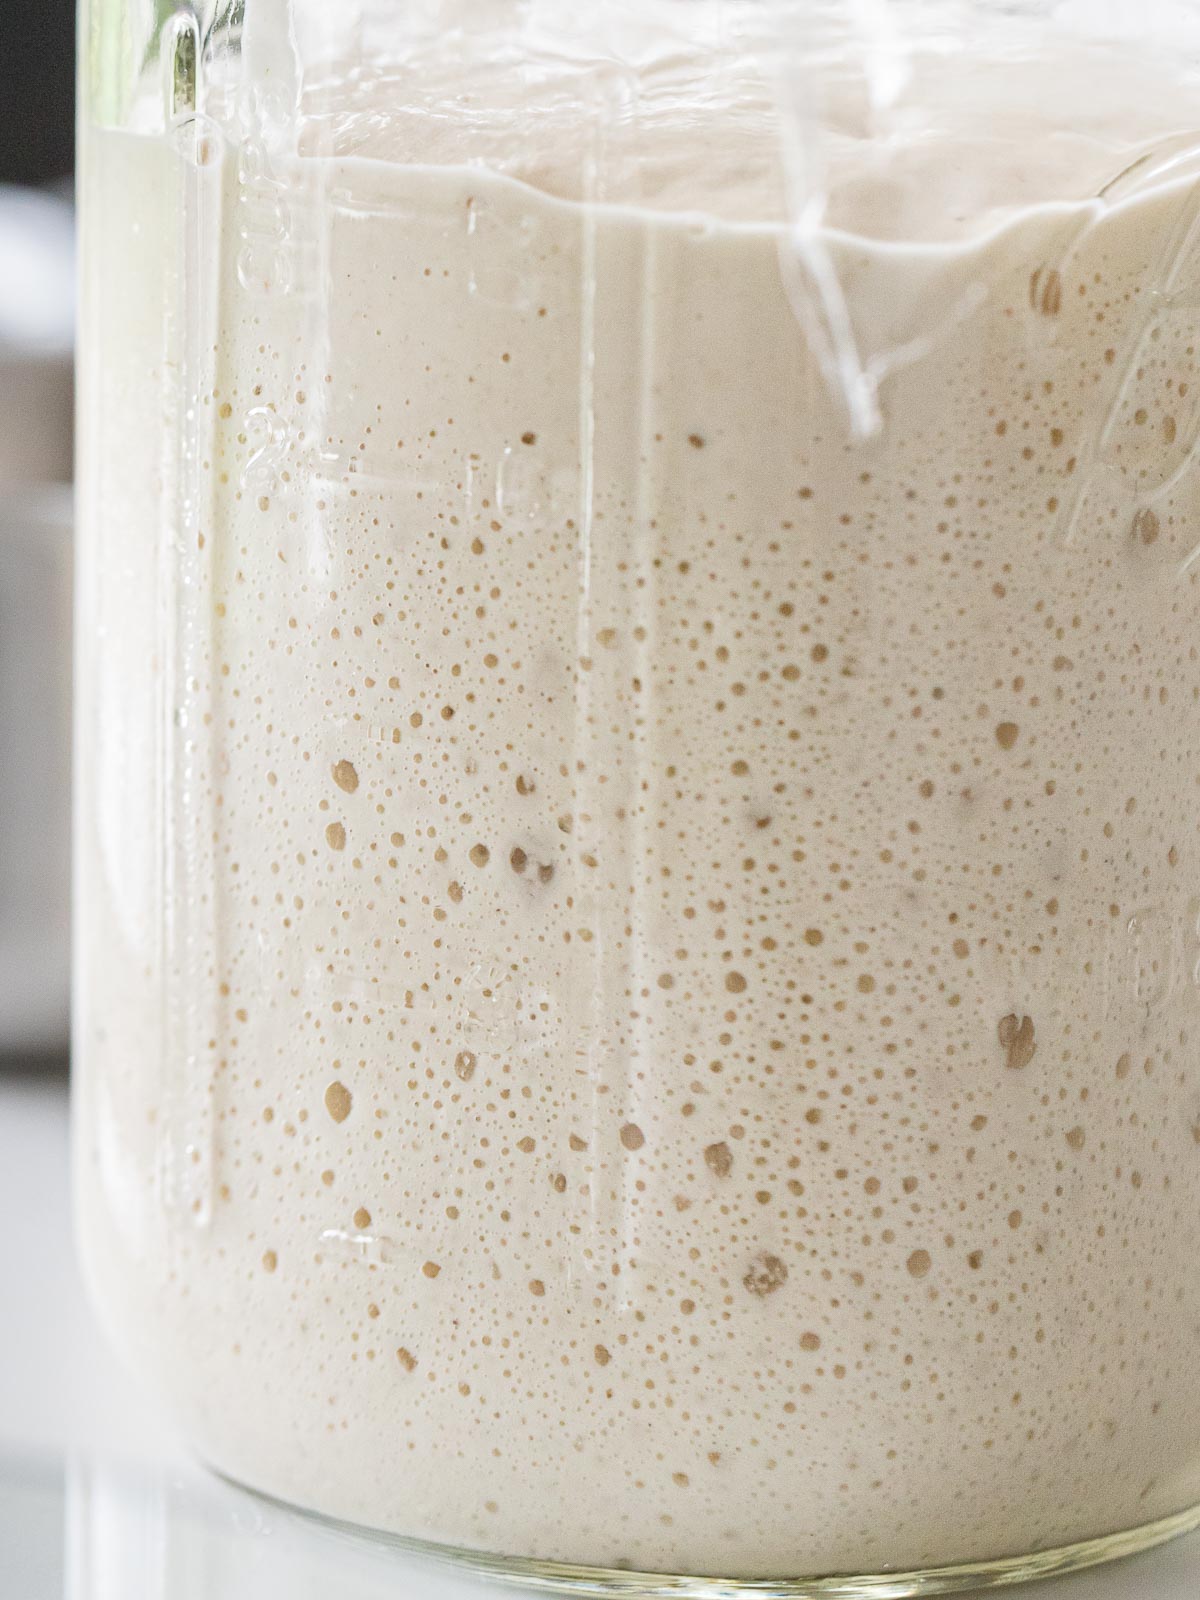
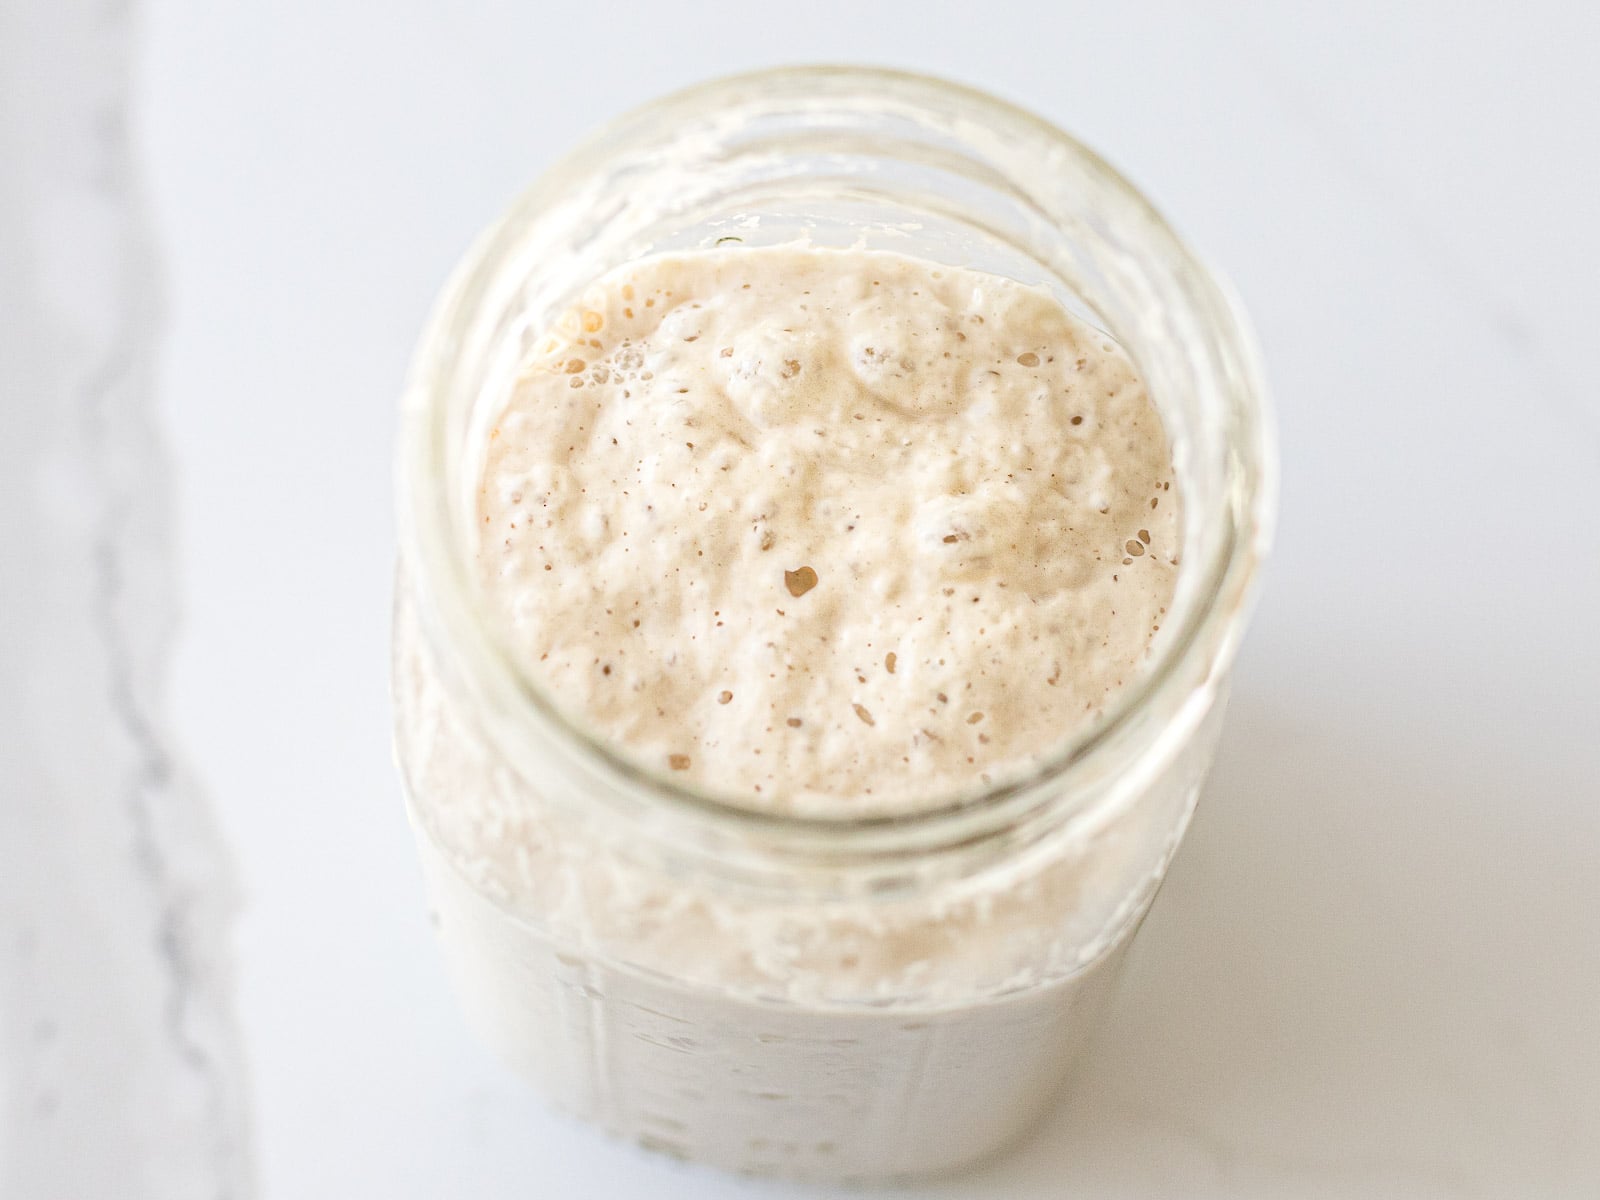
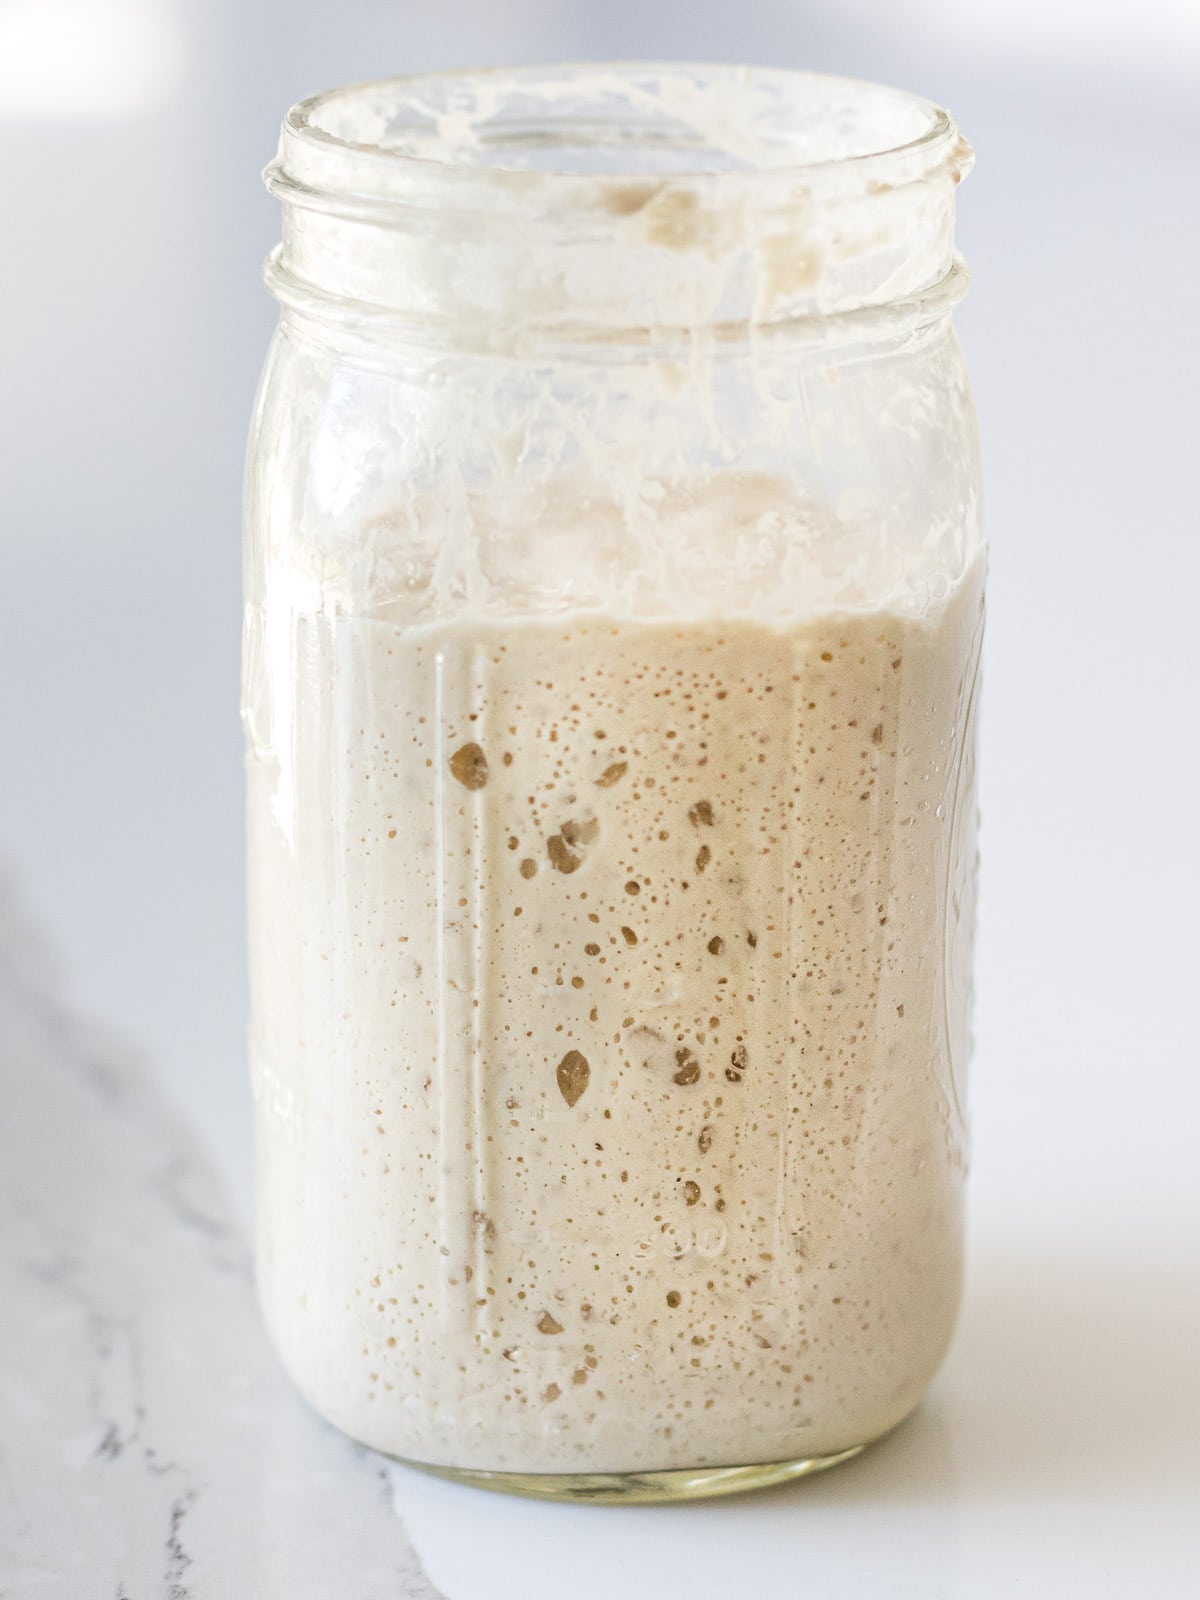
- Day 6 – By now, your starter should be bubbly and very active. It should double in volume about 4 to 6 hours after a feeding.
- You can use this for baking immediately, which some people now call a levain. Or you can store it in the fridge, where the yeast slows down and you’ll only need to feed it once a week.
- Note: Don’t worry if your starter isn’t as active yet. It’s completely dependent on the temperature where are you and the yeast population so just give it more time and keep repeating the steps for Day 3 through Day 5 until you see your starter double and get bubbly.
A strong, active starter should rise and fall on a schedule after each feeding. For example, my starter doubles in volume approximately 4 to 6 hours after feeding. I set this in a warm area in my kitchen that hovers around 74 to 78 degrees F.
Get to know our starter as you continue to feed it. Soon, you’ll get to know when it’s at its peak, which is when you want to use it in your baking recipes.
As you can see, the traditional method requires regular feeding, which will create a lot of discard. There are lots of sourdough discard recipes you can make or you can try the No-Discard Method that’s outlined below.
No-discard method using yeast water
This method was taught to me by a baker trained in wild yeast baking. It uses yeast water, which a different way of collecting wild yeast. Instead of cultivating wild yeast from flour, we collect it from the skin of dried fruit.
It’s almost fool-proof and the benefit is that there’s no feeding or discarding required to create an active starter! Also I find it’s ready to use in 4 days compared to about 6 days for the traditional method.
Read about how to create yeast water here. Once you have your yeast water made, you’ll have a starter or levain ready to use in about 12 hours!
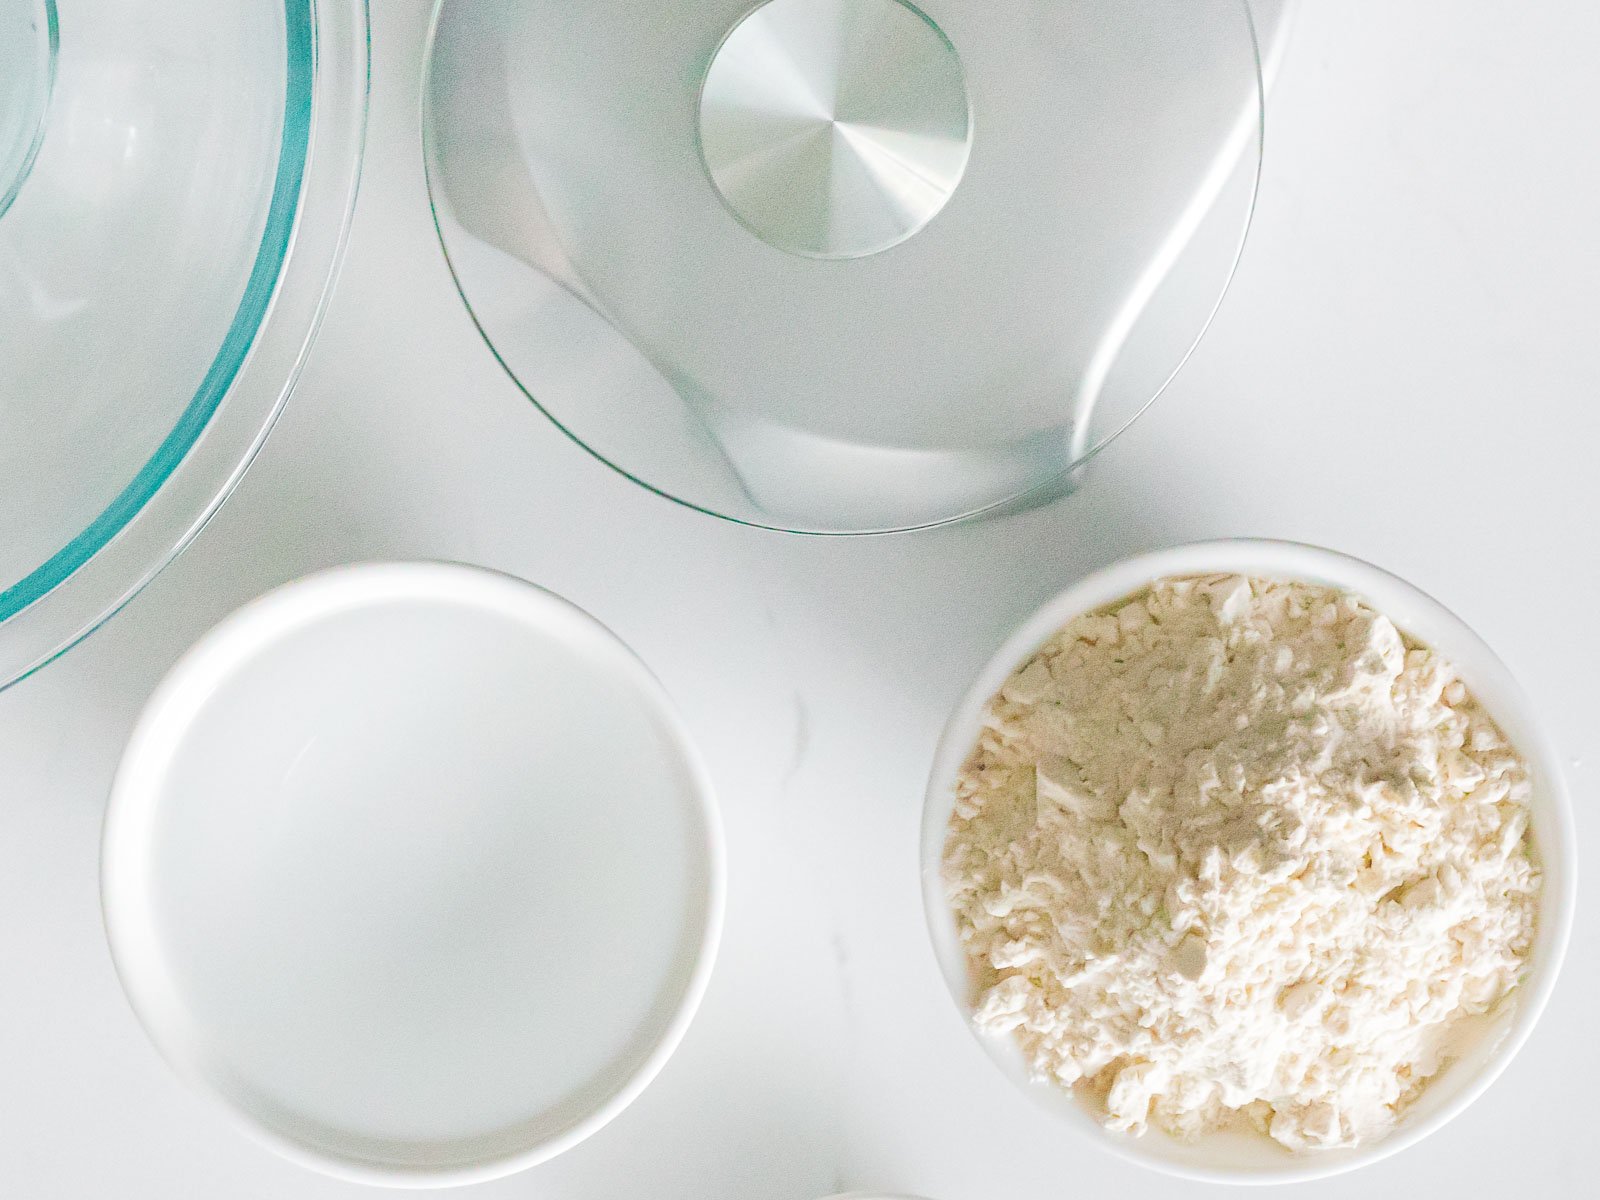
Ingredients you’ll need
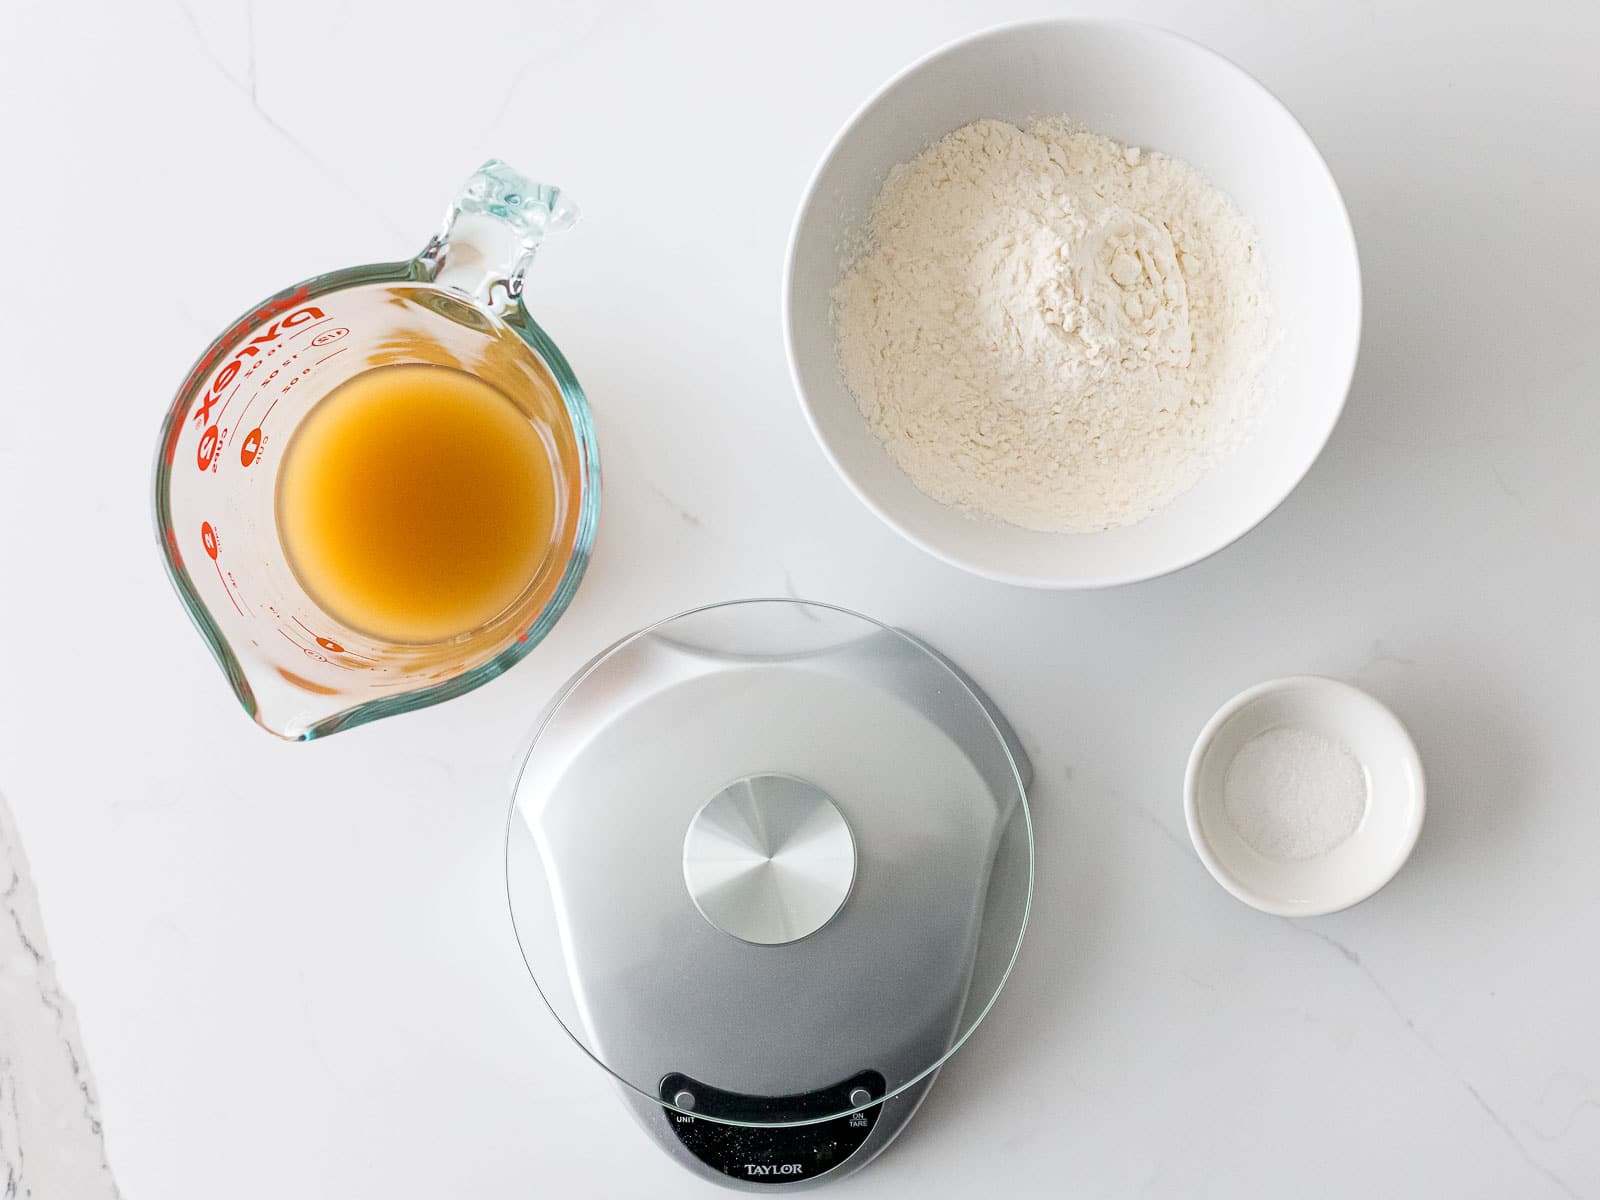
- yeast water – a liquid that’s fermented to cultivate wild yeasts in our environment. Usually made with dried fruit as natural yeasts are abundant on their skin.
- bread flour
- kitchen scale
- salt
It might be unexpected to add salt when creating a starter, but the yeast water contains a high population of yeast so the salt will merely delay the fermentation.
Adding salt to the starter creates a better flavor because of the longer rise. The amount of salt specified in the recipe delays the fermentation so it’s ready in about 12 to 14 hours. Leave out the salt if you want to use it sooner rather than later.
Note: too much salt will kill the yeast so don’t over do it. You want to add about 2% of the total amount of flour.
Step by step instructions
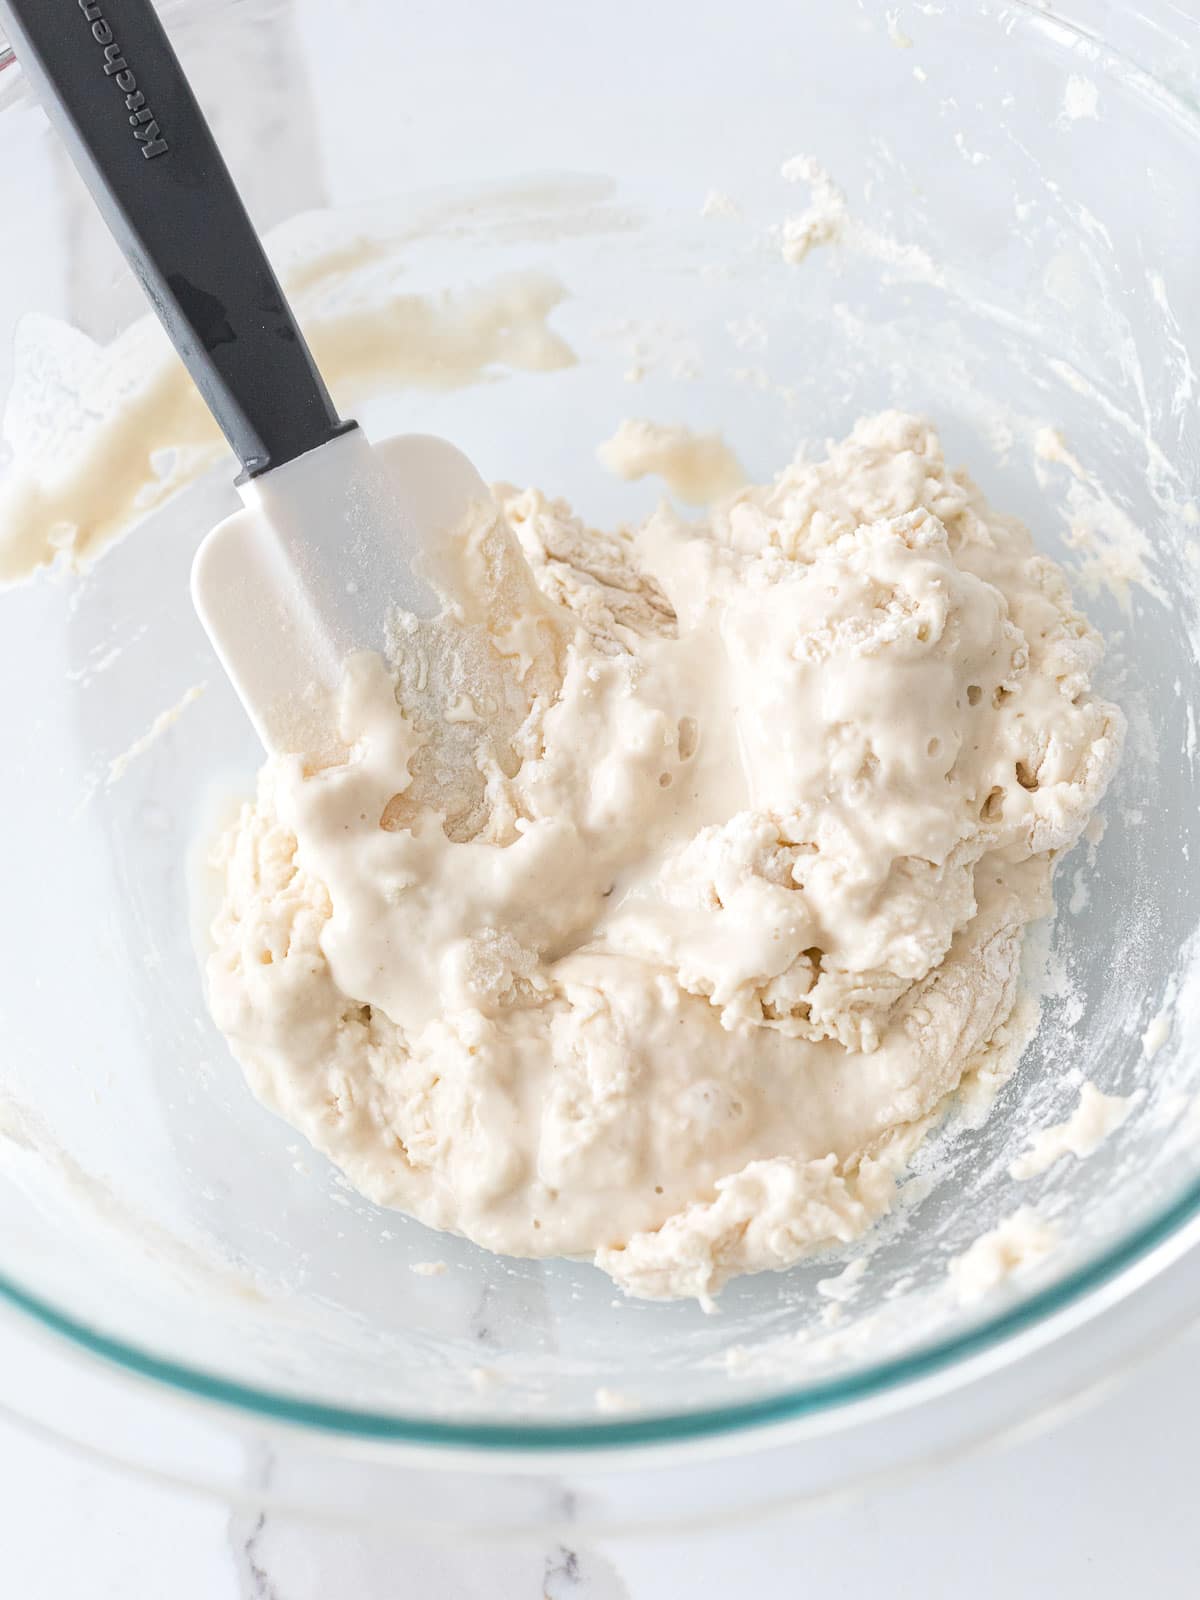
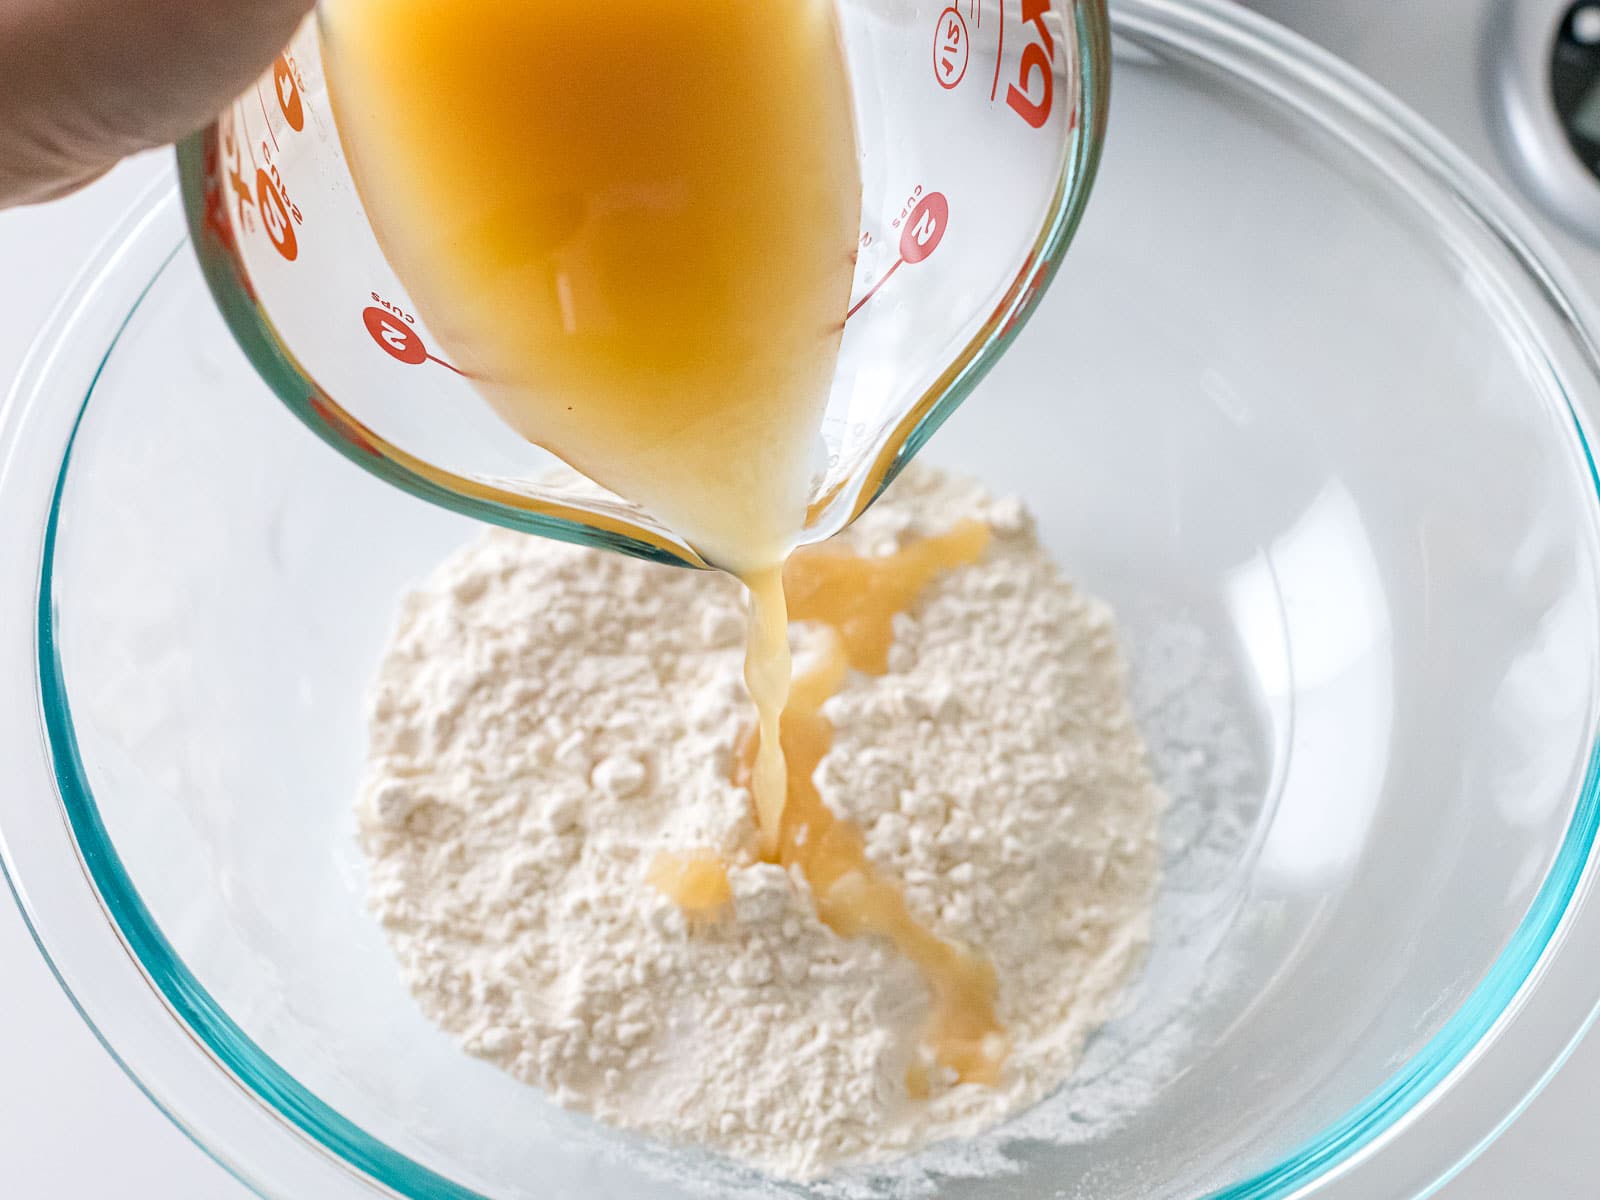
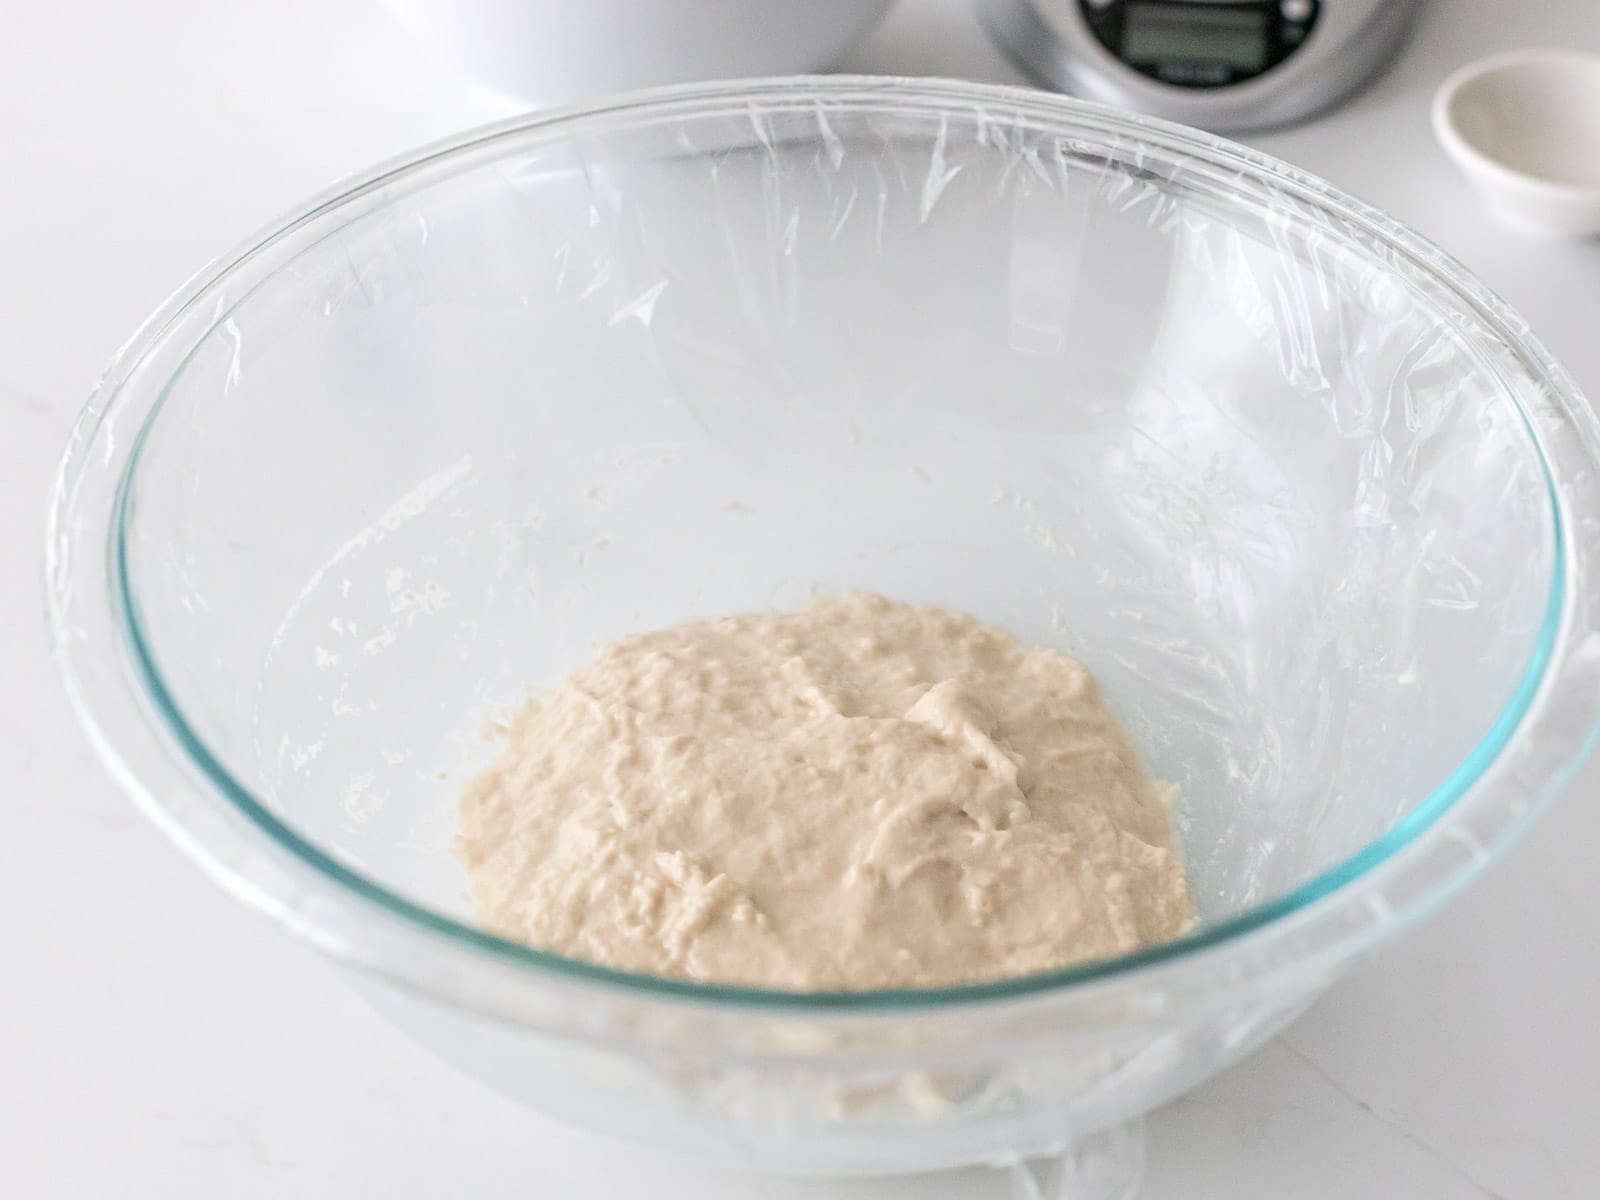
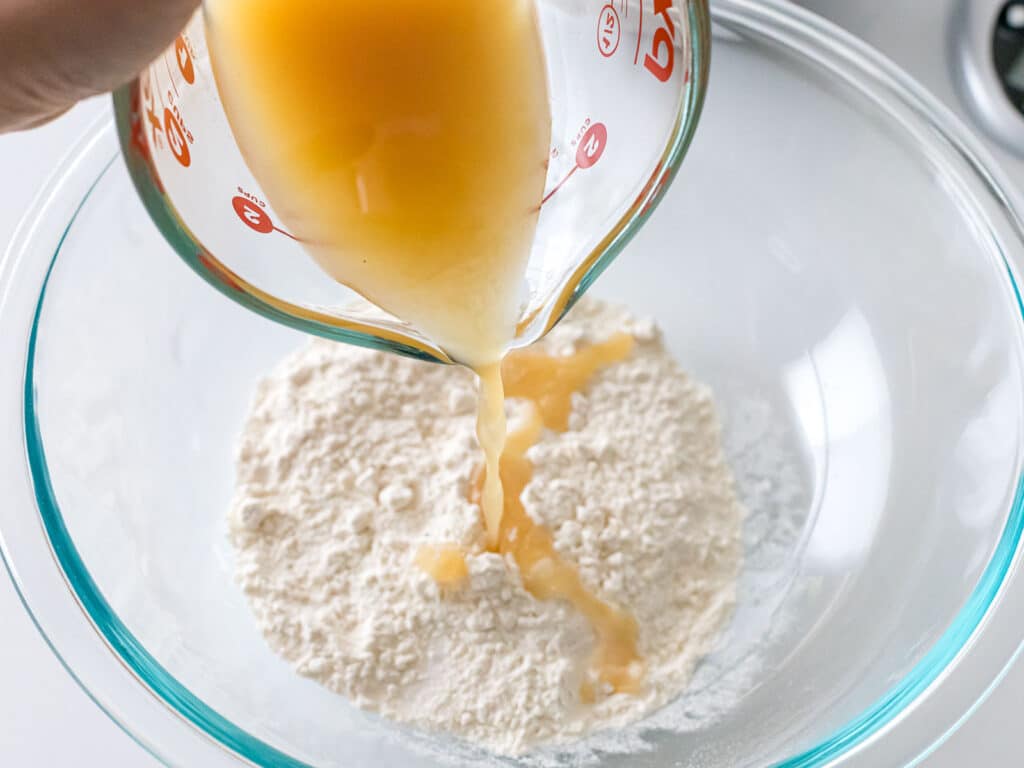
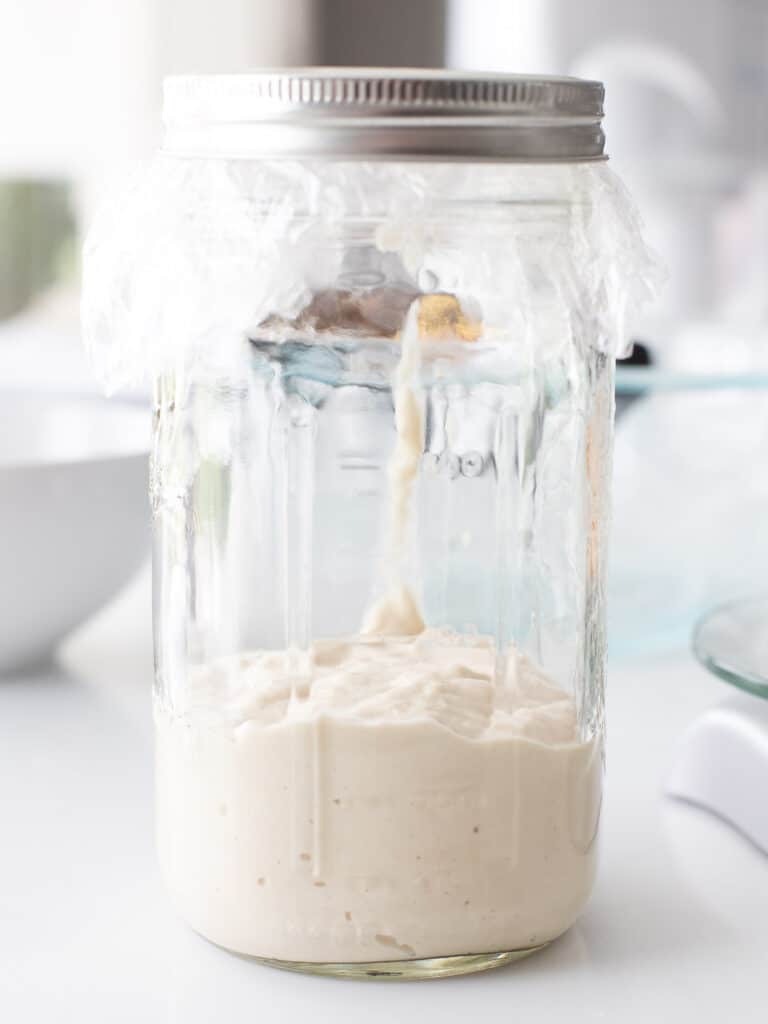
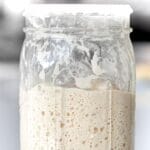
- Day 1 – Mix together all the yeast water, flour, and salt in a clear bowl or jar. Cover it with plastic wrap and set it in a warm place away from direct sunlight.
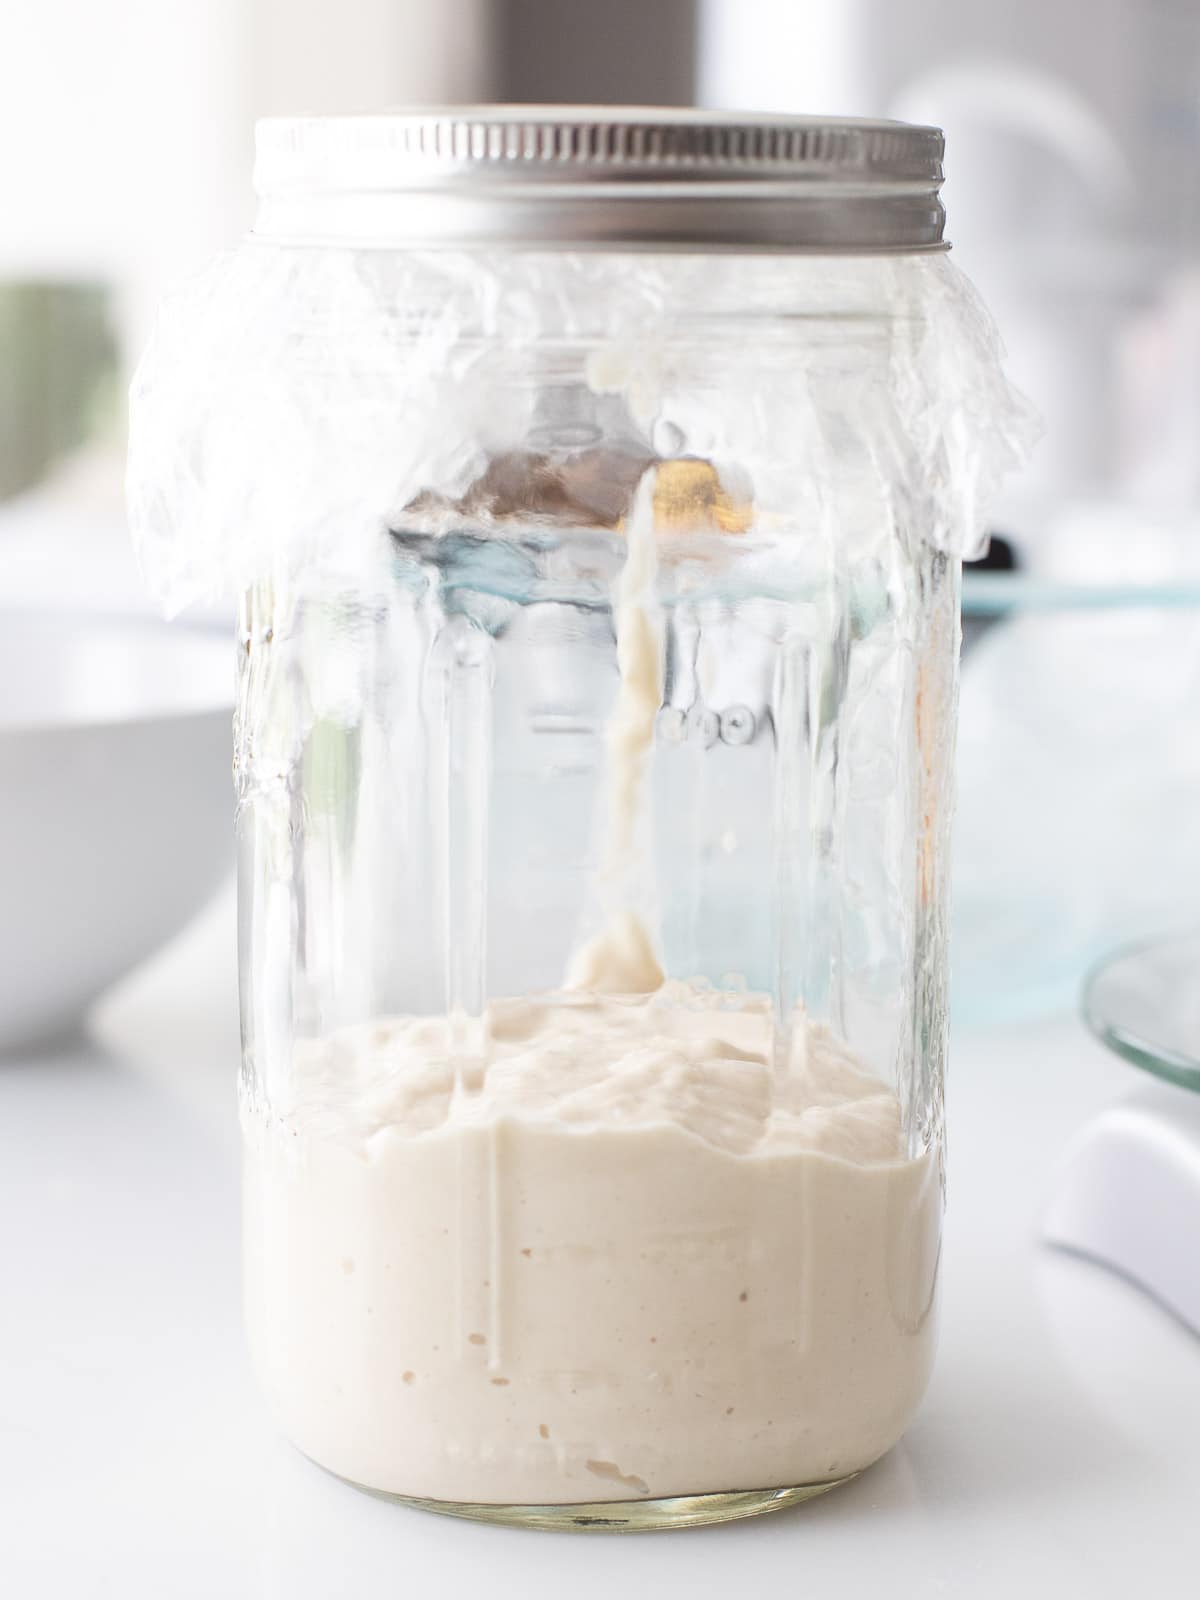
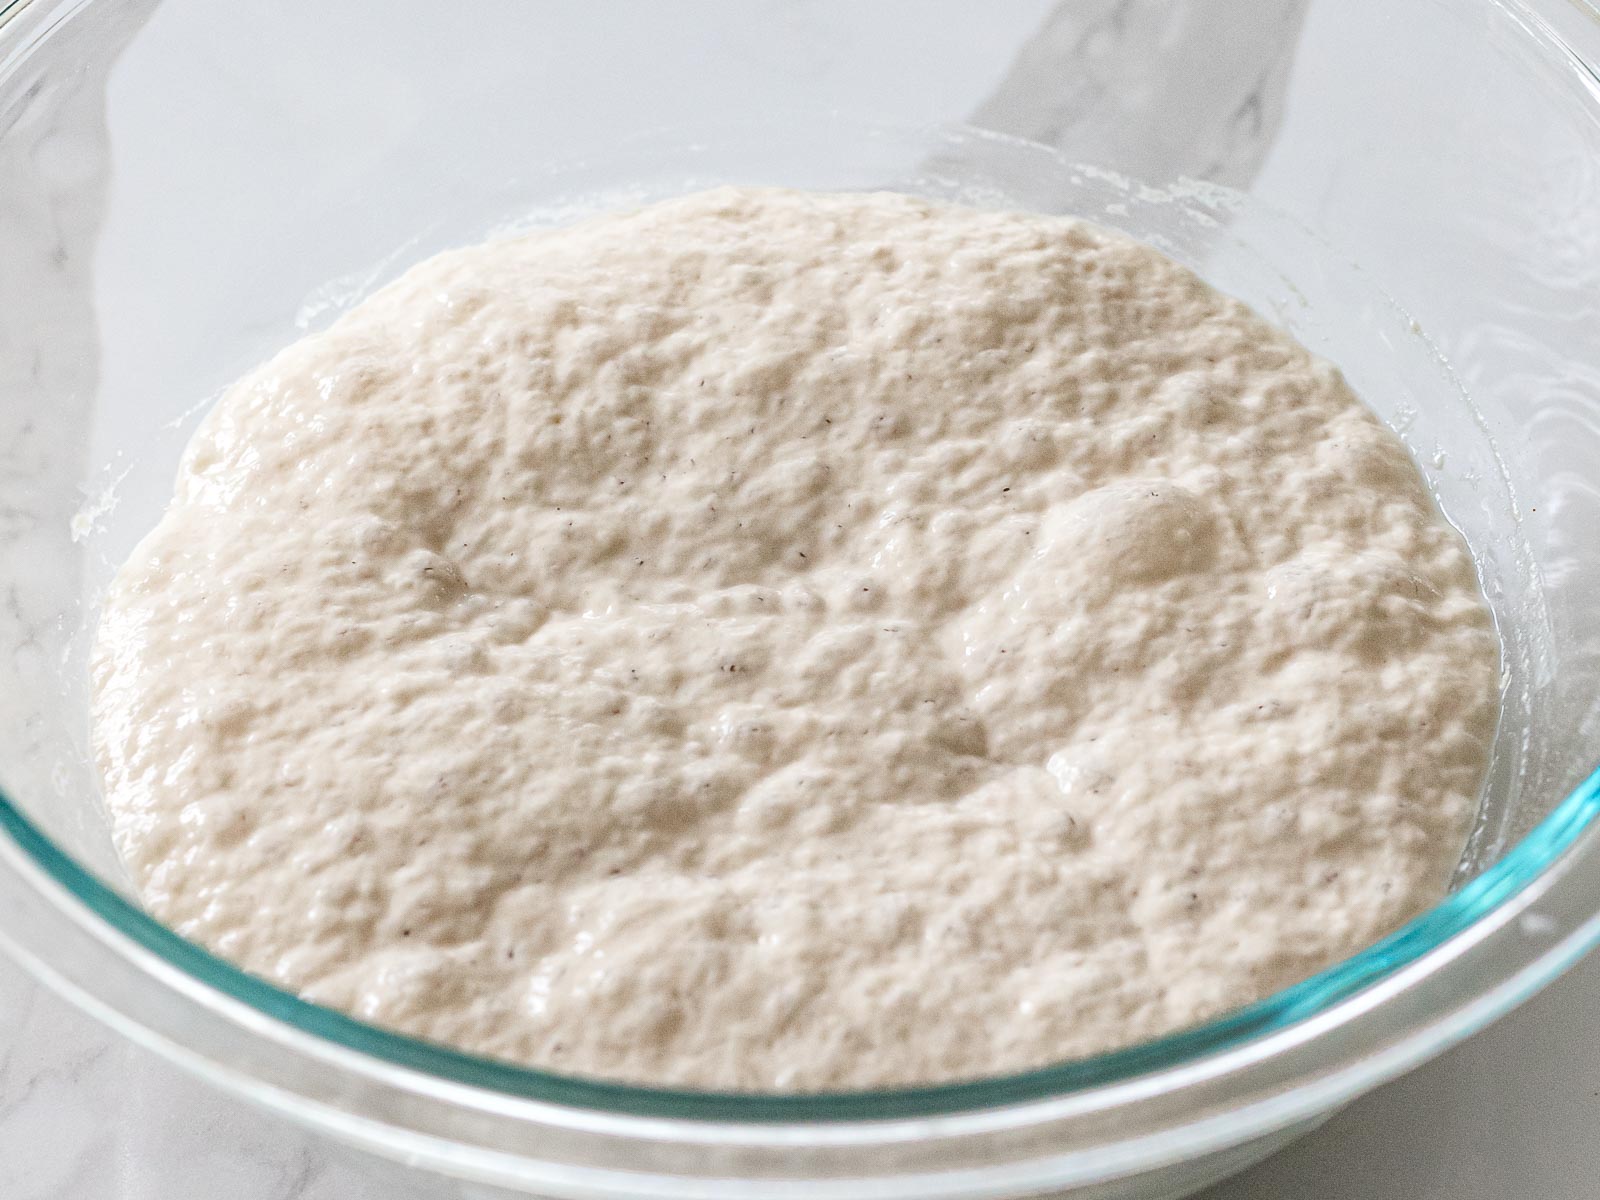
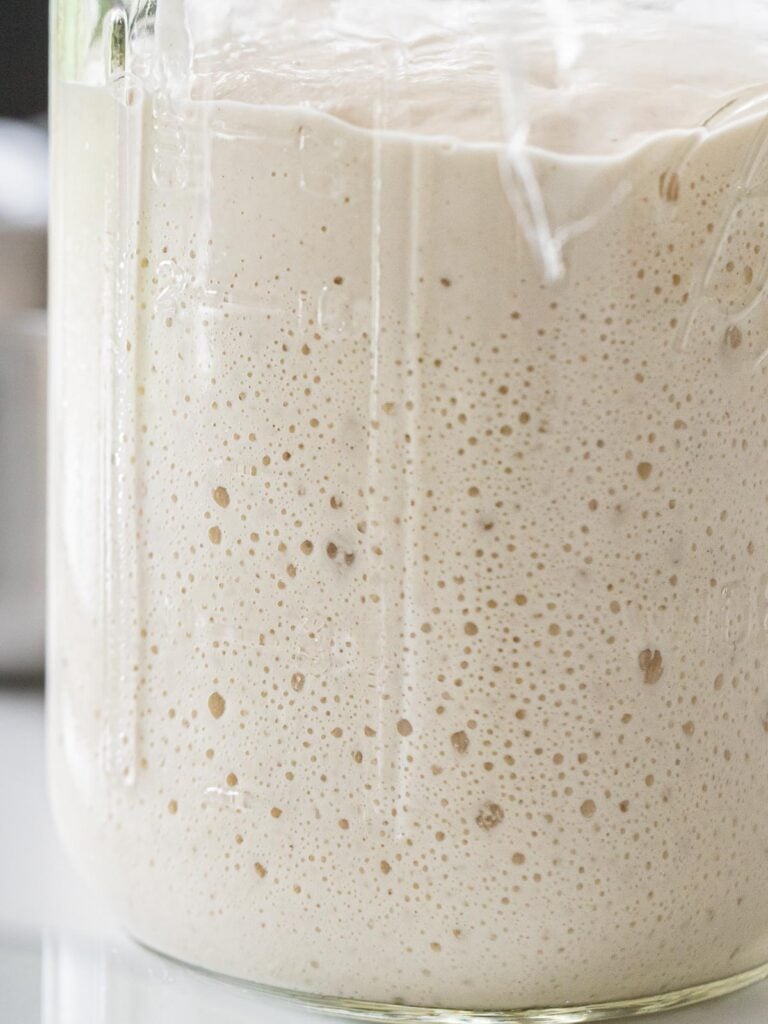
- 12 – 16 hours later – You should see the yeast water starter double in volume. It’s now ready to use in your recipe! No feeding or discarding required. That’s it!

Differences in each method with pros & cons
Traditional Feed & Discard Method:
Pros:
- You become more familiar with your starter as you see it develop from scratch.
- The starter is typically more sour because of the extended fermentation. You can leave it in a cooler environment to increase the sour flavor.
- You can customize your starter by adding different types of flour – rye, whole wheat, bread, even all purpose (wait until your starter is mature before using all-purpose flour for feeding).
Cons:
- Takes about 6 to 7 days for an active starter
- Requires a lot of feeding and discarding
- More maintenance compared to the yeast water starter method
No-discard Yeast Water Method:
Pros:
- The starter is ready in 12 hours
- No feeding or discarding required
- Make as much as you need
- Less maintenance compared to the traditional method
- You can save the yeast water in the fridge to have starter ready in less than a day!
- This is my preferred way of making a sourdough starter and have made most of my breads this way.
Cons:
- Making the yeast water takes about 4 days
- Yeast water starter isn’t as sour as starter made the traditional way (but overtime, with recurring feedings, it will develop more lactic and acetic acid to create a sour flavor).
- Yeast water needs to be remade every several months
Frequently Asked Questions
You can store starter in the fridge in a glass mason jar covered with plastic wrap and loosely closed with the lid. You can get away with feeding it just once per week. Discard 50% – 75% of your starter and replace that same amount with equal amounts (measured in grams) of water and flour.
You can keep it in the fridge for as long as you regularly feed it.
Starter is maintained by continual feeding of a flour and water mixture. If you don’t plan on using your starter for awhile, discard up to 75% of it and feed your starter that same amount.
The more you discard, the longer it can go between feedings because you’re replacing that amount same amount with fresh food for the yeast.
Discarding is necessary when feeding your starter because each feeding amount is double the amount of the initial mix.
So if you keep the entire initial mix of starter, you’ll end up having to feed a large amount to keep it active.
It depends on what stage it’s in. Right after a feeding, the starter should smell pleasant with lots of yeast aroma, similar to fresh dough. There should be just a slight tangy scent, similar to yogurt.
If the starter is overripe or hasn’t been fed for awhile, it will smell sour, even acidic or vinegary, and may even smell a bit of alcohol or acetone. This is due to the build up of acetic acid and lactic acid.
When first starting out with the initial mix, it’s best to use a flour that yield lots of yeast activity. This usually includes whole rye flour or whole wheat flour. When the starter is mature and active, you can replace the flour used in feedings with any kind of white flour. I usually use bread flour for feedings.
I’ve had success with organic bread flour in the initial mix as well. For yeast water starter, you can use any type of flour.
If you see mold on the surface of sides of your sourdough starter jar, you should throw it away and make a new one. Any kind of pink or orange discoloration on the surface of your starter should not be used and thrown away as well.
Old starter that hasn’t been fed for quite some time will have a layer of liquid sitting on top of the starter. This is called ‘hooch’ and isn’t harmful but is an indication that your starter needs feeding. You can pour off the hooch and feed your starter twice a day for a couple days. If you don’t see any activity, you should discard it and start again.
You want to use your starter when it’s at its peak. This means that it should be doubled in size after feeding and it should not show a receding line on the sides of the jar, which indicates that it has started to deflate after its peak rise.
Sourdough starter gets its sour flavor from acetic acid. Colder temperatures and longer fermentation will help develop the sour flavors in your starter. After feeding and discarding, place it in the fridge to let it ferment and continue
Starter activity can vary according to the ambient temperature and yeast population in the flour you use.
To speed things along, use warm water when feeding and use rye flour during the feedings. Set it in a warm place around 74 to 78 degree F.
More recipes to try:
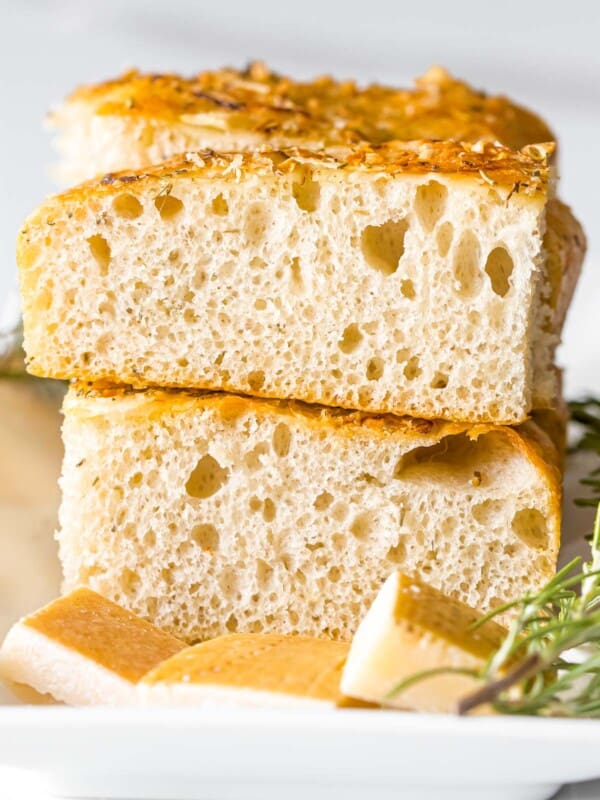
- Sourdough Focaccia with Rosemary and Parmesan
- How to Make Yeast Water with Fruit
- Bakery Swiss Roll Cake Recipe
- Butter Cookies – Easy 6 Ingredient Recipe!
- Pumpkin Chocolate Chip Bread with Cream Cheese Swirls
Sourdough Starter 2 Ways – Traditional and No-discard method
Equipment
Ingredients
Traditional Starter Method – Initial Mix (Day 1)
- 120 g whole rye flour or whole wheat flour, – See Note 1
- 120 g filtered water, – use warm water if you're in a cold environment
Traditional Starter Method – Daily Feeding (Days 2 to 7)
- 120 g Bread flour
- 120 g filtered water
No-discard Yeast Water Method
- 100 g yeast water
- 100 g Bread flour
- 2 g sea salt, – (optional) See Note 2
Instructions
No-discard Yeast Water Method (100% hydration)
- Mix all the yeast water, bread flour, and sea salt in a clear bowl or jar and cover it with plastic wrap. Set it in a warm place for 12 to 14 hours or until it doubles in volume. If you choose not to add the sea salt, it will be ready in less time (around 6 to 8 hours) so keep an eye on it. See Note 2 about adding salt.

- Once it doubles in volume, the starter is ready to use. This makes 200g of starter which is sufficient for most recipes. If you'd like a little leftover to keep in the fridge, increase the amount accordingly.Store any leftovers in the fridge and feed it like you would a regular starter. It will start to develop a sour flavor over time.
Traditional Sourdough Starter Method (100% hydration)
- Day 1: Mix 120g of rye or wheat flour and 120g of filtered water together and add it to a glass jar or bowl and loosely cover it with plastic wrap. Set it in a warm place for 24 hours (74 to 78 degrees F).

- Day 2: Save 120g of the initial mix from Day 1 and discard the rest. Then, add to the initial mix 120g of bread flour and 120g of water. Mix everything together, loosely cover it, and set it in a warm place for 24 hours. We'll be referring to this as your starter. Total amount: 360g of starter.
- Days 3 to 5 (Two discards and feedings per day) – Save 120g of the starter and discard the rest. Then, feed the starter with 120g of bread flour and 120g of water. Mix everything together, loosely cover it, and set it in a warm place for 12 hours. Repeating this step of discarding and feeding 12 hours later.At this point, you should start to see small bubbles and signs of activity in the starter. It will smell like yeast with a very subtle tang. You should end up with 360g of starter at the end of the day.
- Day 6: The starter should be very active and bubbly. It should double in volume 4 to 6 hours after a feeding and smell tangy and like fresh dough. You should see it rise and fall on a regular schedule with each feeding.At this point, you can bake with it or store it in the fridge to slow down the fermentation. If you store it in the fridge, feed it once per week by following the same process: discard all but 120g and feed it 120g of bread flour and 120g of water.If your starter isn't showing signs of activity by day 6, repeat the twice daily discarding and feeding schedule until you start to see it double in volume. It may take longer if you're in a cold environment.


Notes
- Whole rye flour – based on my experience, starters that began with rye flour become active much faster due to the high nutrients found in rye flour. If you don’t have rye flour, you can substitute with whole wheat flour. Avoid using bleached flour when making starters.
- Salt in the no-discard yeast water starter – the reason for adding salt to this method is because the yeast water already has a high population of yeast. So, we’re able to add salt to delay the fermentation and add more flavor without harming the yeast.
Nutrition
Nutrition information is automatically calculated, so should only be used as an approximation.
Like this? Leave a comment below!
Hi, thanks for sharing the yeast water starter recipe! I have a traditional flour starter. Can I use the yeast water to feed my starter to make it more active? Not sure if I will over power and kill it instead ?
Hi Joanna! That’s an interesting idea! I haven’t tried this myself so can’t say for sure but if you do give it a try, let me know how it goes! If I were to guess, it would probably rise and fall a lot faster due to the increased yeast and how much quicker it would consume the glucose from the starches in the flour. Be sure to time your baking schedule accordingly if you’re going to try this. 🙂
Will definitely keep in mind next time I’m baking sourdough! I always end up throwing away so much starter so the flexibility of making small portions really appeals to me.
I love making homemade bread, but I’ve never tried making sourdough! This starter looks great and I can’t wait to try it, especially the no discard starter.
I really appreciate the step by step photos here so I know I’m on the right path to making my starter. Really helpful, thank you!
Thank you. Very clear on the yeast water and no discard starter. I am on it now!
Thanks Elizabeth! So glad you found this helpful. I prefer the no discard starter for that very reason, it’s what I usually use now. 🙂
Fantastic work, thank you!! I have some of the no discard starter left over and it has been in the frig for several days. Do I feed the no discard starter? I’d like to make more bread. Or must I start over? Thanks!
Hi Kirsten! You can feed the no discard starter just like you would a regular starter at this point. It will start to develop a more sour smell and flavor profile the longer it sits in the fridge. This is because cold fermentation usually develops more lactic and acetic acid. Once it develops a sour smell and flavor, you’ve got yourself a ‘traditional’ sourdough starter that’s pretty much the same as if you would have made it the ‘traditional’ way. Hope that helps!
I am so grateful I came across your post.
A sourdough starter is something I had been wanting to try all year, but some posts had very little information, and I wasn’t sure if I felt confident making them. Your post really takes you through each step so well, and I have had great success since trying your starter! Thank you again! I look forward to trying some of your other recipes.
What a great thorough post on sourdough starters. We have had our starter for a while using the traditional method. I have never tried the yeast water method but love learning new ways! It’s on day 4 and I see some action so I think it’s working now and am very excited. Thank you!
Oh, I am so happy to find this – I tried a sourdough starter at the beginning of all the madness this year, but honestly didn’t have much luck with the traditional method. (Probably because I wasn’t consistent enough about feeding at regular times.) And I also hated to discard so much, especially when flour was hard to come by. I am definitely going to stick to this discard method, didn’t know there was such a thing!
Wow love how informative and thorough your sourdough starter post is! And that you provide 2 different methods! I never heard of the no discard method but I’m trying it out today!
Thank you for this informational post! I have tried the traditional sour dough bread starter once but never in any other ways. I think it’s time now. 🙂
A terrific post to keep as a reference. In fact this is a great reminder that my sourdough hasn’t been fed it quite a while and I need to take a look at it. I’ll probably have to start with a rye or wheat to give it a boost. If not I’ll use your method to start from scratch. Thank you for the tips.
Thanks Marisa! Yes please do keep this as a reference for sourdough starters. Glad you found it helpful!
You got me at no-discard! I’ve been making sourdough for years but I get really tired of all the extra starter that lives in my kitchen at all times while maintaining them. I can’t wait to try this new idea! Thanks for sharing!
Thanks Paula! You’ll love the no discard method. In fact, it’s my go to way for making a sourdough starter now. You’ll love how simple it is to make!
I’ve been looking for a sourdough starter recipe that doesn’t have a discard, thank you! I can’t wait to make your Sourdough Focaccia with Rosemary and Parmesan!
Thanks Tracy! You’ll love the no discard method for sourdough starter. I’ve moved away from feeding to now just keeping the wild yeast water. And yes, do try the sourdough focaccia recipe. It’s delicious!
So much wonderful infomation!! I was trying to understand the differences in these two methods and you perfectly answered all my questions. I’m finally feeling confident and ready to give this a go… thank you!
Thanks Candice! I’m so glad you found this helpful. Do let me know if you have any questions, I’m happy to share my sourdough knowledge! 🙂
Thank you so much for such a great and informative post on sourdough starter! I LOVE the step by step details and the instructions! Seriously, such a great post!
Thanks Lori! So glad you found the step by step photos helpful. Please do try it out! 🙂
Wow! Thank you so much for such a comprehensive post on sourdough starters. I recently read your yeast water, and I appreciate all of the detail that has gone into these posts. Your knowledge and expertise is greatly appreciated. As a reader, I do believe that there is a lot of trust placed in a blog, and I can certainly assure you that you have earnt mine. best wishes, Mary-ann
Thank you so much Mary-ann! I’m so glad you found it helpful! 🙂