As an Amazon Associate I earn from qualifying purchases. This post may contain affiliate links.

This easy homemade brown gravy is made from scratch with beef broth and thickened with a simple roux of flour and butter. No drippings required! Rich, savory, and ready in under 10 minutes, this is the best brown gravy recipe for mashed potatoes, meatloaf, Thanksgiving turkey, Christmas sides, and more.
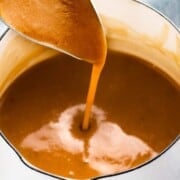
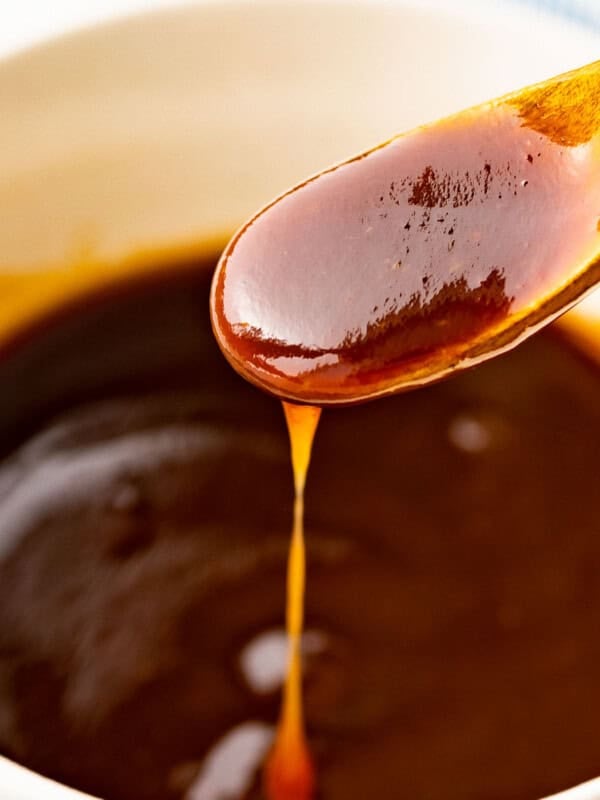
There’s nothing quite like a rich, velvety brown gravy poured over a heaping plate of mashed potatoes. This homemade brown gravy recipe proves you don’t need pan drippings to get incredible flavor, just a handful of pantry staples and about 10 minutes.
Whether you’re prepping for Thanksgiving or Christmas, making a weeknight meatloaf, or just want a quick gravy for meatballs or Salisbury steak, this easy brown gravy is the recipe to make. It requires no drippings but is instead flavored with garlic powder, onion powder, and bay leaf. It’s so much better than those store-bought gravy packets, and once you see how simple it is, you’ll never go back.
Table of Contents
- What Is Brown Gravy?
- Roux vs. Cornstarch Slurry: Two Ways to Thicken Brown Gravy
- Ingredients for Brown Gravy
- How to Make Brown Gravy from Scratch
- Tips for the Best Homemade Brown Gravy
- Brown Gravy Variations
- Ways to Serve Brown Gravy
- How to Store and Reheat Brown Gravy
- Frequently Asked Questions
- Easy Homemade Brown Gravy (No Drippings) Recipe
What Is Brown Gravy?
Brown gravy is a savory sauce traditionally made from the drippings left behind after roasting meat like beef, turkey, or chicken. The drippings are combined with flour to create a thickened, rich sauce that’s served alongside the meat and sides like roasted vegetables or mashed potatoes.
However, you don’t always have drippings on hand, and that’s exactly why this recipe exists. By using quality beef broth or stock, a butter and flour roux, and simple seasonings, you can make a delicious brown gravy anytime, no roast required.
Brown Gravy vs. White Gravy
Brown gravy is typically beef-based and gets its dark color from beef broth or meat drippings. White gravy, also called country gravy or cream gravy, is made with milk or heavy cream and has a pale, creamy color. Brown gravy is usually served with beef, turkey, and mashed potatoes, while white gravy is popular with biscuits, fried chicken, and chicken fried steak.
Roux vs. Cornstarch Slurry: Two Ways to Thicken Brown Gravy
When making homemade brown gravy, there are two main methods for thickening: a roux and a cornstarch slurry. Both work well, but they produce different results. Through recipe testing, I found roux to produce richer flavor and a better texture.
What Is a Roux?
A roux is a cooked mixture of fat (usually butter) and flour. Melt the butter in a pan, whisk in the flour, and cook them together before adding broth or stock. The longer you cook the roux, the deeper the color and more complex the flavor becomes. A light roux (cooked 1–2 minutes) thickens the most, while a darker roux adds more flavor but slightly less thickening power.
Why I Use a Roux for This Brown Gravy
A roux creates a velvety, rich texture that clings beautifully to mashed potatoes and meat. It also adds a subtle nutty, toasted flavor that you simply can’t get from cornstarch. If you’ve ever noticed that restaurant gravy tastes more complex than packet gravy, a well-made roux is usually the reason.
What Is a Cornstarch Slurry?
A cornstarch slurry is made by mixing cornstarch with cold water until smooth, then whisking it into a hot liquid. Unlike a roux, which goes in at the beginning of cooking, a slurry is added near the end.
When to use a slurry instead: A cornstarch slurry is a great option if you need gluten-free brown gravy, since cornstarch is naturally gluten-free. It’s also faster, you can just heat your broth with seasonings, and then thicken at the end.
Ingredients for Brown Gravy
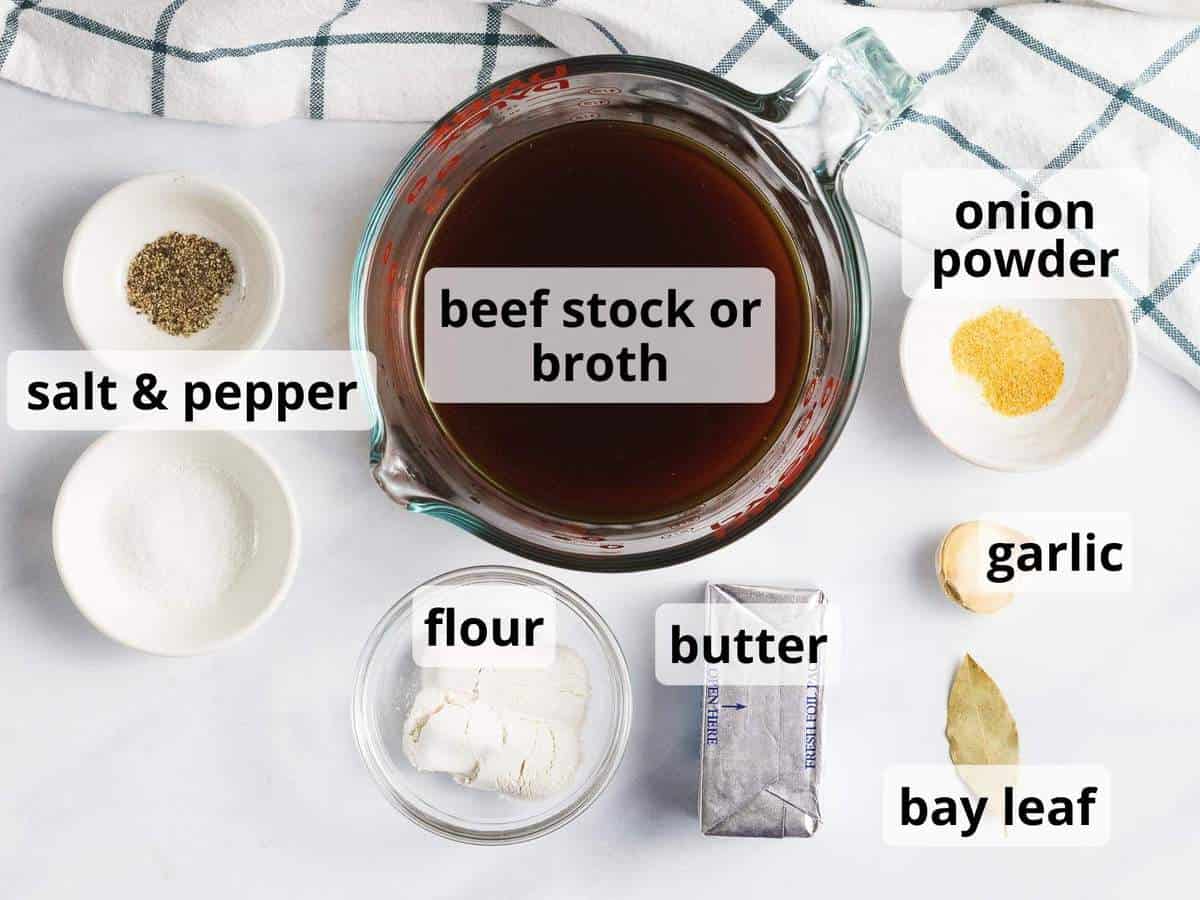
Here’s what you’ll need to make this easy brown gravy without drippings:
- Beef broth or beef stock – This is the flavor base. Use a good quality broth and check the label for artificial ingredients. Beef stock tends to have a richer, deeper flavor than broth, but either works.
- All-purpose flour – Combined with butter to create a roux, which thickens the gravy and gives it a silky, velvety texture.
- Butter – Salted or unsalted both work. Adds richness and forms the base for the roux.
- Garlic powder – Adds savory depth without the texture of fresh garlic.
- Onion powder – Brings a subtle sweetness and rounds out the flavor.
- Bay leaf (optional) – Infuses a herbal note as the gravy simmers.
- Beef bouillon base (optional) – The secret ingredient for drippings-free gravy! It provides the depth you’d get from pan drippings. Add a little at a time as this can be quite salty.
- Salt & pepper – To taste.
How to Make Brown Gravy from Scratch
Making homemade brown gravy is easier than you think. The whole process takes about 8 minutes.
Step 1: Make the Roux
Melt butter in a large pot or pan over medium heat. Sprinkle in the flour and whisk continuously for about 2 minutes or until a thick paste forms, this is your roux. Cooking it the full 2 minutes removes the raw flour taste and builds a slightly nutty flavor.
Pro tip: For even deeper color and flavor, cook your roux a bit longer until it turns golden-brown. This is what gives restaurant-quality gravy its rich appearance.
Step 2: Add Beef Broth and Seasonings
Pour in half of the beef broth a little bit at a time while whisking vigorously. Adding it gradually is the key to lump-free gravy. Once smooth, add the remaining broth along with garlic powder, onion powder, and optional seasonings (bouillon base, bay leaf).
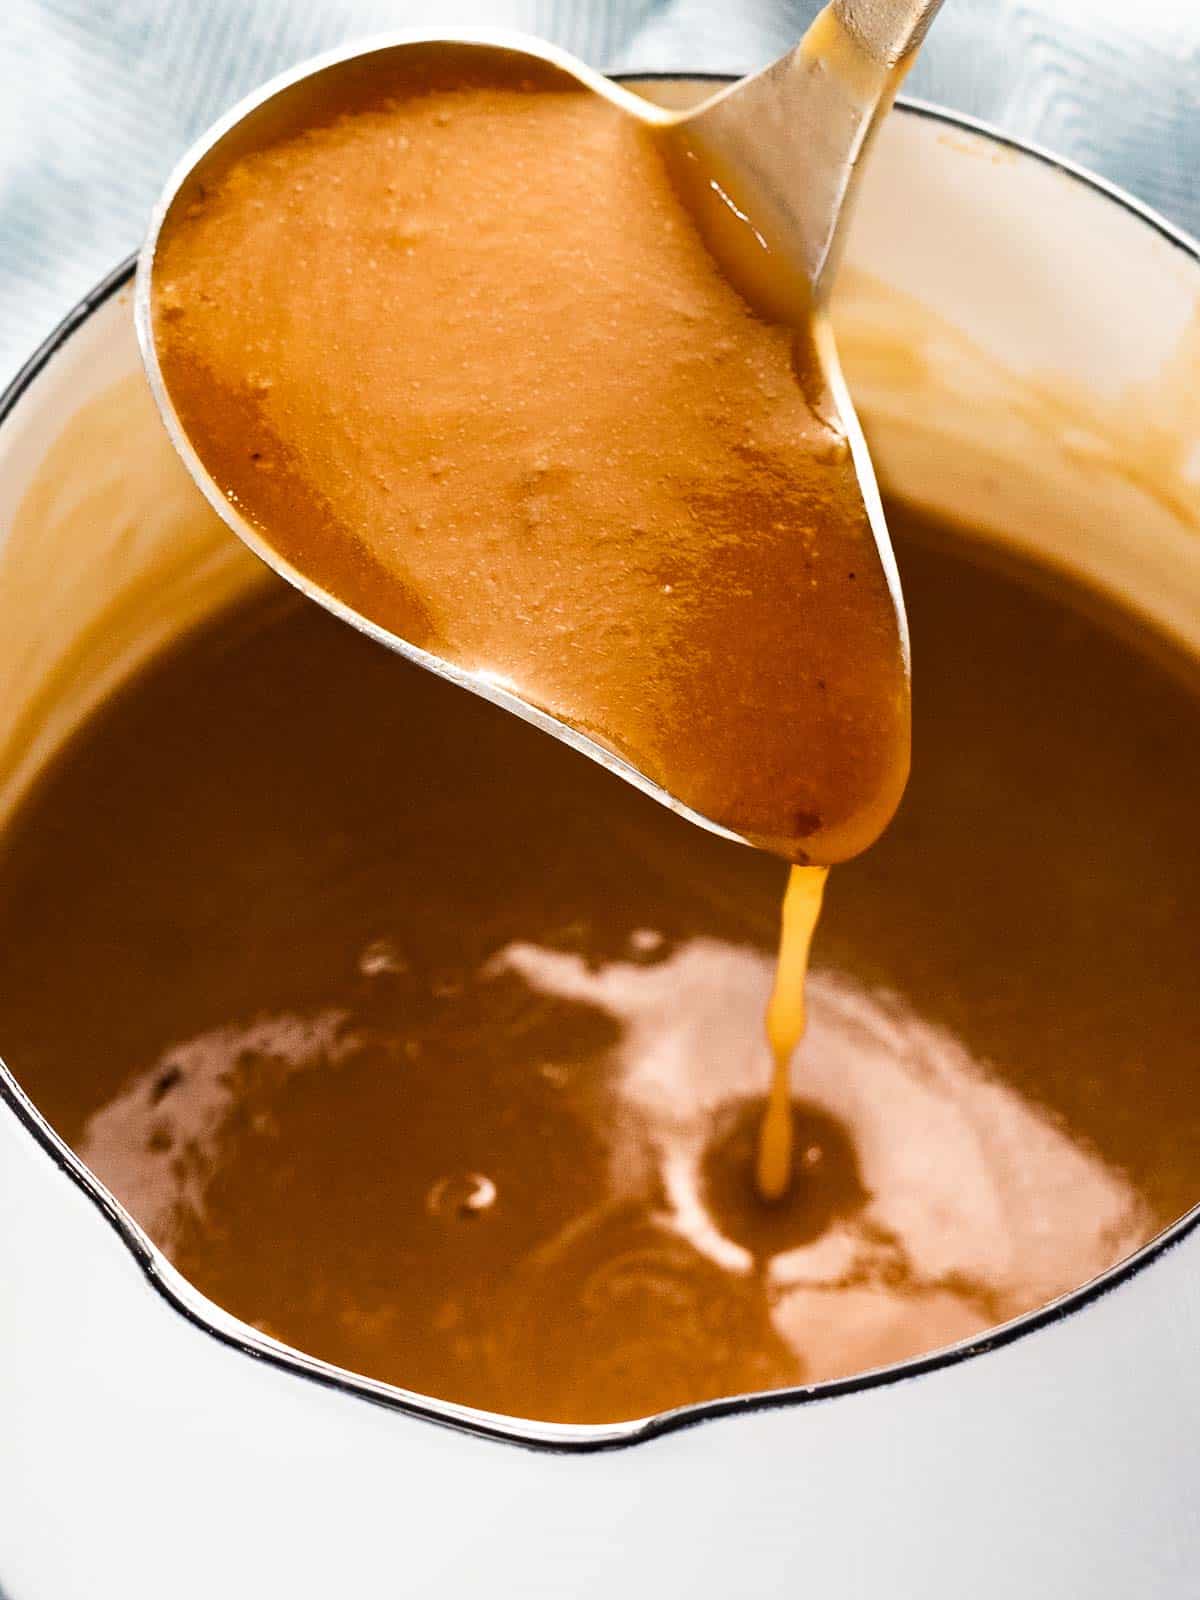
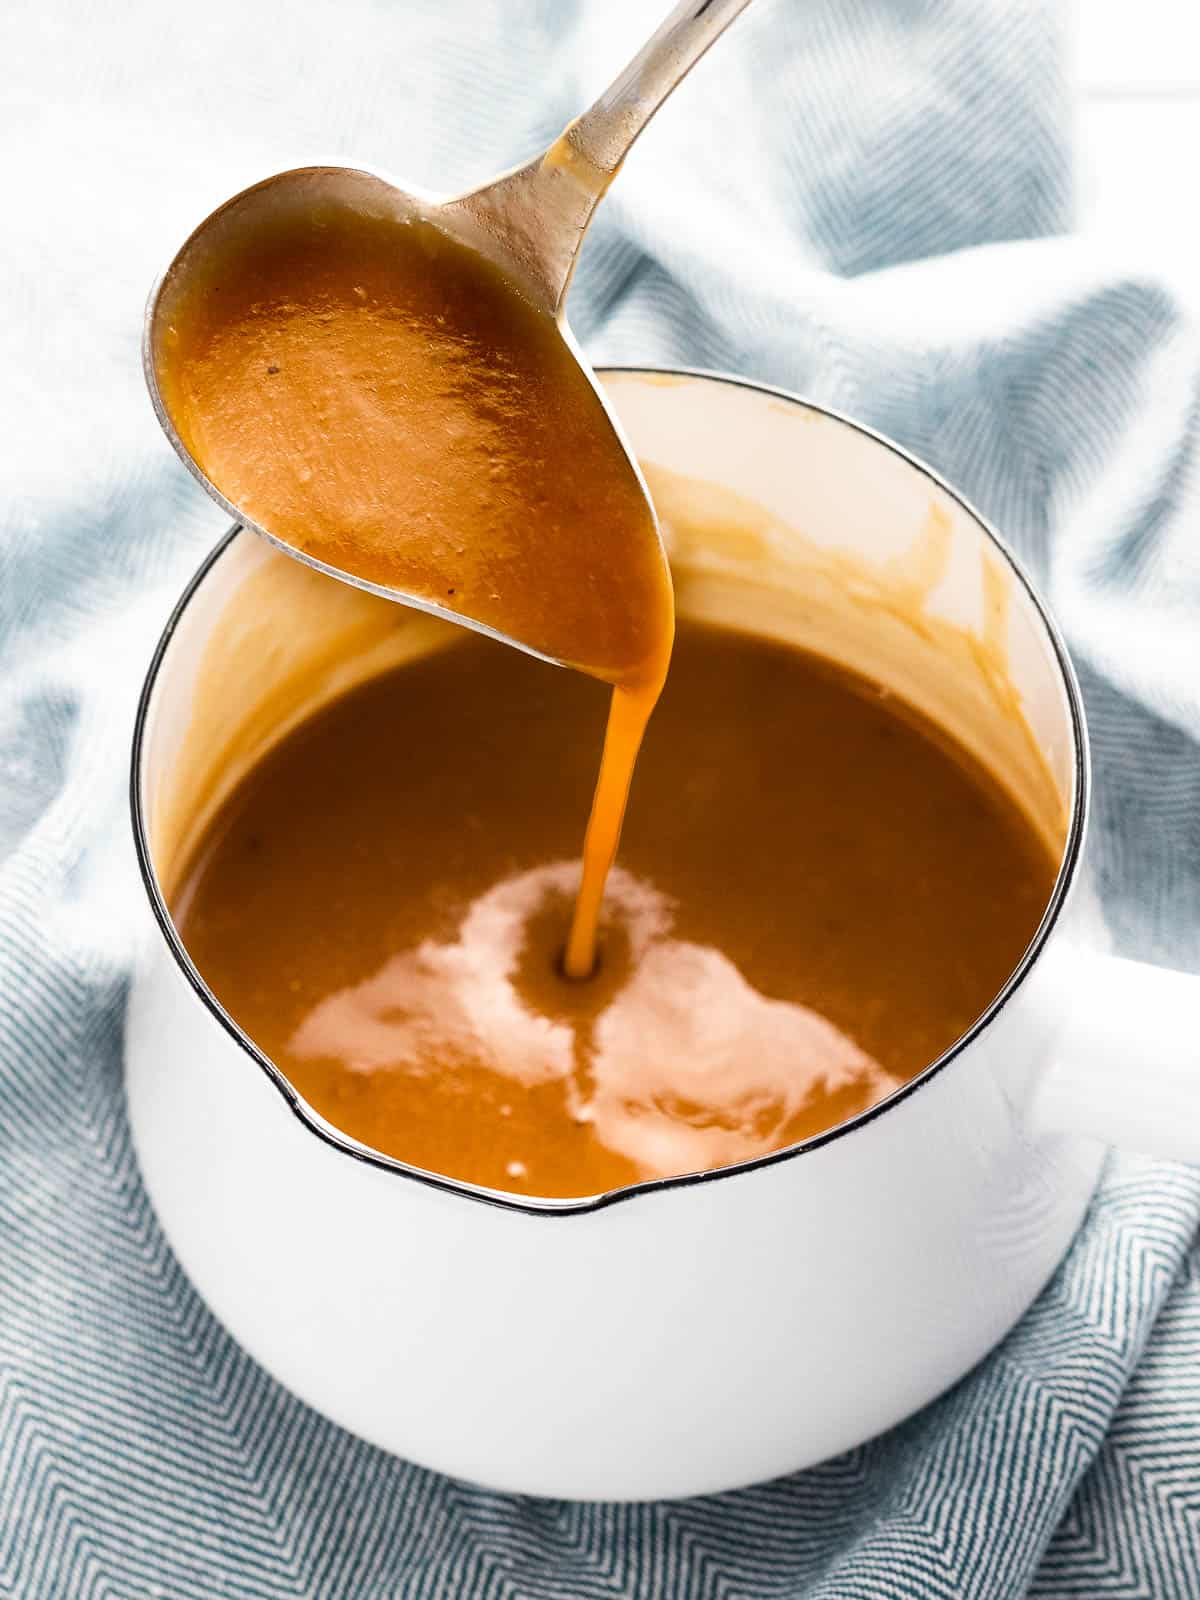
Step 3: Thicken the Gravy
Bring to a boil, then simmer for about 3 minutes until thickened. Remove the bay leaf (if added), taste, and season with salt and pepper. Your homemade brown gravy is ready!
Tips for the Best Homemade Brown Gravy
Don’t rush the roux. Give it the full 2 minutes. Under-cooked roux leaves gravy tasting floury.
Add broth slowly. Pouring in all the liquid at once is the number one cause of lumpy gravy. Add in stages and whisk well between additions.
Use warm broth. Room temperature or slightly warm broth incorporates more smoothly into the hot roux.
Taste before you salt. If using beef bouillon base, it already contains salt. Always taste first.
Add Worcestershire sauce for extra depth. A small splash (about ½ teaspoon) adds umami flavor that mimics pan drippings, a trick many restaurant chefs use.
Strain if needed. If you end up with lumps, pour through a fine-mesh strainer for a perfectly smooth result.
Brown Gravy Variations
Once you’ve mastered the basic recipe, try these easy twists:
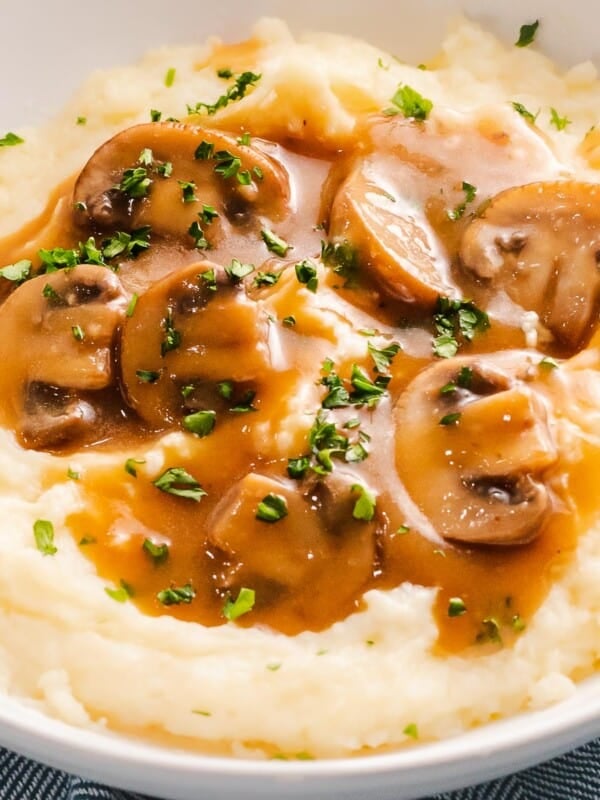
Mushroom Brown Gravy – Add sautéed mushrooms to the gravy while simmering. Incredible over steak or meatloaf. (Check out my Easy Mushroom Gravy!)
Gluten-Free Brown Gravy – Replace flour with a cornstarch slurry: mix cornstarch with cold water, then whisk into simmering broth.
Herb-Infused Gravy – Add fresh rosemary, thyme, or sage while simmering and remove before serving. Perfect for Thanksgiving or Christmas meals.
Turkey or Chicken Gravy – Swap beef broth for chicken or turkey broth for a lighter gravy that pairs beautifully with poultry.
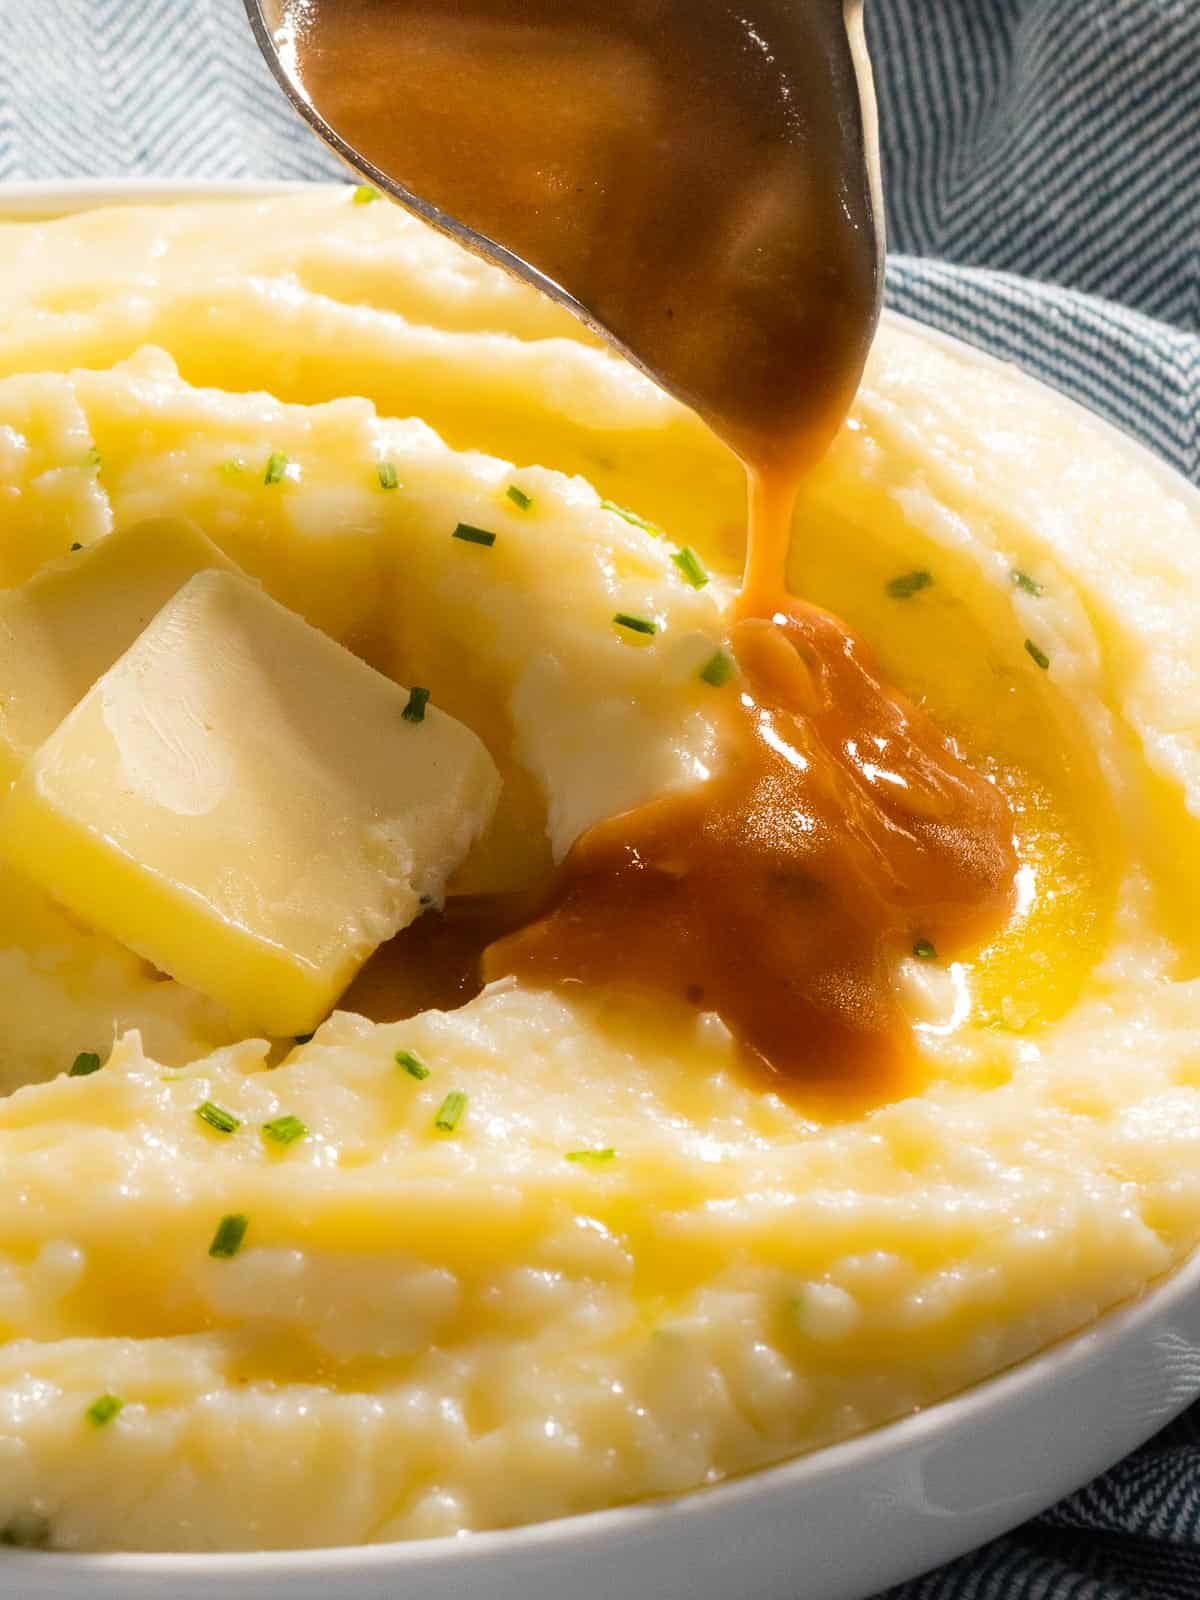
Ways to Serve Brown Gravy
This versatile gravy pairs with just about anything:
- Mashed potatoes – Try our Garlic Mashed Potatoes, Instant Pot Mashed Potatoes, or Sour Cream Mashed Potatoes
- Meatloaf – The perfect topping for hearty meatloaf
- Pork Chops
- Loco Moco – Hawaiian comfort food with beef patty, rice, gravy, and fried egg
- Poutine – Over fries with cheese curds
- Meatballs
- Roasted turkey or chicken – A must for Thanksgiving and Christmas
- Salisbury steak or cube steak
- Biscuits – For a heartier biscuits and gravy
How to Store and Reheat Brown Gravy
Refrigerator: Store in an airtight container for up to 3 days. The gravy will thicken as it cools.
Freezer: Freezes well for up to 3 months. Cool completely, then transfer to a freezer-safe container leaving room for expansion.
Reheating: Warm on the stovetop over medium-low heat, stirring occasionally. If too thick, whisk in a splash of beef broth. You can also microwave in 30-second intervals, stirring between each.
Frequently Asked Questions
Beef broth or stock, thickened with a roux (butter and flour) or cornstarch, and seasoned with spices like garlic powder and onion powder. Traditional versions use meat drippings, but this recipe skips them entirely for a fast, easy homemade brown gravy that’s still full of flavor.
Use quality beef broth as your base. A roux made with butter and flour, plus seasonings and optionally beef bouillon base, creates rich flavor without any pan drippings.
To prevent lumps, add a small amount of stock in slowly and stir vigorously with a whisk. Once smooth and lump free, add the remaining stock while continuously stirring. Using a whisk rather than a spoon makes a big difference. If lumps still form, strain through a fine-mesh sieve.
Yes! Prepare up to 2-3 days in advance, store in the fridge, and reheat on the stovetop. Add a splash of broth if it’s thickened too much.
Absolutely. Cool completely, store in a freezer-safe container for up to 3 months. Thaw in the fridge overnight and reheat on the stovetop.
Brown gravy will thicken as it sets and cools. You can reheat it on the stovetop or the microwave while stirring occasionally.
Here are a few ways to make brown gravy darker. Start by cooking your roux a few extra minutes until it turns a golden-brown color. Adding a teaspoon of beef bouillon base gives you concentrated color and flavor that mimic pan drippings. For even more depth, add 1/2 teaspoon of Worcestershire sauce or dark soy sauce to both darken the gravy and boost umami. If you still want it darker, a few drops of Kitchen Bouqet Browning & Seasoning Sauce will give you that deep, glossy
Yes, but the color will be lighter and flavor more delicate. For the richest brown gravy, beef broth is recommended. You can also do half beef, half chicken.
Simmer a few extra minutes, or whisk in a cornstarch slurry (1 tablespoon cornstarch mixed with 1 tablespoon cold water).
Whisk in beef broth or water, a splash at a time, until you reach your preferred consistency.
I hope you enjoy this recipe! Please share, rate, or comment below. I’d love to hear from you!
Come find me on Facebook, Pinterest, and Instagram! Share your recipes by tagging @drivemehungry. I love seeing your creations!
Thanks so much for stopping by! ? -Jamie
More sauce recipes:
- Easy Mushroom Gravy
- Vegan Mushroom Gravy
- Easy Au Jus (No Drippings Needed)
- Remoulade Sauce (Crab Cake Sauce)
- Tonkatsu (Katsu) Sauce
- Sweet and Tangy Soy Glaze

Easy Homemade Brown Gravy (No Drippings)
Ingredients
- 3 cup beef broth, or beef stock; use a good quality brand with no artificial ingredients
- 6 Tablespoons all-purpose flour, for thickening; reduce by 1 tablespoon for thinner gravy
- 3 ½ Tablespoons butter
- ½ teaspoon garlic powder
- ½ teaspoon onion powder
- salt and pepper, to taste
- 1 teaspoon beef bouillon base, (optional) for richer flavor without drippings; contains salt, so use sparingly
- bay leaf, (optional)
To Make a Darker Brown Gravy
- ¼ teaspoon Kitchen Bouquet Browning & Seasoning Sauce, add more as needed
Instructions
- Make roux: Melt the butter in a large pot or saucepan over medium heat. Add the flour and whisk continuously for about 2 minutes until a thick, smooth paste (roux) forms. Cook until the roux is lightly golden.3 ½ Tablespoons butter, 6 Tablespoons all-purpose flour
- Add beef broth and seasonings: Slowly pour in about half the beef broth while whisking vigorously to prevent lumps. Once the mixture is smooth, add the remaining beef broth, garlic powder, onion powder, beef bouillon base (if using), and bay leaf (if using). For a darker color, add the browning & seasoning sauce. Whisk until fully combined.3 cup beef broth, ½ teaspoon garlic powder, ½ teaspoon onion powder, 1 teaspoon beef bouillon base, bay leaf, ¼ teaspoon Kitchen Bouquet Browning & Seasoning Sauce
- Simmer and Thicken the Gravy: Bring the gravy to a boil, then reduce the heat and let it simmer for about 3 minutes until thick and smooth. Remove the bay leaf. Taste and season with salt and pepper as needed. Serve immediately over mashed potatoes, meatloaf, turkey, or your favorite dishes.salt and pepper
Notes
Nutrition
Nutrition information is automatically calculated, so should only be used as an approximation.
Like this? Leave a comment below!


Super loved the seasonings and it turned out really flavorful! Thanks a lot for sharing, it’s really helpful!
I didn’t see the measurements for this gravy. Can you help please.
Hi Gloria, click on the “Jump to Recipe” button at the top of the page and it will take you directly there.
Simple and tasty. Added a little Madeira for a slightly different but equally tasty sauce.
Great idea adding a bit of Madeira! I’ll have to try that next time.
Delicious, easy, a keeper. Loved the ingredient measurements included with recipe directions!
Thank you Dorinda, I’m glad you found that helpful!
Such an easy gravy recipe to follow, so handy for mashed potatoes. Loved the recipe.
I often make gravy from pan drippings from other dishes but needed one that I could make on its own, and am so glad I found this recipe! So easy to pull together, and so delicious. Thank you!
Quick and Easy! Saved the day, cuz oopsie, I was out of brown gravy packs. Actually, now I will never need to buy gravy packs again.
I was looking for a gravy recipe that came together quickly – this one is perfect. And even better that it doesn’t require drippings! I wanted a slightly thinner gravy, so took your advice to reduce the flour just slightly, and it worked perfectly. Delicious – thank you!
Thank you! I’m so glad to hear that you loved it! 🙂
Perfect consistency! Made for a great loco Moco!
Finally it is so nice to have a simple and easy to follow gravy recipe. It worked perfectly.
That’s so great to hear Roxana! Thanks for trying the recipe.
This gravy really was so easy to make!! It tasted amazing over mashed potatoes!
Love that I can make a delicious gravy without drippings! Such an easy recipe too. Thanks for sharing!
Thanks for sharing Angela! It’s such a simple but flavorful gravy!
I needed a quick gravy to pour over some homemade poutine and this hit the spot. Really good.
Wow! This my first gravy that came out with no lumps! I am so glad I found your website and this recipe! I had everything on hand and it tastes so good! It’s Thanksgiving and now I don’t have to worry about the gravy for the last minute mashed potatoes I’ve added to the menu! Thank you so much! Have a blessed holiday season!
It’s always interesting to see how different people make gravy and this one sounds super straightforward.
Love that this recipe uses no drippings. I needed a gravy in a pinch and this was the perfect one!
Thanks Andrea, so happy to hear that!
I was pleasantly surprised how fast and easy this was and great flavor. The only difference I found from mom’s gravy was there were no lumps. ? Thank you.
Thanks Peter! Adding the broth in slowly really helps with no lumps doesn’t it? 🙂
I love the ease of this recipe and it certainly came in handy for our meal delicious!
Thanks for sharing Claudia! It’s such an easy gravy since you don’t need drippings. 🙂
Love how quick this gravy was to make! So savory and delicious too!
This was a delicious gravy – thank you!
We are a big gravy family. I am always looking for a good new recipe. This gravy recipe is easy, delicious and now a family favorite.
Pinned to make for a big family dinner next weekend! Thank you! 🙂